
When the vibrant hues of spring start to emerge, there’s nothing quite like bringing the season into my kitchen. The moment I sliced into fresh rhubarb, the tangy scent filled the air, making my taste buds tingle with anticipation. This Baked Sticky Rhubarb Pudding, with its soft, golden cake nestled atop a luscious syrup, has quickly become my go-to dessert for gatherings and cozy nights in.
Not only is it delightfully easy to prepare, but it also offers incredible versatility to suit any palate—think gluten-free options or even a hint of coconut for a tropical twist! Each bite brings a comforting blend of flavors and textures, which is perfect when paired with a scoop of creamy vanilla ice cream. Trust me, this sweet-tart treat will bring comfort and smiles to your table this spring. So, grab your baking dish, and let’s make some magic together!
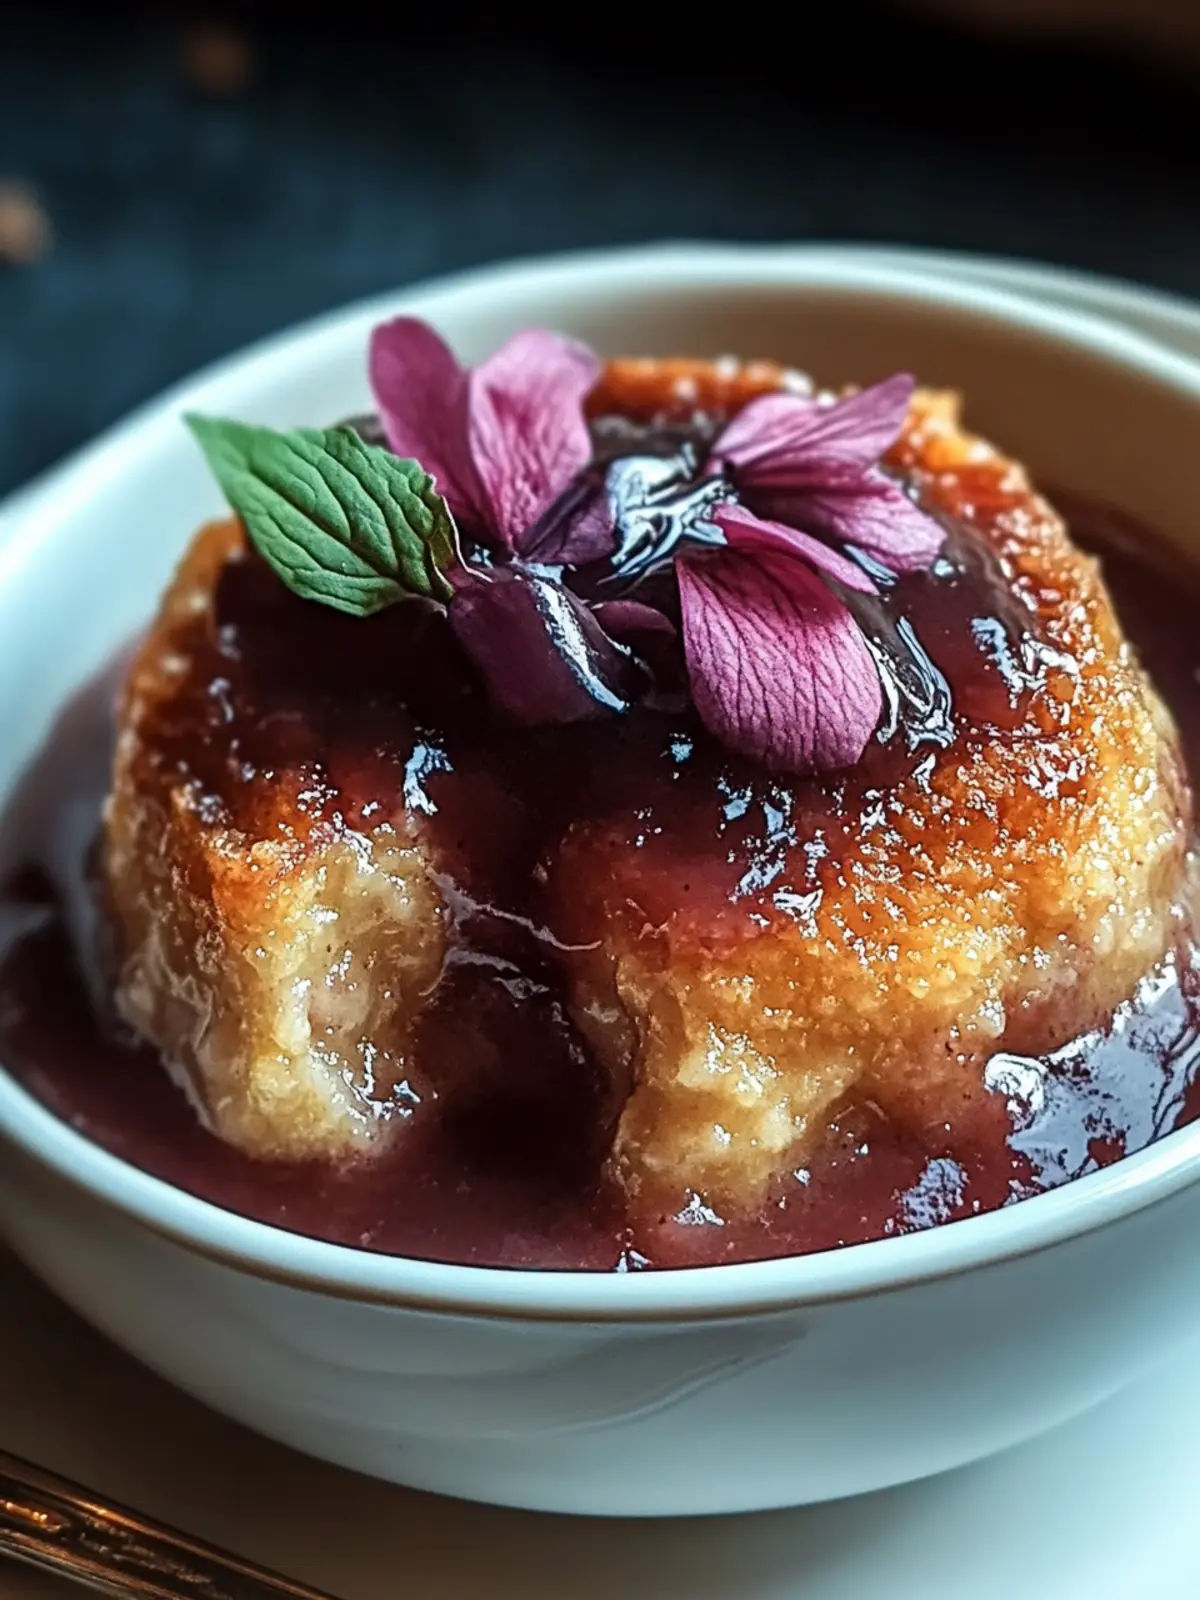
Baked Sticky Rhubarb Pudding for Spring Treats?
Comforting and Nostalgic: This dessert evokes memories of home-baked goodness, making it perfect for any spring gathering.
Easy Preparation: With just a few simple steps, you’ll have a delightful treat fresh from your oven.
Versatile Flavor Profiles: Experiment with variations like gluten-free or spiced versions to cater to every guest’s preference.
Tangy Meets Sweet: The fresh rhubarb blends beautifully with sugar, creating a perfectly balanced flavor that will satisfy any sweet tooth.
Pudding Perfection: Each bite reveals a fluffy cake and a rich, gooey syrup that will leave everyone asking for seconds.
Crowd-Pleasing Delight: Serve warm with cream or ice cream, and watch it disappear as friends and family come back for more!
Baked Sticky Rhubarb Pudding Ingredients
Prepare for a Delightful Bake: Gather these ingredients to create your very own Baked Sticky Rhubarb Pudding!
For the Rhubarb Layer
- Fresh Rhubarb – Provides tartness and vibrant color; you can also use frozen rhubarb if needed.
- Granulated Sugar – Balances the rhubarb’s tartness; adjust the amount to your sweetness preference.
- Lemon Juice – Enhances the brightness of the rhubarb flavor; always use fresh juice for the best taste.
For the Cake Batter
- All-Purpose Flour – Forms the structure of the cake; substitute with gluten-free flour for a gluten-free option.
- Baking Powder – Provides the necessary leavening, ensuring a light and fluffy texture; make sure it’s fresh!
- Salt – Enhances flavor and balances sweetness.
- Milk – Provides moisture; feel free to use any milk alternative you prefer.
- Melted Butter – Adds richness; you can swap it with oil for a lighter option.
- Vanilla Extract – Imparts a delicious flavor; opt for pure extract for the best result.
For the Syrup Layer
- Brown Sugar – Creates a luscious syrup layer beneath the cake; can be replaced with coconut sugar if desired.
- Cornstarch – Thickens the syrup to achieve the perfect consistency.
- Boiling Water – Activates the brown sugar and cornstarch mixture to form the syrup—don’t skip this step!
Now that you’ve got all your ingredients laid out, it’s time to dive into creating this delightful Baked Sticky Rhubarb Pudding that will sweeten any spring day!
How to Make Baked Sticky Rhubarb Pudding
-
Preheat the oven to 350°F (175°C) and grease a 9-inch square baking dish. This ensures your pudding doesn’t stick and bakes evenly for a delightful texture.
-
Prepare the rhubarb by distributing it evenly in the baking dish. Sprinkle with granulated sugar, and drizzle fresh lemon juice over the top to enhance the rhubarb’s natural brightness and balance its tartness.
-
Whisk together all-purpose flour, baking powder, and salt in a mixing bowl to form the dry ingredients for the cake. Then, gradually add milk, melted butter, and vanilla extract, mixing until everything is smooth and well-combined.
-
Pour the batter over the prepared rhubarb layer without stirring. This creates the beautiful layers that make this dish so special!
-
Mix together the brown sugar and cornstarch, then sprinkle this mixture evenly over the batter. This will create a lovely syrup at the bottom as it bakes.
-
Pour boiling water over the dish without stirring. This step is crucial for the syrup to develop its rich flavor; the distinct layers should remain intact.
-
Bake for 40-45 minutes, checking for a golden brown top and bubbling edges. The aroma will fill your kitchen, signaling that it’s nearly ready!
-
Cool for about 10 minutes before serving warm. This helps achieve the best texture and makes it easier to scoop out servings.
Optional: Serve with a scoop of vanilla ice cream for a delightful contrast to the tartness of rhubarb.
Exact quantities are listed in the recipe card below.
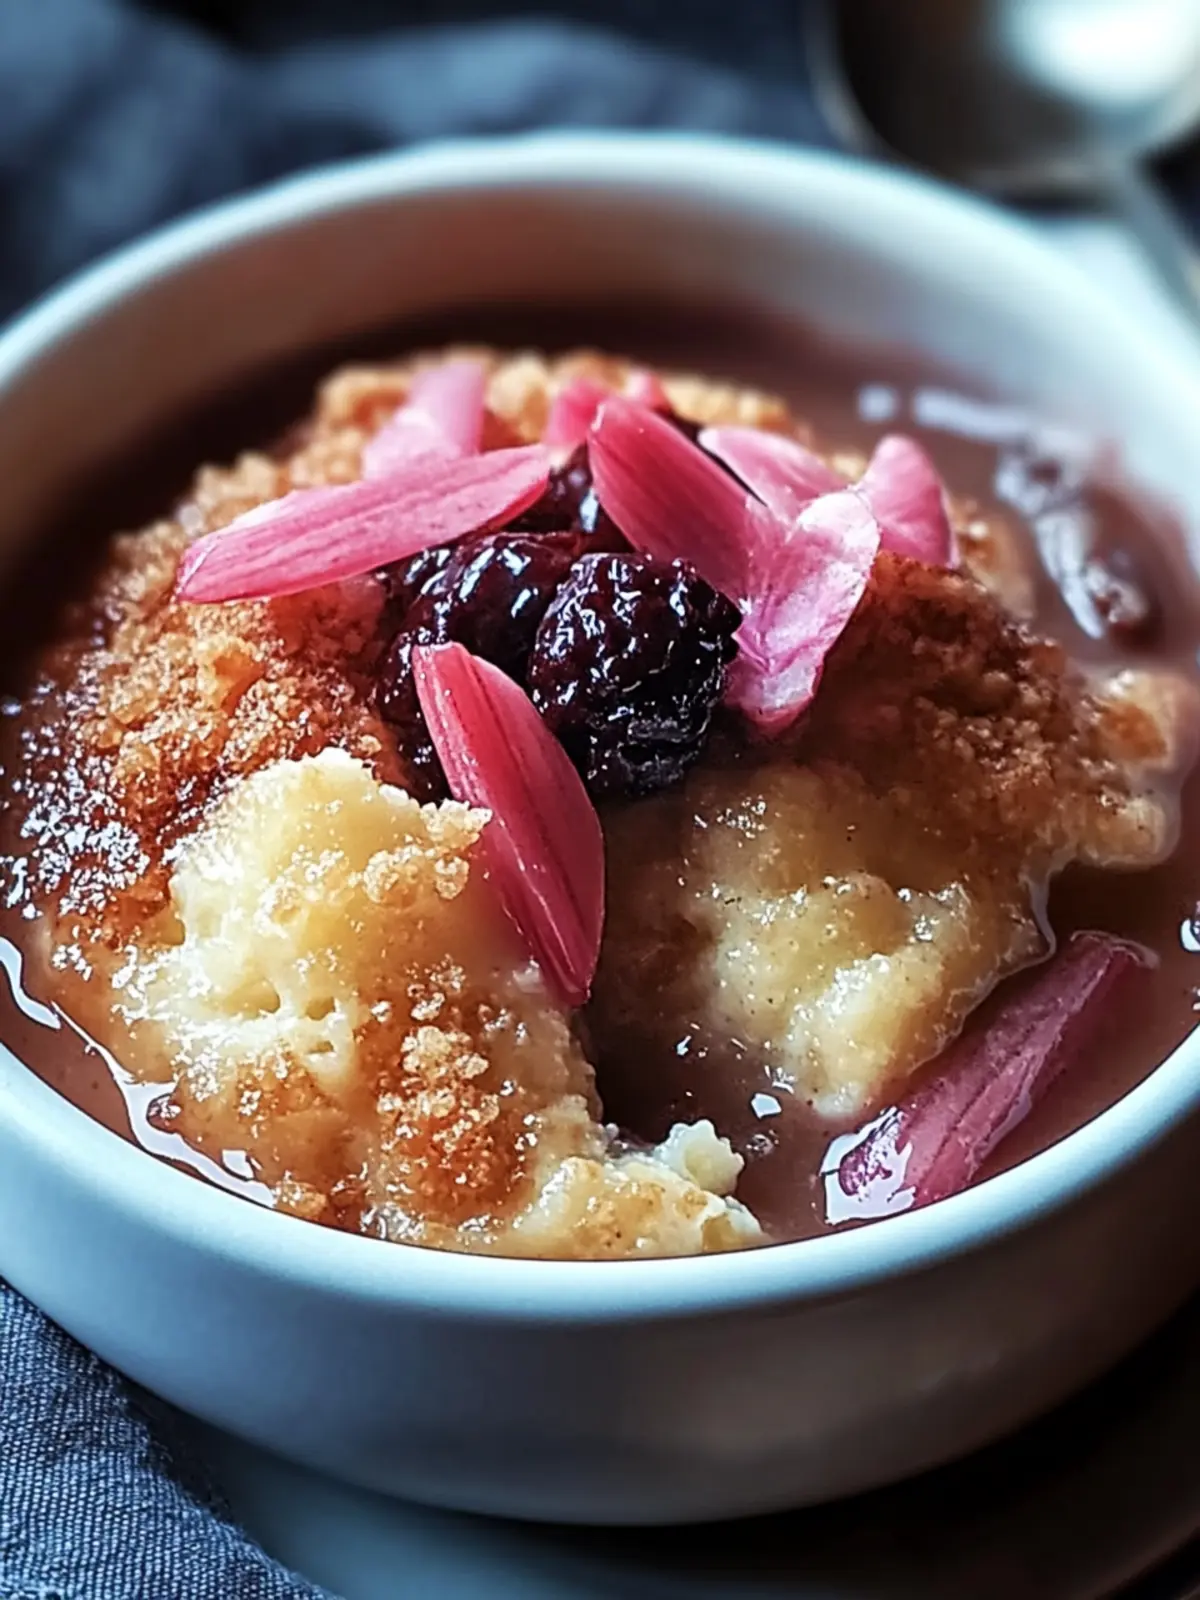
Baked Sticky Rhubarb Pudding Variations
Feel free to get creative with this recipe and make it your own!
-
Gluten-Free: Substitute all-purpose flour with a gluten-free blend to enjoy this delightful dessert without worry.
-
Coconut Flavored: Replace regular milk with rich coconut milk for a tropical twist that adds a creamy layer of flavor.
-
Spiced: Incorporate ground ginger or cinnamon into the batter for a warm, cozy flavor profile. The spices beautifully complement the tangy rhubarb.
-
Citrus Zest: Add the zest of a lemon or orange to brighten the pudding and enhance its refreshing qualities. Just a hint of zest takes this dessert up a notch!
-
Fruit Medley: Mix in strawberries or blueberries with the rhubarb for a sweet burst of color and flavor that your taste buds will adore.
-
Nutty Crunch: Add chopped nuts like pecans or walnuts for a lovely crunch that contrasts wonderfully with the soft pudding. Every bite will provide a delightful surprise!
-
Chocolate Drizzle: For a decadent touch, drizzle melted chocolate over the top before serving—it’s a sweet surprise that takes this dessert to the next level.
-
Herb Infusion: Infuse fresh herbs like mint into the syrup for a refreshing chill that pairs surprisingly well with the rhubarb’s tartness.
Expert Tips for Baked Sticky Rhubarb Pudding
- Fresh is Best: Always use fresh rhubarb for optimal flavor. Frozen rhubarb can be a substitute but might affect texture.
- Layer Wisely: Avoid stirring after adding the boiling water; this helps maintain distinct layers of cake and syrup in your Baked Sticky Rhubarb Pudding.
- Baking Check: Look for a golden-brown top and bubbling edges to ensure it is perfectly baked; ovens may vary in timing.
- Gluten-Free Swap: For a gluten-free version, ensure you use the right gluten-free flour blend and check your baking powder is gluten-free.
- Sugar Adjustments: Taste the rhubarb before sweetening. Adjust sugar levels based on its tartness; some rhubarb can be quite tangy!
- Serving Suggestions: Serve warm with a scoop of vanilla ice cream or fresh whipped cream to beautifully balance the tartness of the rhubarb.
Make Ahead Options
These Baked Sticky Rhubarb Pudding preparations are perfect for busy home cooks! You can prepare the rhubarb layer by placing it in the baking dish, sprinkling it with sugar, and drizzling lemon juice up to 24 hours in advance. Store it covered in the refrigerator to keep the rhubarb fresh and vibrant. If you’re looking to enjoy this dessert later, the entire pudding can be assembled and refrigerated for up to 3 days before baking. Just remember not to pour the boiling water over it until you’re ready to bake, as this step is crucial for maintaining the syrup’s delicious quality. When you’re ready to serve, simply add the boiling water and pop it in the oven for a comforting dessert that will delight your guests!
What to Serve with Baked Sticky Rhubarb Pudding?
Savoring this delightful dessert creates the perfect opportunity to elevate your dining experience with delicious pairings.
-
Vanilla Ice Cream: A classic accompaniment that balances the tartness with creamy sweetness; it melts into the warm pudding for an irresistible treat.
-
Fresh Whipped Cream: Light and airy, this topping enhances the dessert while adding a richness that contrasts beautifully with the rhubarb’s tanginess.
-
Berry Medley: A vibrant mix of strawberries, blueberries, and raspberries provides freshness, complementing the pudding’s flavors and adding a delightful pop of color.
-
Custard Sauce: A luxuriously creamy custard adds a rich layer of flavor, enhancing the comforting feel of the pudding while echoing its sweet notes.
-
Light Green Salad: Pairing with arugula or mixed greens dressed lightly with lemon vinaigrette balances the sweetness, giving a refreshing contrast.
-
Chai Tea: A spiced chai warms the soul, and its fragrant spices harmonize beautifully with the rhubarb’s tartness, making it a cozy beverage choice.
Indulging in these pairings will elevate your Baked Sticky Rhubarb Pudding experience, creating warm memories with every bite!
How to Store and Freeze Baked Sticky Rhubarb Pudding
Room Temperature: Allow the pudding to cool completely, then cover with a clean kitchen towel. It can be kept at room temperature for up to 1 day.
Fridge: Store leftovers in an airtight container in the refrigerator for up to 3 days. Reheat gently in the microwave or oven to restore its warm, comforting texture.
Freezer: For longer storage, freeze the pudding in an airtight container or wrapped tightly in plastic wrap for up to 2 months. Thaw overnight in the fridge before reheating.
Reheating: To enjoy your Baked Sticky Rhubarb Pudding, reheat in the oven at 350°F (175°C) for about 15-20 minutes, covered with foil to prevent drying out.
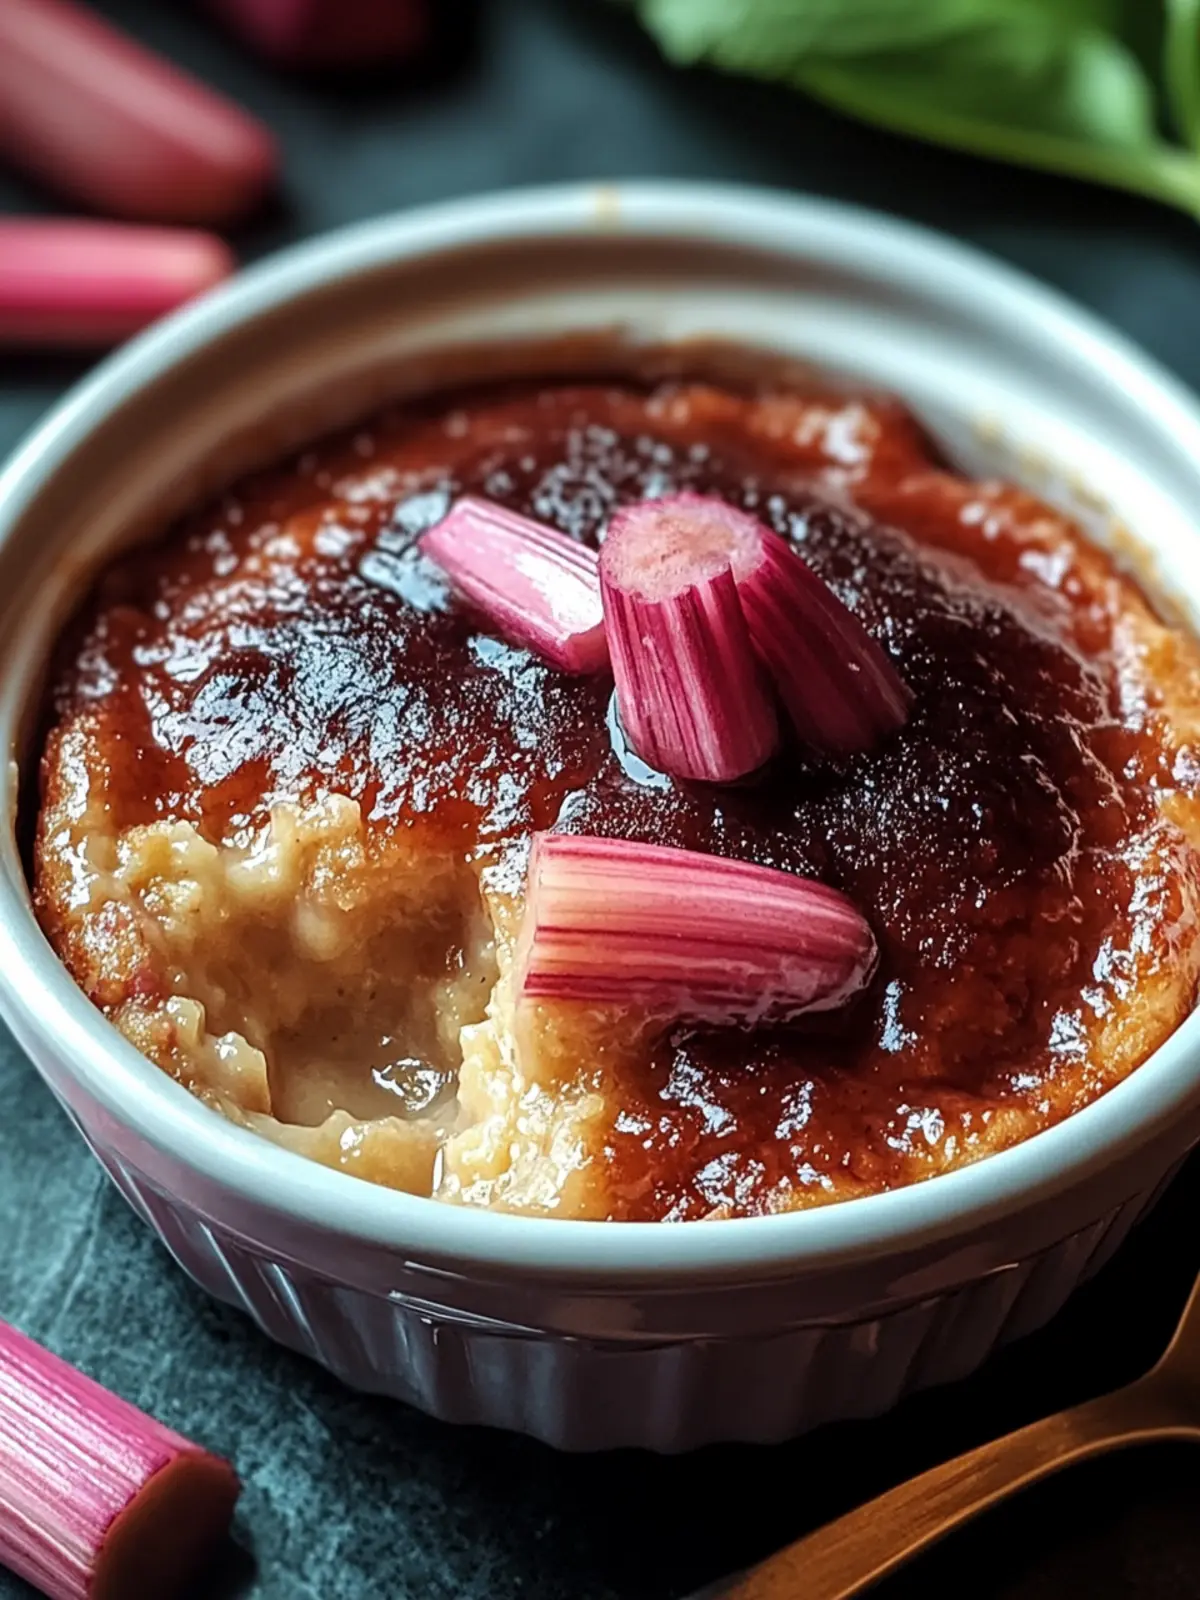
Baked Sticky Rhubarb Pudding Recipe FAQs
How do I select fresh rhubarb for the pudding?
Absolutely! When choosing fresh rhubarb, look for firm, crisp stalks with vibrant color—ideally a rich pink or green hue. Avoid any that has wilted or yellowed leaves and check for dark spots all over. The more vibrant the stalks, the better the flavor!
What’s the best way to store leftover Baked Sticky Rhubarb Pudding?
To store your delicious leftovers, let it cool completely, then place in an airtight container. It’ll stay fresh in the fridge for up to 3 days. When you’re ready to enjoy it again, reheat gently—this helps maintain that comforting texture.
Can I freeze Baked Sticky Rhubarb Pudding?
Yes, you can! For freezing, wrap the pudding tightly in plastic wrap or place it in an airtight container to prevent freezer burn. It can be frozen for up to 2 months. When you’re ready to enjoy it, simply thaw it overnight in the fridge before reheating in the oven at 350°F (175°C) for about 15-20 minutes.
What if my pudding doesn’t come out with distinct layers?
No worries! If you notice that your layers are mixed up, it might be due to stirring after adding the boiling water. For future bakes, just pour the boiling water gently over the batter without stirring—this helps keep those delightful layers intact. Plus, baking times vary, so check for a golden top that’ll indicate it’s ready.
Are there any dietary modifications I should consider?
Very! For a gluten-free version, you can substitute all-purpose flour with a gluten-free blend. Additionally, if someone has dairy allergies, swapping regular milk with a non-dairy alternative like almond or oat milk is easy. Just ensure the other ingredients, like baking powder, are also gluten-free!
How can I enhance the flavors in my pudding?
You can definitely jazz things up! Consider adding a teaspoon of ground ginger or cinnamon to the batter for a warm spice note, or toss in some lemon or orange zest for an extra citrusy kick. Mixing in strawberries or blueberries can also provide a lovely sweet contrast to the tart rhubarb!
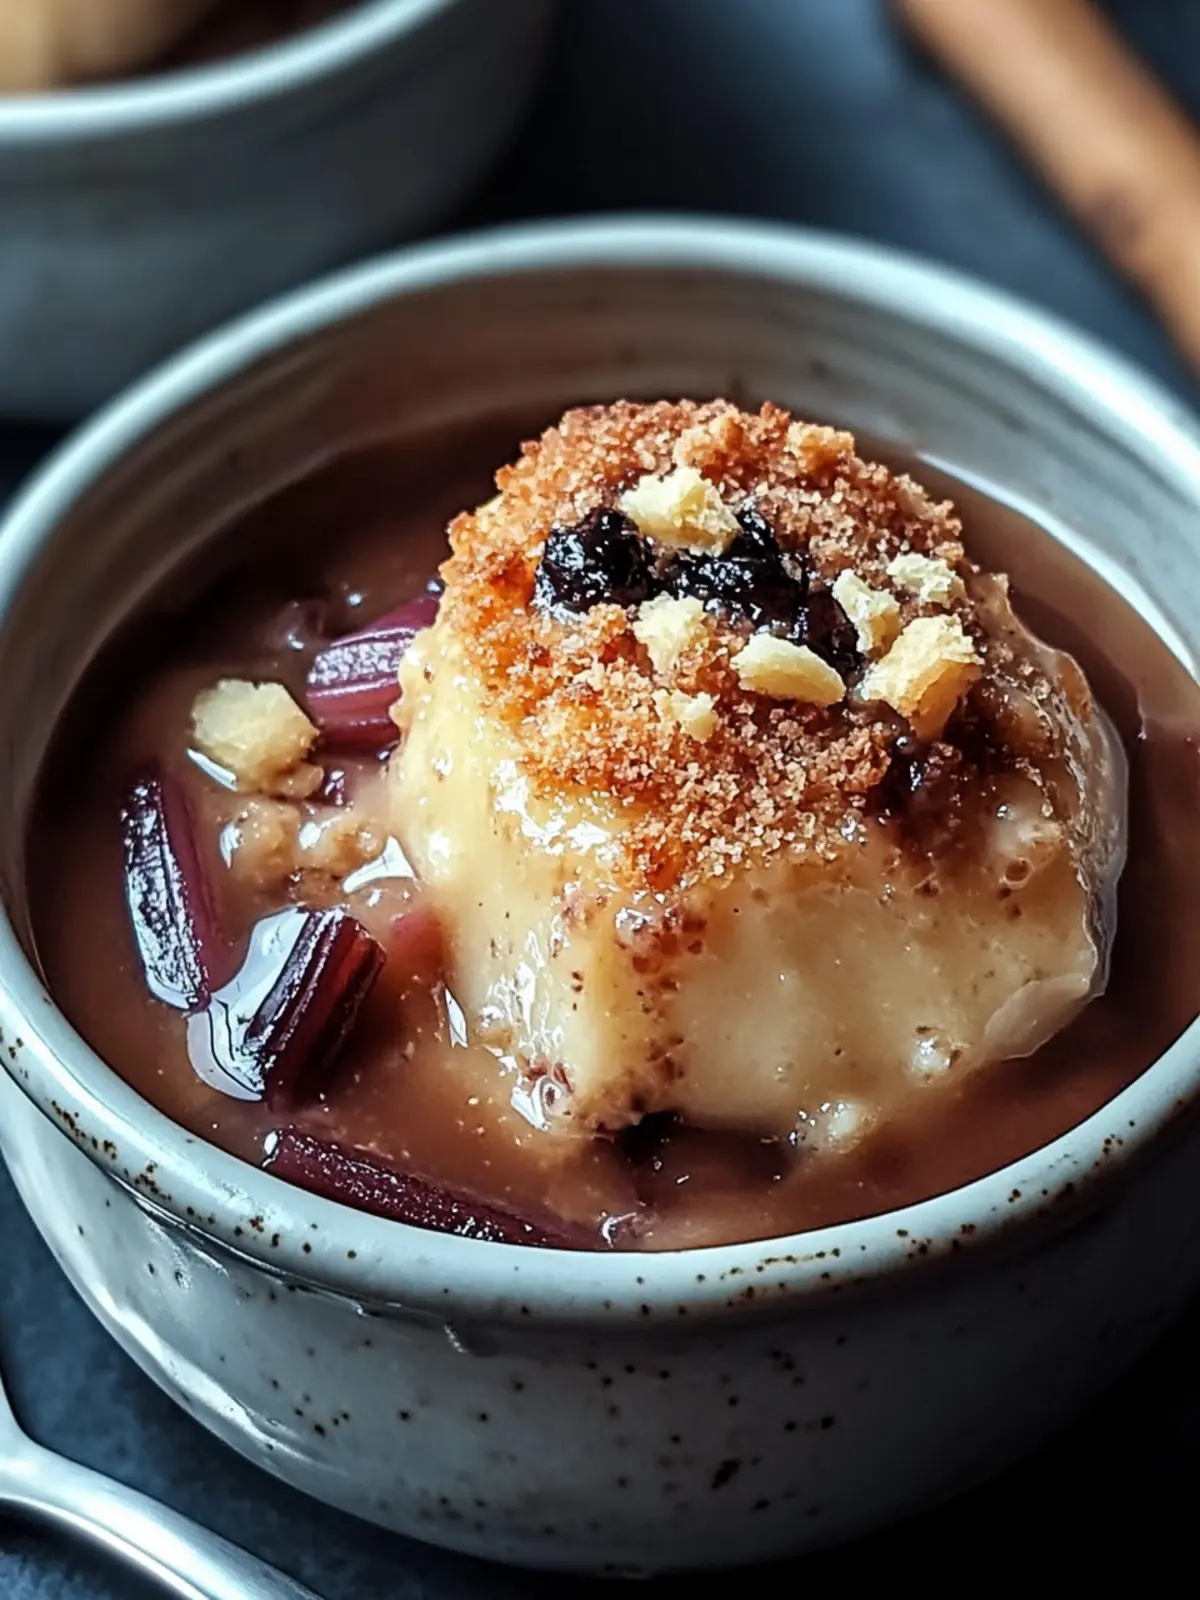
Baked Sticky Rhubarb Pudding to Brighten Your Spring Day
Ingredients
Equipment
Method
- Preheat the oven to 350°F (175°C) and grease a 9-inch square baking dish.
- Prepare the rhubarb by distributing it evenly in the baking dish. Sprinkle with granulated sugar and drizzle fresh lemon juice over the top.
- Whisk together all-purpose flour, baking powder, and salt in a mixing bowl. Gradually add milk, melted butter, and vanilla extract, mixing until smooth.
- Pour the batter over the prepared rhubarb layer without stirring.
- Mix together the brown sugar and cornstarch, then sprinkle this mixture evenly over the batter.
- Pour boiling water over the dish without stirring.
- Bake for 40-45 minutes until golden brown on top and bubbling at the edges.
- Cool for about 10 minutes before serving warm.