
There’s nothing quite like the soft, chewy satisfaction of biting into a piece of fresh mochi, and this Pan-Fried Fresh Milk Mochi recipe delivers just that in spades! Imagine the delightfully rich aroma of sweet milk mingling with toasted soybean powder, wafting through your kitchen as you prepare this easy treat. I discovered this gem during a cozy afternoon, when I was searching for a simple snack that wouldn’t require much effort but would still impress my family and friends.
Perfect for both novice cooks and seasoned chefs looking to change up their routine, this beginner-friendly recipe uses everyday ingredients to create a comforting dessert that pairs beautifully with tea or stands out on its own. With its delightful stretch and irresistible texture, this mochi is sure to keep you coming back for more. So let’s dive into this delightful culinary adventure and bring a taste of Japan to your home kitchen!
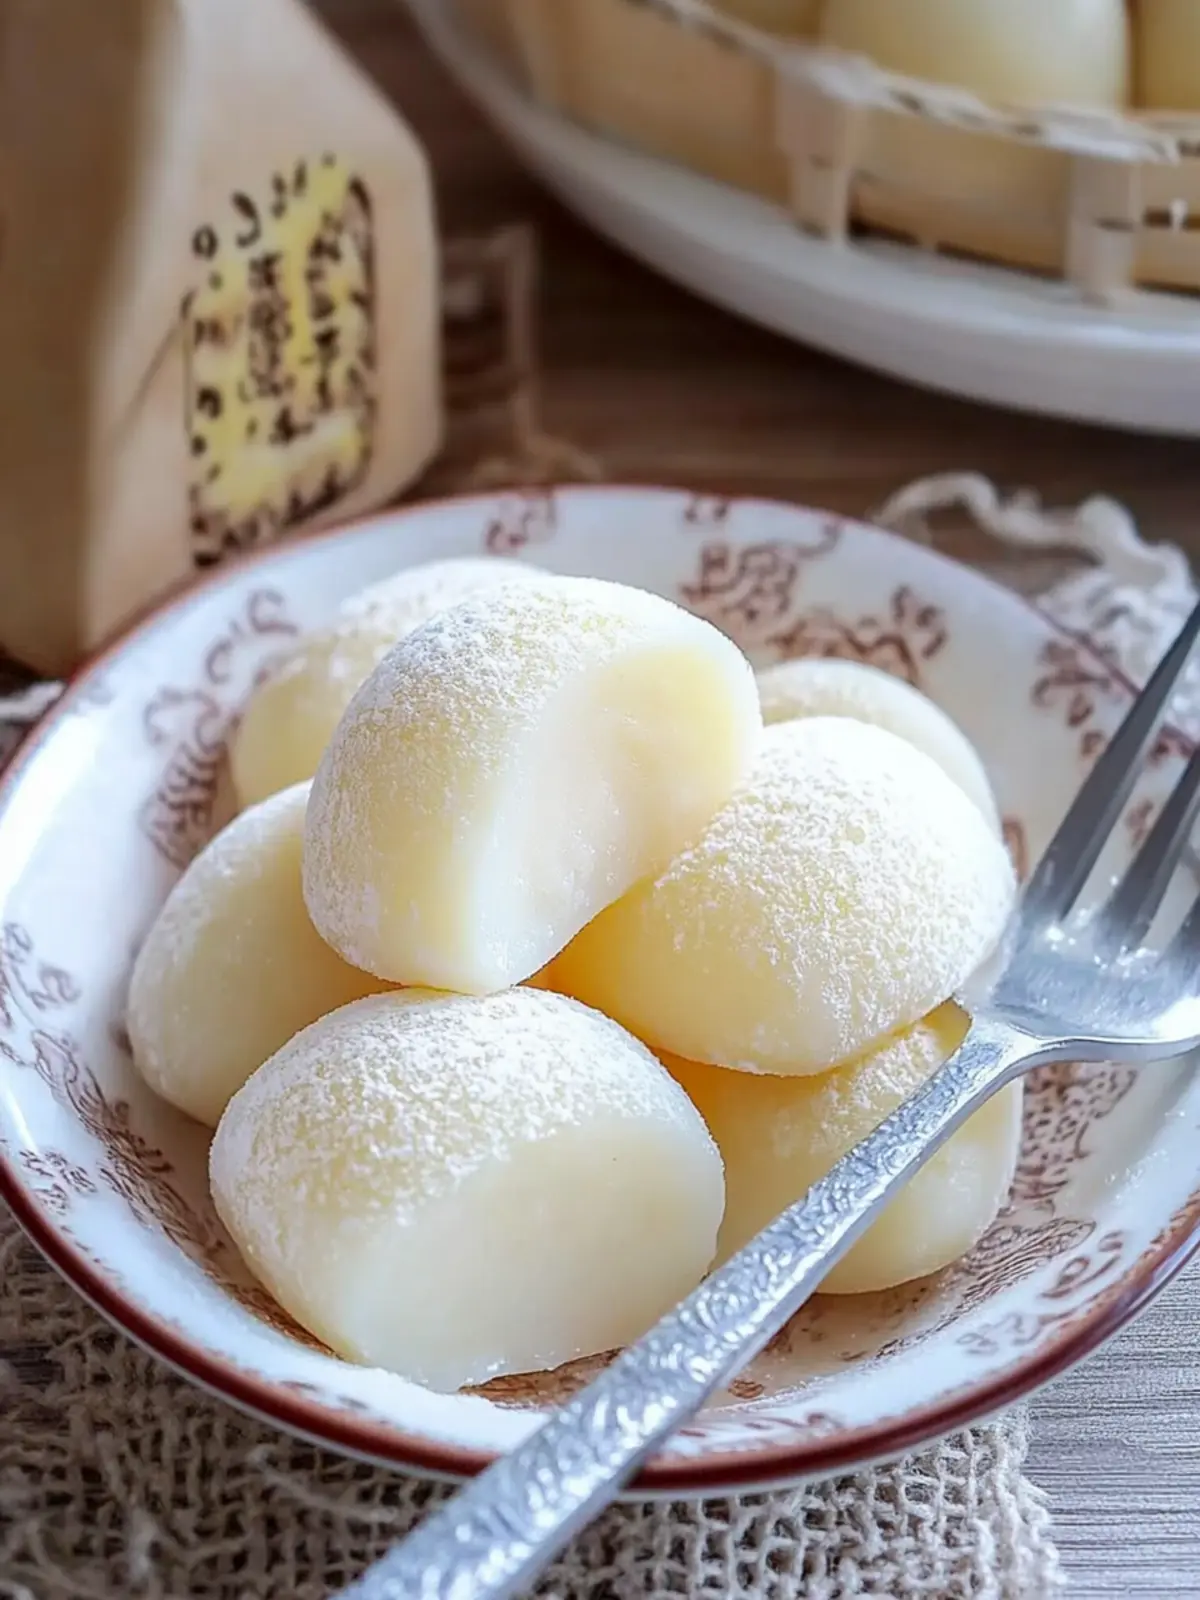
Why You’ll Love Pan-Fried Fresh Milk Mochi
Simplicity, this recipe is easy to follow and requires no special equipment—ideal for busy weeknights or last-minute surprises. Irresistible Texture ensures each bite is delightfully soft and chewy, making it the perfect snack. Adaptable Flavors allow you to experiment with various milk alternatives or add matcha for a unique twist. Family-Friendly, kids will adore this fun treat, making it a hit during family gatherings. Quick to Make, from mixing to serving, it takes little time to prepare, giving you more moments to enjoy with loved ones. Don’t forget to check out the tips for maintaining softness; they will elevate your mochi-making game!
Pan-Fried Fresh Milk Mochi Ingredients
• Create your perfect mochi experience with these simple ingredients!
For the Mochi
- Glutinous Rice Flour – Essential for that authentic chewy texture, so avoid substitutes for best results.
- Sugar – Adds a touch of sweetness; feel free to reduce it, especially for little ones!
- Cornstarch – Ensures a smooth and elastic consistency; using other flours can change the texture.
- Cooking Oil – Helps with non-stick cooking and keeps the mochi tender; any neutral oil works here.
- Milk – Provides a rich, creamy flavor; whole milk is best, but plant-based alternatives can be used.
For Coating
- Roasted Soybean Powder – Adds a nutty flavor to your mochi; corn starch can substitute for a neutral coating.
Enjoy making this delightful Pan-Fried Fresh Milk Mochi, a delicious homemade snack that everyone will love!
How to Make Pan-Fried Fresh Milk Mochi
-
Combine Ingredients: In a large bowl, mix glutinous rice flour, sugar, and cornstarch together. This forms the base of your mochi, ensuring a delightful chewy texture that you’ll love.
-
Whisk Smoothly: Add cooking oil and milk to the dry ingredients. Whisk until the mixture is smooth and lump-free, creating a harmonious blend full of rich flavors.
-
Cook the Batter: Pour the batter into a non-stick pan heated over low heat. Stir constantly with a silicone spatula to prevent sticking, watching it transform into a lovely, elastic dough.
-
Thicken the Mixture: Cook until the mixture thickens and becomes smooth, about 5-7 minutes. It should pull away from the sides of the pan and resemble a soft dough.
-
Stretch the Dough: Remove from heat and let it cool slightly. Gently stretch the dough to enhance its elasticity, making it easier to shape later on.
-
Shape the Mochi: Once cool enough to handle, roll the dough into a log about 1 inch in diameter. Slice it into bite-sized pieces, perfect for snacking!
-
Coat and Serve: Toss the mochi pieces in roasted soybean powder until well coated. This adds a delightful nuttiness and keeps your mochi from sticking together. Serve immediately for the best experience!
Optional: Dust with extra soybean powder just before serving for added flavor.
Exact quantities are listed in the recipe card below.
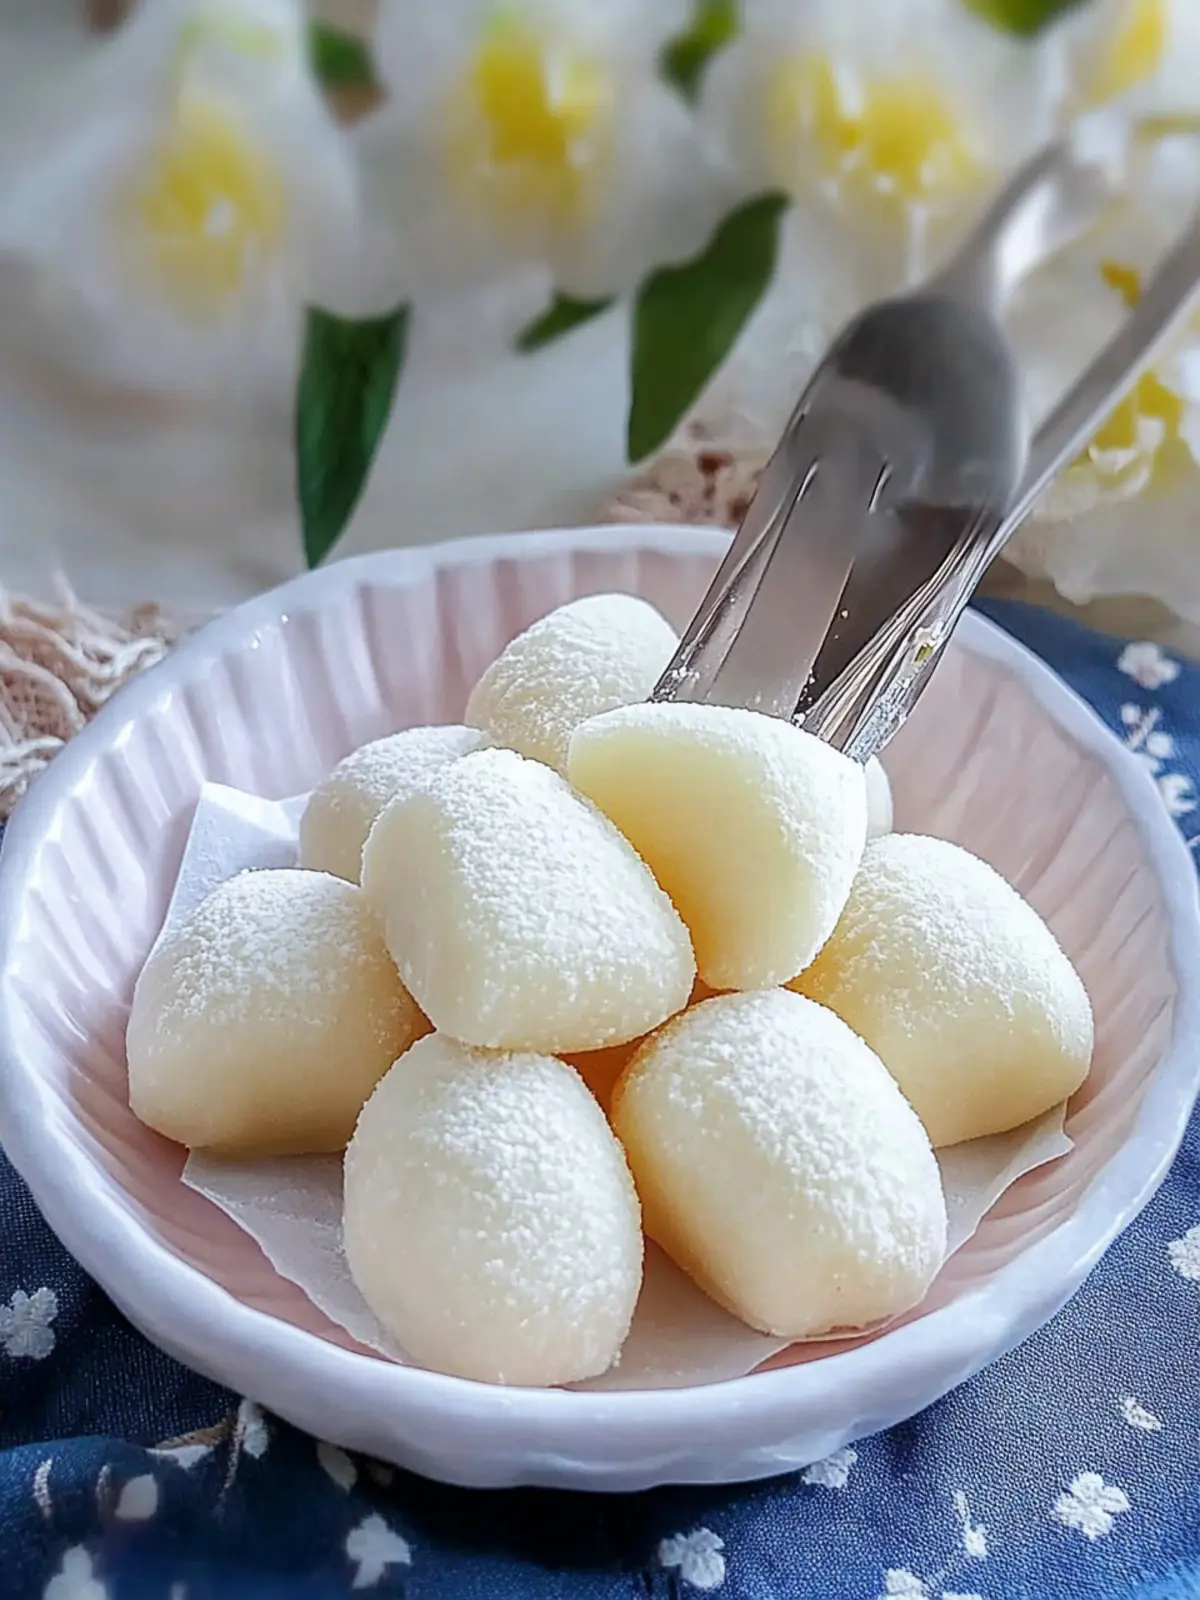
Variations & Substitutions for Pan-Fried Fresh Milk Mochi
Explore creative twists and personal touches to make this recipe your own!
-
Dairy-Free: Substitute whole milk with almond or coconut milk for a plant-based alternative that still boasts a creamy texture.
-
Matcha Magic: Add 1-2 tablespoons of matcha powder to the batter for a colorful, earthy flavor that elevates this treat to new heights.
-
Fruity Fusion: Incorporate fruit pureé, like strawberry or mango, directly into the batter for a delightful burst of natural sweetness and vibrant color.
-
Nutty Delight: Use almond flour instead of cornstarch for coating to add a unique nutty flavor and a slightly crunchy texture.
-
Spicy Kick: Mix in a pinch of cayenne pepper or chili powder for an unexpected spicy twist that complements the sweetness beautifully.
-
Chocolate Lovers: Stir in cocoa powder into the mochi batter for a rich, chocolatey version that satisfies any sweet tooth.
-
Honey Glaze: Drizzle a bit of honey over the finished mochi for a luscious, silky layer of sweetness that enhances the overall experience.
-
Savory Surprise: For a savory variation, consider infusing the batter with finely chopped herbs like chives or adding a sprinkle of salt to balance the flavor profile.
Unleash your creativity with these variations and personalize your mochi for every occasion!
Make Ahead Options
These delightful Pan-Fried Fresh Milk Mochi are perfect for meal prep! You can prepare the mochi dough up to 24 hours in advance by following the recipe instructions up to the shaping step. Once the dough is cooled and shaped into pieces, place them in an airtight container with parchment paper between layers to prevent sticking and refrigerate. When you’re ready to serve, simply toss the pieces in roasted soybean powder and pan-fry them for a few minutes to let them regain their chewy texture. This ensures that your mochi is just as delicious and ready for your busy weeknights or unexpected guests, saving you precious time in the kitchen!
What to Serve with Pan-Fried Fresh Milk Mochi?
Indulging in a delicious mochi treat opens the door to a fulfilling meal experience, perfect for sharing with loved ones.
- Green Tea: The earthy notes of green tea contrast beautifully with the sweet, chewy mochi, creating a soothing harmony that enhances the flavors.
- Fruit Salad: Bright, fresh fruits add a refreshing zing, balancing the rich texture of mochi. Think juicy strawberries, tangy kiwis, or sweet mangoes!
- Steamed Dumplings: For a heartier touch, steamed dumplings provide a savory contrast to the sweetness of mochi and create a delightful communal meal.
- Miso Soup: A warm bowl of miso soup delivers umami satisfaction, rounding out the meal with comforting depth alongside your sweet snacks.
- Sesame Ice Cream: The nutty flavor of sesame ice cream offers a luxurious pairing, enhancing the mochi’s sesame notes if you opt for that coating.
- Chilled Jasmine Tea: A lightly floral jasmine tea refreshes the palate between bites, making every mochi taste even better with its delicate scent and flavor.
- Matcha Latte: Blend tradition with sweetness by enjoying a creamy matcha latte, which beautifully complements the mochi while boosting your energy!
- Chocolate Sauce: Drizzle some warm chocolate sauce over the mochi for an indulgent dessert twist that kids and adults will love!
These delightful pairings will elevate your mochi experience, ensuring every bite is as delicious as the last!
Storage Tips for Pan-Fried Fresh Milk Mochi
Room Temperature: Store leftover mochi in an airtight container at room temperature for up to 1 day. Enjoy it fresh for the best flavor!
Fridge: If keeping in the fridge, wrap the mochi tightly and consume within 3 days. Reheat briefly in the microwave to restore its softness.
Freezer: For longer storage, freeze the mochi in a single layer on a baking sheet, then transfer to an airtight container once solid. It will last for up to 2 months.
Reheating: To reheat frozen mochi, simply microwave for 10-15 seconds, or until warm. This will help regain its delightful, chewy texture.
Expert Tips for Pan-Fried Fresh Milk Mochi
• Stir Constantly: To achieve the best stretchy texture, ensure you stir the batter continuously over low heat, preventing it from burning.
• Use Non-Stick: A good non-stick pan is essential. This prevents the mochi from sticking, making it easier to cook and remove once done.
• Cool Before Handling: Allow the mochi to cool slightly before shaping. This makes rolling and slicing much easier, keeping your hands safe from heat.
• Serve Fresh: For optimal taste and texture, enjoy your Pan-Fried Fresh Milk Mochi right after making. If storing, keep it airtight and reheat for a chewier bite!
• Experiment with Coatings: While roasted soybean powder is traditional, feel free to try sesame seeds or cocoa powder for a unique flavor twist on your mochi!
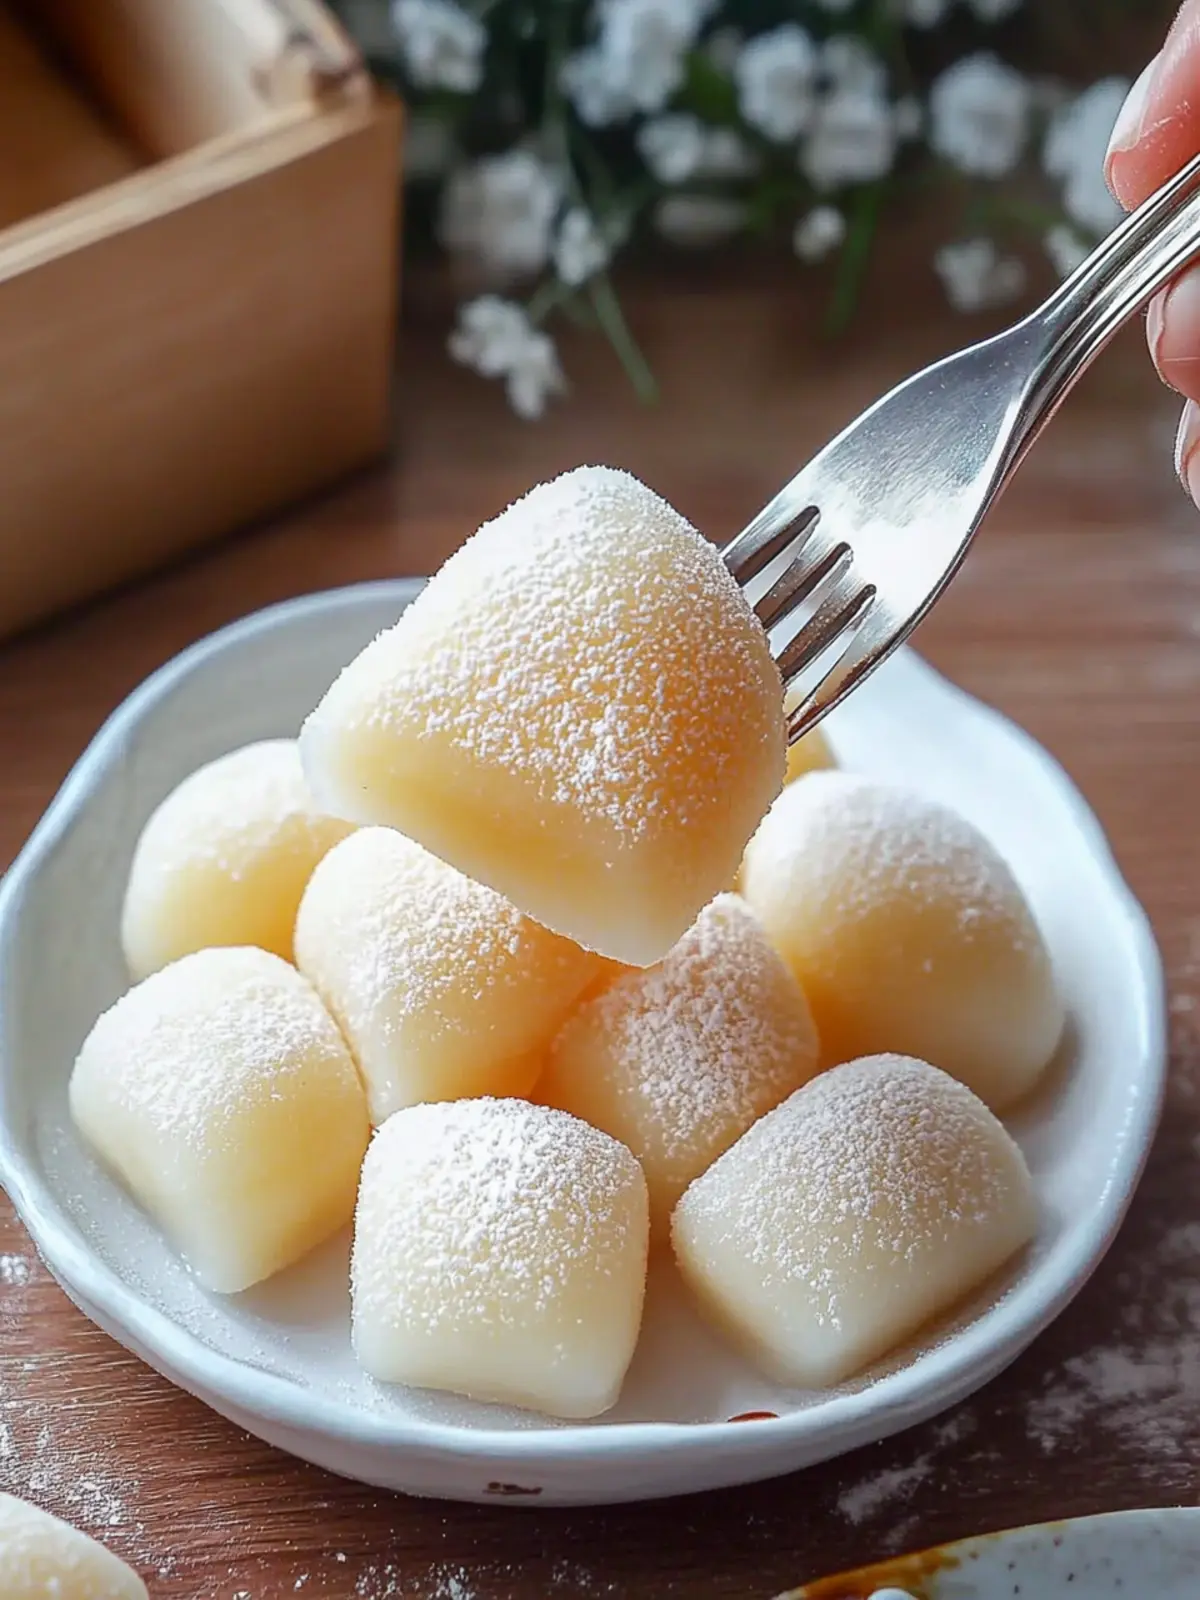
Pan-Fried Fresh Milk Mochi Recipe FAQs
How do I choose the right glutinous rice flour?
Absolutely! When selecting glutinous rice flour, look for finely milled flour that’s labeled specifically as “glutinous” or “sweet rice flour.” Brands like Mochiko are popular for achieving the perfect chewy texture. Avoid regular rice flour, as it will significantly alter the mochi’s consistency.
What’s the best way to store leftover mochi?
For optimal freshness, keep leftover Pan-Fried Fresh Milk Mochi in an airtight container at room temperature for up to 1 day. If you refrigerate it, wrap it tightly and consume within 3 days, rewarming it in the microwave to regain its delightful chewiness.
Can I freeze the mochi, and if so, how?
Very! To freeze your mochi, place the pieces on a baking sheet in a single layer and freeze them until solid, about 1-2 hours. Then transfer them to an airtight container, where they can be stored for up to 2 months. To reheat, microwave it for 10-15 seconds, watching closely to keep it from getting too tough.
What if my mochi turns out tough or sticky?
If your mochi ends up tough, it might have been cooked at too high a temperature or for too long, allowing it to lose moisture. On the flip side, if it’s sticky, there might not have been enough cornstarch during the coating process or the batter wasn’t cooked long enough. Next time, ensure low heat and consistent stirring!
Is this mochi recipe safe for allergies?
The Pan-Fried Fresh Milk Mochi contains common allergens like dairy due to the milk and possible cross-contamination with gluten if you’re using a non-certified gluten-free brand. For alternatives, you can use plant-based milk to make it more allergy-friendly. Always double-check ingredient labels for specific allergies, especially if serving to children or guests.
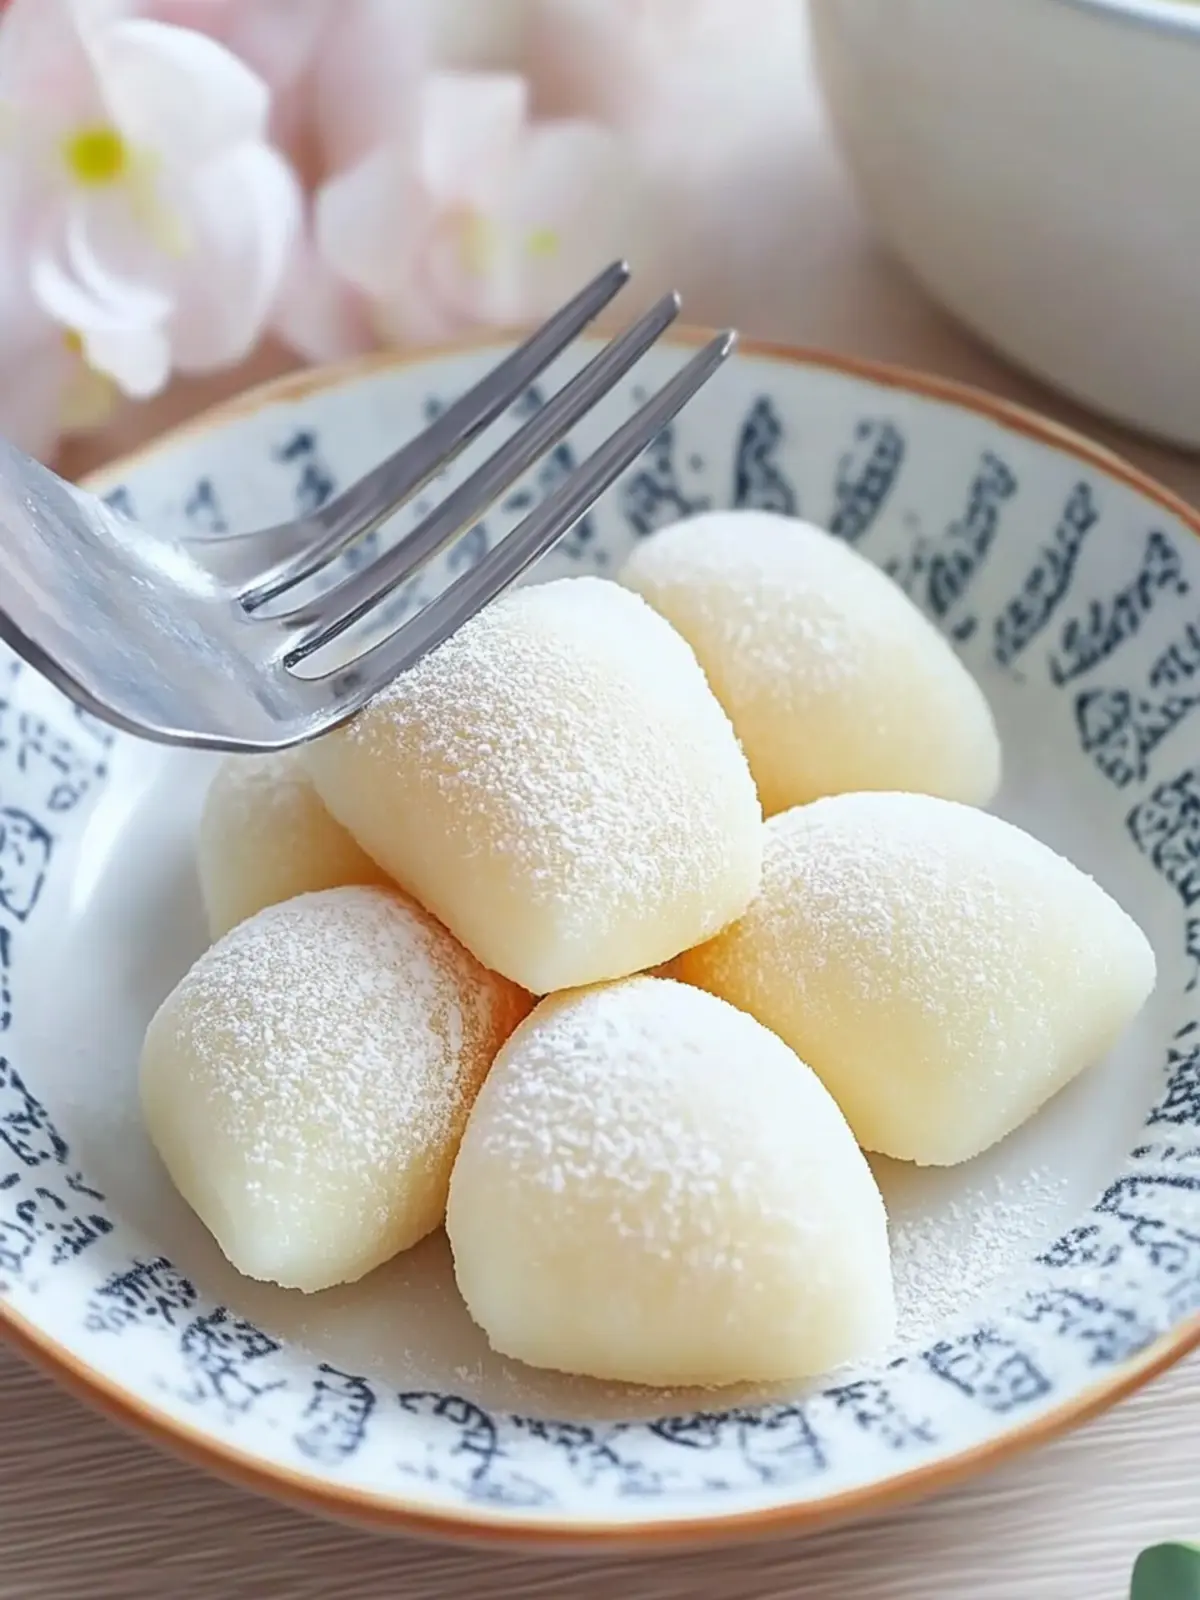
Discover Soft, Chewy Pan-Fried Fresh Milk Mochi Today
Ingredients
Equipment
Method
- In a large bowl, mix glutinous rice flour, sugar, and cornstarch together.
- Add cooking oil and milk to the dry ingredients. Whisk until smooth and lump-free.
- Pour the batter into a non-stick pan over low heat. Stir constantly to prevent sticking.
- Cook until thickened and smooth, about 5-7 minutes. Dough should pull away from the pan's sides.
- Remove from heat and let cool slightly. Stretch the dough for elasticity.
- Once cooled, roll the dough into a log about 1 inch in diameter. Slice into bite-sized pieces.
- Toss the mochi pieces in roasted soybean powder until well coated. Serve immediately!