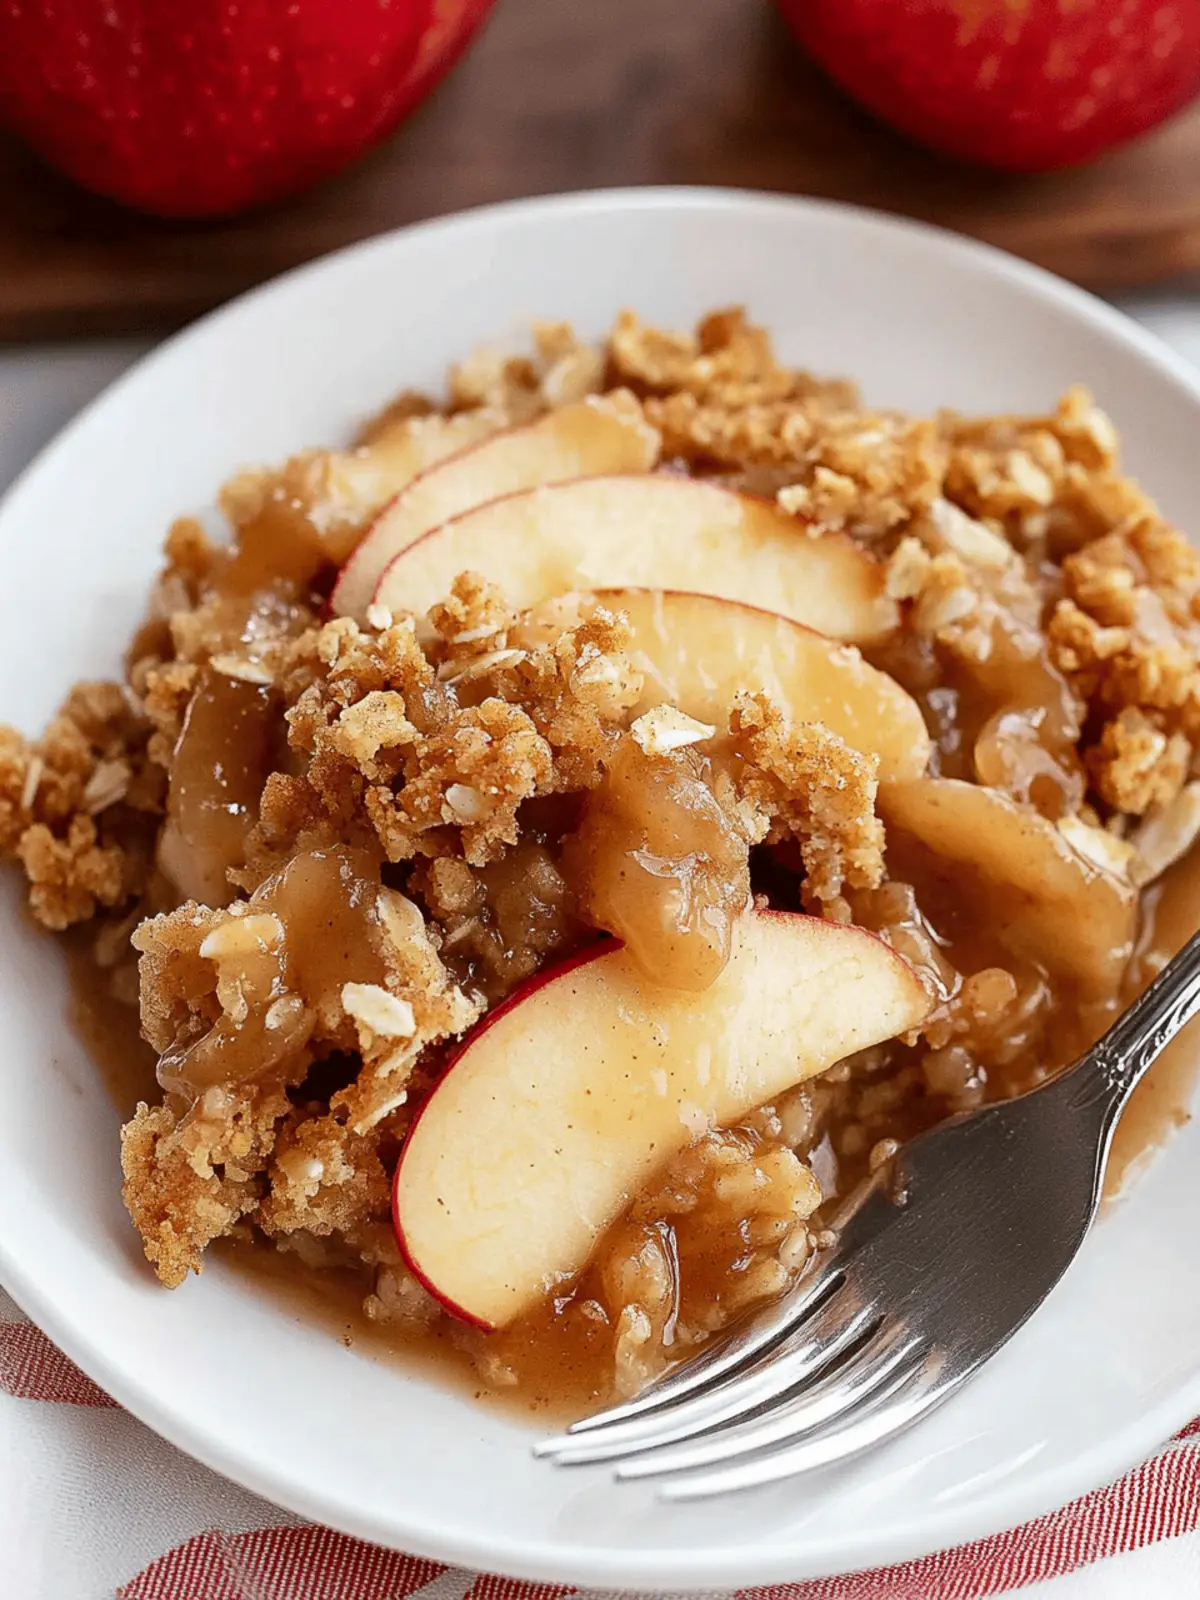
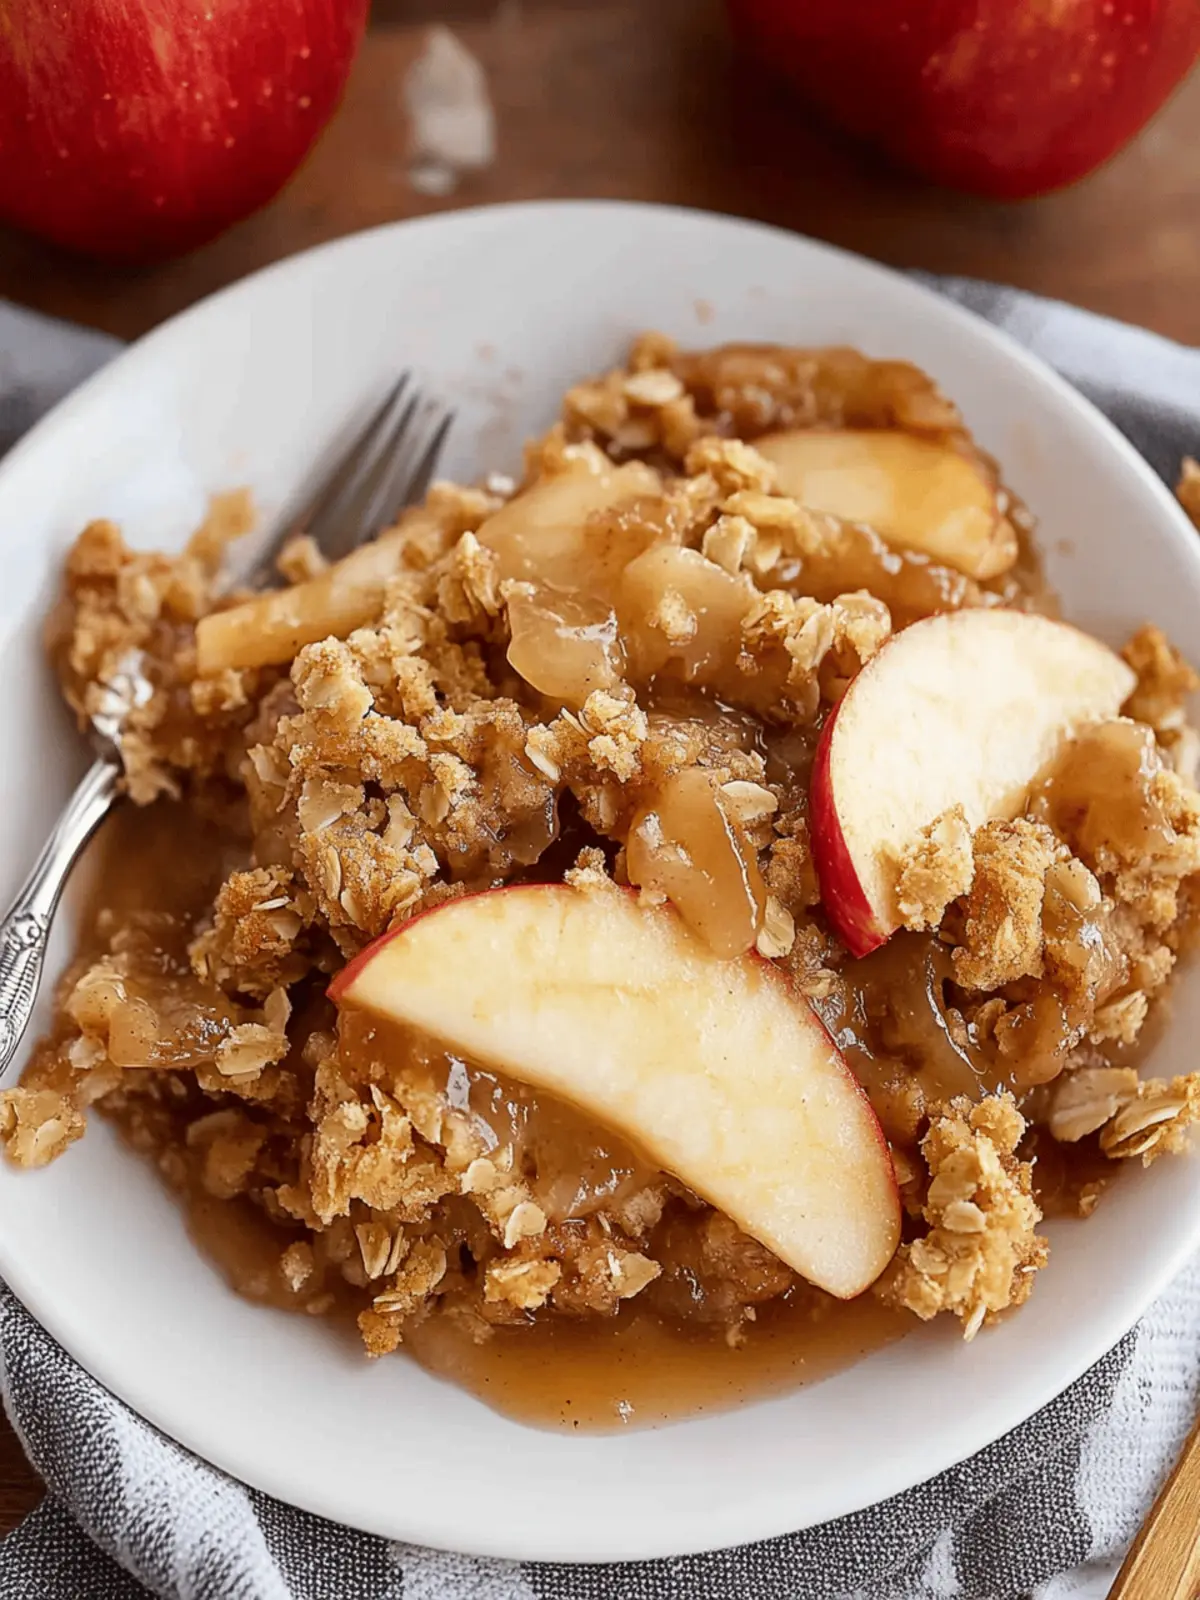
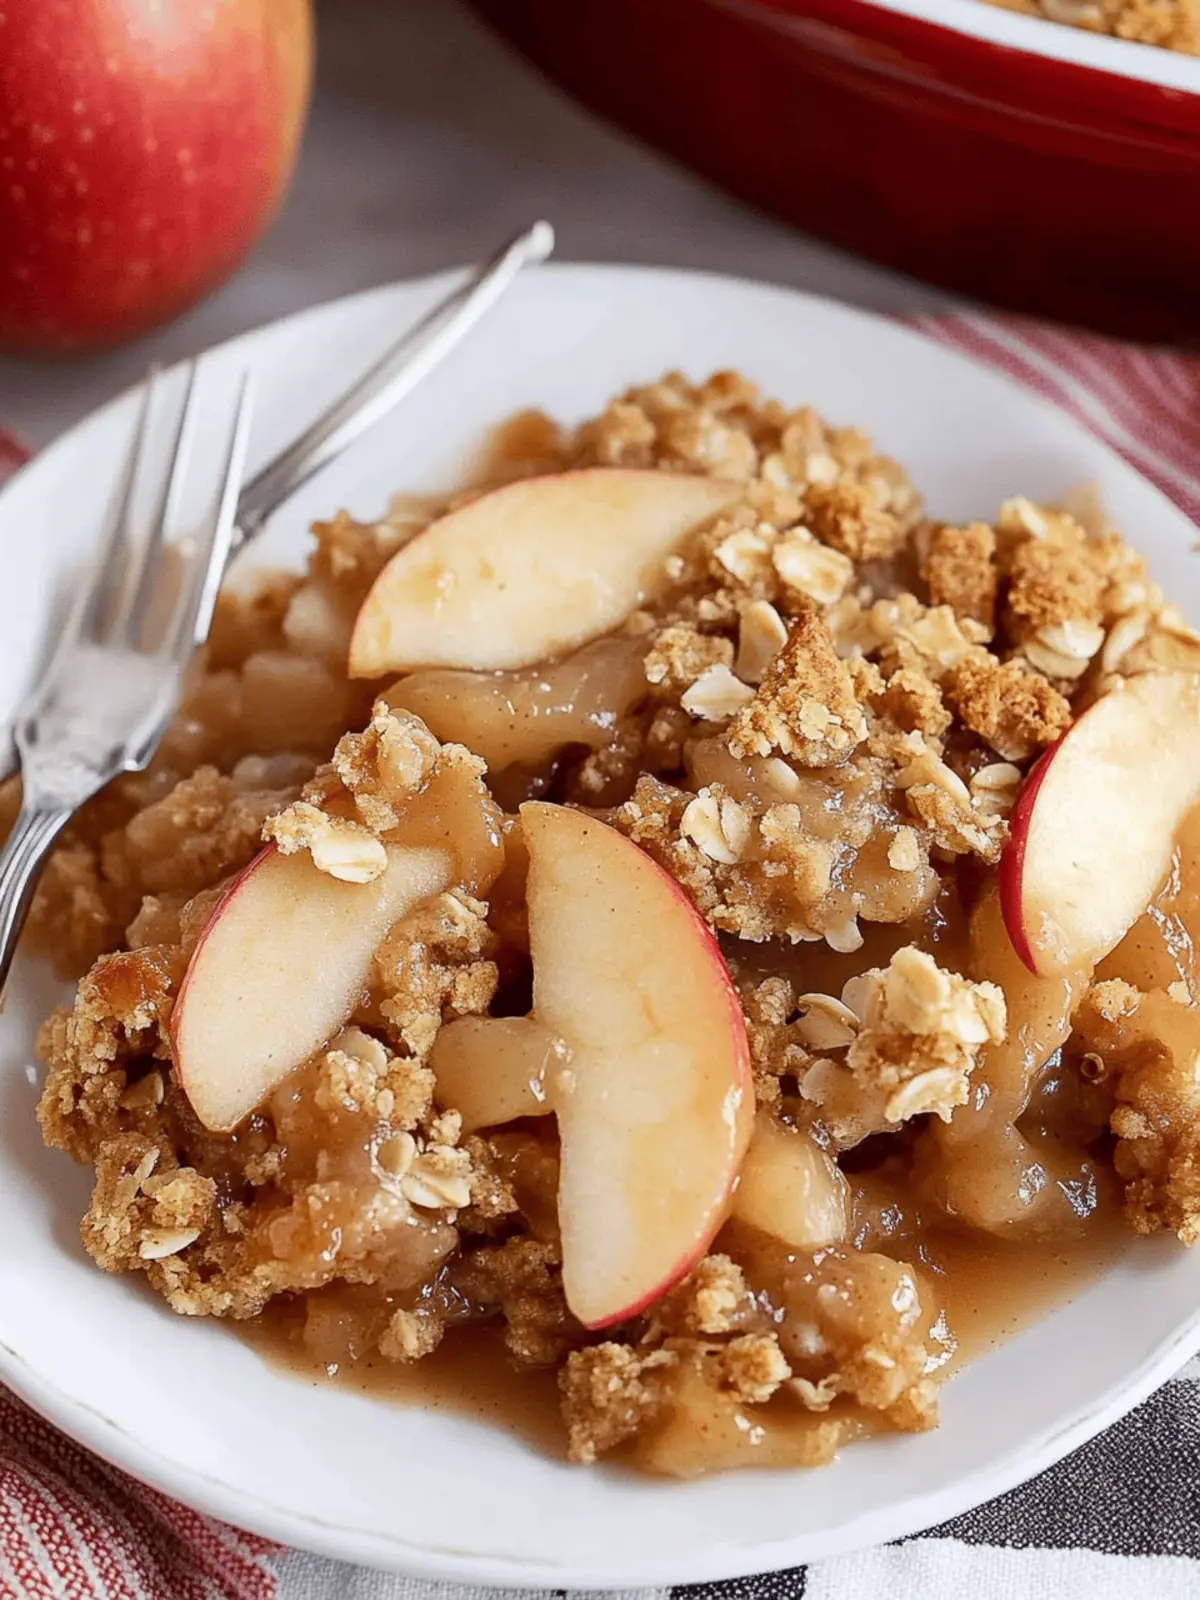
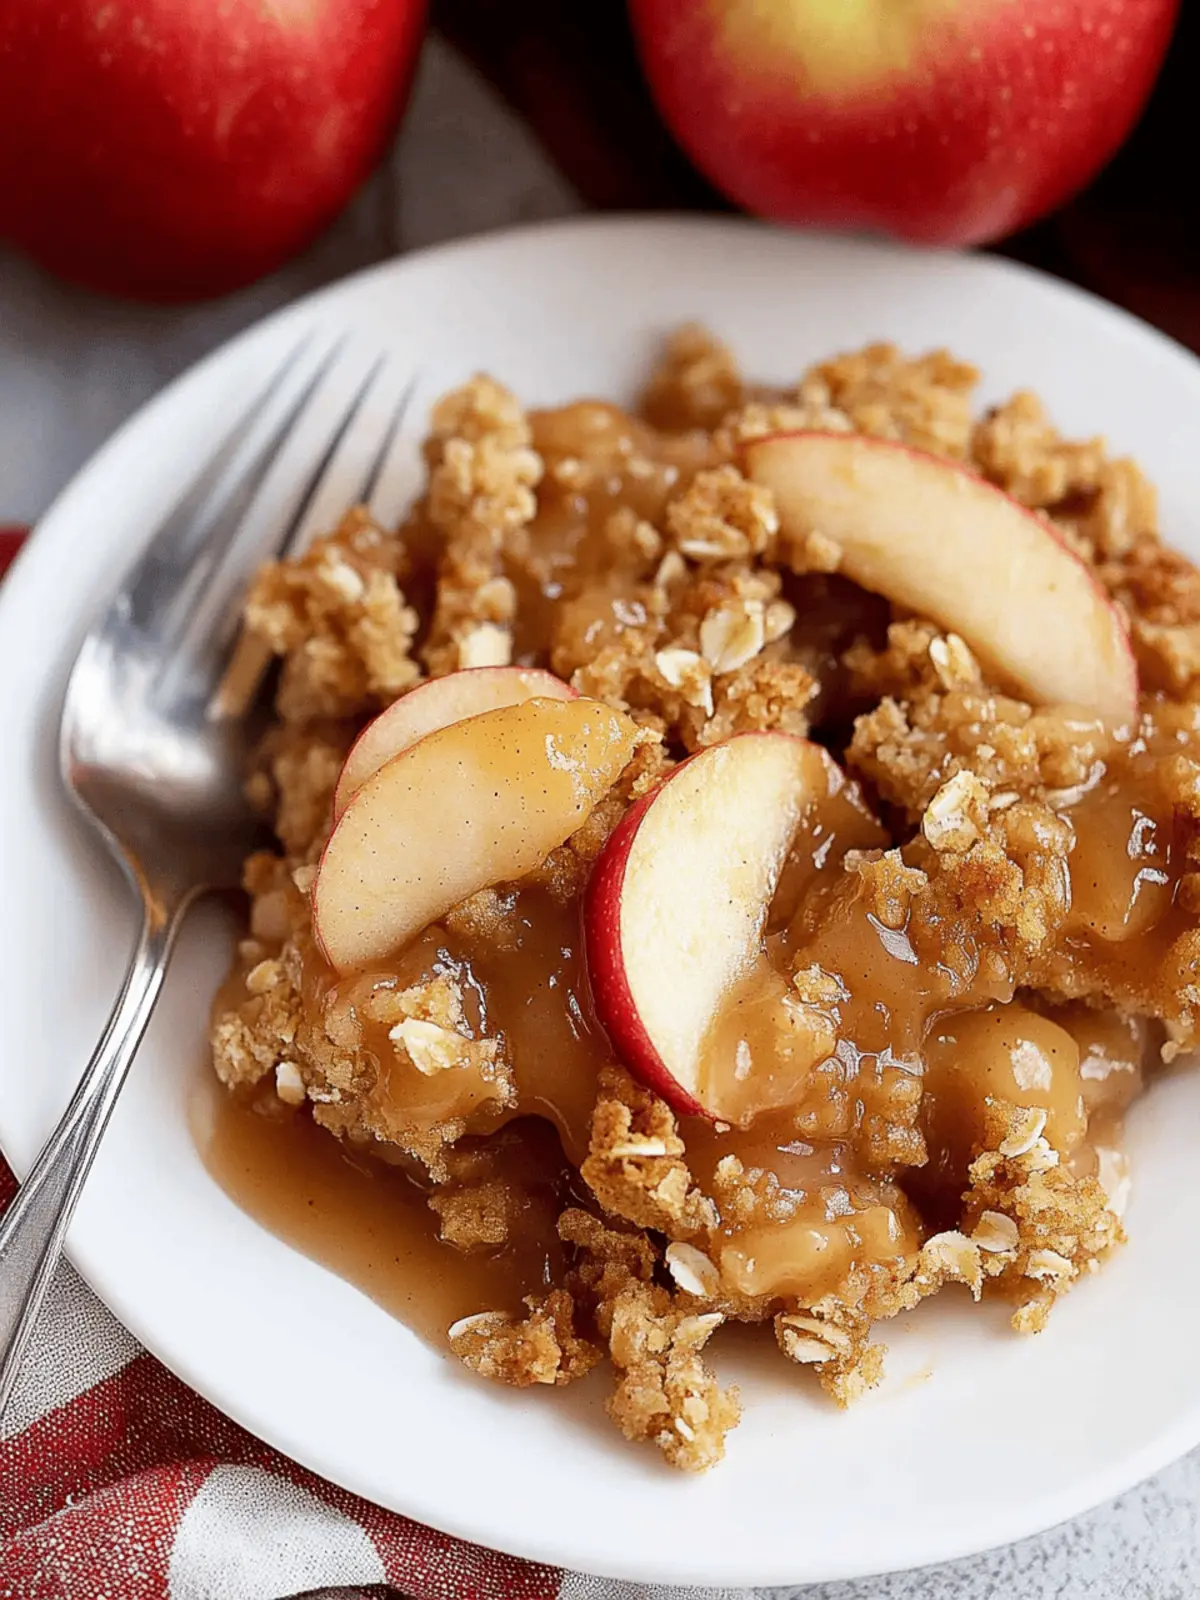
There’s something truly heartwarming about apple crisp, especially when the air turns crisp with the arrival of autumn. Picture this: the smell of cinnamon wafting through the kitchen, as tender, juicy apples mingle with a golden brown sugar-oat topping bubbling away in the oven. This isn’t just any dessert; it’s a nostalgic reminder of family gatherings and cozy evenings spent around the table.
Having stumbled upon this recipe during a rainy afternoon, I knew I’d struck gold. What makes this apple crisp particularly special is its ease—yes, even on a busy weeknight, you can whip up this classic dessert in no time. And let me tell you, the combination of warm, spiced apples topped with a crunchy, slightly chewy topping and a scoop of vanilla ice cream is pure bliss. Whether you’re preparing for a holiday feast or simply wanting to indulge in a sweet treat, this recipe promises to impress—and perhaps even become a beloved staple in your own kitchen. Let’s dive into the best apple crisp you’ll ever make!
Why is Apple Crisp a Must-Try Dessert?
Warmth and Comfort: Nothing says cozy like a bubbling dish of apple crisp fresh out of the oven, filling your home with the inviting aroma of cinnamon and baked apples.
Quick and Easy: With minimal prep and bake time, this straightforward recipe is perfect for busy weeknights or last-minute gatherings.
Customizable Goodness: Whether you prefer a nutty topping or want to throw in other fruits like berries, you can easily mix up the flavors to suit your taste.
Crowd Pleaser: Impress your friends and family—one bite into the crunchy topping and tender apples, and they’ll be asking for seconds!
Seasonal Delight: This classic dessert showcases fall’s favorite fruit, making it a go-to for autumn festivities, but it can be enjoyed year-round.
Apple Crisp Ingredients
Dive into this delightful homemade apple crisp with these easy-to-follow ingredients!
For the Topping
- All-Purpose Flour – Provides structure to the crisp topping; swap for gluten-free flour if needed.
- Old-Fashioned Oats – Adds heartiness and texture; quick oats can be used for a slightly different texture.
- Light Brown Sugar – Sweetens and enhances flavor depth; can substitute with granulated sugar for a milder taste.
- Salt – Balances and enhances all flavors in the topping.
- Ground Cinnamon – Infuses warmth and spice into both the topping and the apple filling.
- Unsalted Butter – Binds the topping while adding richness; use coconut oil for a dairy-free alternative.
For the Filling
- Peeled and Thinly Sliced Apples – The star of this dessert, tenderizing beautifully when baked; Honeycrisp and Fuji are excellent choices.
- Apple Juice – Adds flavor to the apple mix; consider orange juice for a zesty twist.
- Granulated Sugar – Sweetens the apples; adjust based on the natural sweetness of the apples used.
- Vanilla Extract – Introduces aromatic sweetness to the filling.
For Serving
- Vanilla Ice Cream – Complements the warm apple crisp perfectly, enhancing the dessert experience.
- Caramel Sauce – A delicious drizzle for those who like an extra touch of sweetness!
How to Make Apple Crisp
-
Preheat the Oven: Start by preheating your oven to 350°F (175°C). Grease a 9-inch deep dish pie plate or a 9×9 square baking dish to ensure your delicious creation doesn’t stick.
-
Prepare the Topping: In a mixing bowl, combine all-purpose flour, old-fashioned oats, light brown sugar, salt, and ground cinnamon. Stir in the melted unsalted butter and refrigerate for about 15 minutes for the mixture to firm up slightly.
-
Prepare the Filling: Toss the peeled and thinly sliced apples in a separate bowl with apple juice, granulated sugar, a bit of flour, ground cinnamon, and vanilla extract, ensuring each slice is coated well.
-
Assemble the Dish: Pour the apple mixture into your prepared baking dish, spreading it evenly. Crumble the chilled topping over the apples, pressing some pieces together to create clumps for that perfect crisp texture.
-
Bake: Cover loosely with foil and bake for 20 minutes to soften the apples. Then, remove the foil and bake for an additional 25-30 minutes, until the topping is golden brown and the juices are bubbling beautifully.
-
Cool and Serve: Allow it to cool for a few minutes before serving warm. It’s wonderful on its own or topped with vanilla ice cream for an indulgent treat.
Optional: Drizzle with caramel sauce for an extra delightful touch!
Exact quantities are listed in the recipe card below.
Make Ahead Options
These delightful apple crisp preparations are a lifesaver for busy home cooks! You can prepare the topping up to 24 hours in advance by mixing the flour, oats, brown sugar, salt, and cinnamon, then combining with melted butter and refrigerating it. Additionally, the apple filling can be prepped up to 3 days ahead—just toss the sliced apples in apple juice, sugar, flour, cinnamon, and vanilla, then store them in an airtight container in the refrigerator. When it’s time to bake, simply layer the apples in your baking dish, sprinkle the chilled topping over, and follow the baking instructions for perfectly warm, homemade apple crisp that’s just as delicious as if you made it on the spot!
How to Store and Freeze Apple Crisp
Fridge: Keep leftover apple crisp in an airtight container in the refrigerator for up to 3 days. Enjoy it warm or cold, making it a perfect snack or dessert option.
Freezer: For longer storage, freeze your apple crisp after it has cooled completely. Wrap it tightly in plastic wrap and then in foil to avoid freezer burn for up to 3 months.
Reheating: To reheat, place frozen apple crisp in the oven at 350°F (175°C) for about 30-40 minutes, or until warmed through. Consider topping with a scoop of vanilla ice cream for an extra treat!
Serving suggestion: Serve warm, possibly with a drizzle of caramel sauce, to experience the cozy deliciousness of this apple crisp right out of the oven!
Expert Tips for Apple Crisp
- Slicing Apples: Ensure your apples are sliced thin (¼ inch or thinner) for even tenderness and delicious caramelization as they bake.
- Mix and Match: Use a mix of sweet and tart apples for a balanced flavor that elevates your apple crisp to heavenly levels.
- Bake Covered: Cover your baking dish initially to encourage the apples to soften without over-browning the topping—remove the foil for a golden finish.
- Customize Topping: Experiment with different toppings, like using crushed nuts instead of oats for a gluten-free option, enhancing both flavor and texture.
- Storage: Store leftovers in an airtight container in the refrigerator; enjoy them warm or cold, perfect for a quick snack!
What to Serve with Apple Crisp?
Indulge in the comforting flavors of homemade desserts by pairing delightful accompaniments with your warm apple crisp.
-
Vanilla Ice Cream: A classic pairing, the cold creaminess contrasts beautifully with the warm, spiced apples. A scoop melts into the crisp, creating an irresistible sweet treat.
-
Caramel Sauce: Drizzling this over your apple crisp adds a rich, buttery flavor that enhances the sweetness, making every bite heavenly.
-
Whipped Cream: Light and airy, whipped cream adds a luscious finish to the crisp, balancing the texture with its creamy fluffiness.
-
Chai Tea: Sipping on a warm cup of chai while enjoying your apple crisp amplifies the cozy experience, with spices complementing the dessert’s flavors.
-
Crisp Salad: A fresh and zesty side salad can provide a refreshing contrast to the sweet and rich apple crisp, balancing the meal perfectly.
-
Roasted Nuts: Adding a handful of roasted nuts on the side or sprinkled atop the crisp can add crunch and a wonderful saltiness that offsets the sweetness.
-
Cinnamon Whipped Cream: Elevate your dessert with a touch of cinnamon in the whipped cream, perfectly mirroring the spices in the apple filling.
-
Sparkling Apple Cider: For a festive touch, serve sparkling apple cider alongside your apple crisp to make your dessert feel like a special occasion!
Apple Crisp Variations
Get ready to explore some exciting twists on this classic!
- Gluten-Free: Substitute all-purpose flour with a 1:1 gluten-free flour blend for a safe, delicious option.
- Nutty Crunch: Replace oats with crushed almonds or walnuts for added texture and flavor. Just remember, the nutty goodness will delight your taste buds!
- Mixed Fruits: Try adding sliced pears or cranberries to make your apple crisp fruity and vibrant; it’s a delightful seasonal twist!
- Spiced Up: Experiment by adding a dash of nutmeg or ginger to the apple mixture for extra warmth; it’s a wonderful flavor enhancement.
- Coconut Bliss: Swap out the unsalted butter with coconut oil for a tropical flair; it pairs beautifully with the apples!
- Berry Delight: Mix in fresh or frozen blueberries or strawberries with the apples for a burst of color and added sweetness.
- Sweet Maple: Instead of granulated sugar, use maple syrup to naturally sweeten the apple mixture; it adds a unique flavor and lovely aroma.
- Savory Spin: Add a pinch of sea salt and some crumbled bacon to the topping for a sweet-salty crunch; it’s definitely an adventurous option!
Best Apple Crisp Recipe FAQs
What type of apples are best for apple crisp?
For the best flavor and texture, I recommend using a combination of sweet and tart apples such as Honeycrisp, Pink Lady, and Fuji. These varieties soften beautifully during baking while retaining their shape, providing a wonderful contrast to the crunchy topping.
How should I store leftover apple crisp?
Absolutely! Store any leftover apple crisp in an airtight container in the refrigerator for up to 3 days. You can enjoy it warm by reheating it in the microwave or a conventional oven. The enticing aroma will surely make it tempting!
Can I freeze apple crisp?
Yes, you can freeze apple crisp for future enjoyment! After it has completely cooled, wrap it tightly in plastic wrap and then in foil to prevent freezer burn. It can last up to 3 months in the freezer. To reheat, bake it from frozen at 350°F (175°C) for about 30-40 minutes until warmed through. Don’t forget to serve it with vanilla ice cream for that extra special treat!
What if my topping gets too brown before the apples are tender?
Oh no, don’t worry! If you notice the topping browning too quickly during baking, simply cover the dish loosely with foil for the remainder of the baking time. This will allow the apples to soften without over-browning the topping. Make sure to remove the foil toward the end to achieve that beautiful golden finish!
Is this apple crisp suitable for gluten-free diets?
Certainly! To make this apple crisp gluten-free, simply substitute all-purpose flour with a gluten-free flour blend, and consider using gluten-free oats for the topping. It will still be deliciously crunchy and satisfying without any gluten!
Can I use other fruits in my apple crisp?
Yes! You can absolutely mix in other fruits such as cranberries for a fall twist, or peaches and blueberries for a summertime version. Just remember to adjust the sugar based on the sweetness of the additional fruits, as some might require less sweetening. Enjoy experimenting with flavors!

Irresistible Apple Crisp with Warm Brown Sugar-Oat Topping
Ingredients
Equipment
Method
- Preheat your oven to 350°F (175°C). Grease a 9-inch deep dish pie plate or a 9x9 square baking dish.
- In a mixing bowl, combine all-purpose flour, old-fashioned oats, light brown sugar, salt, and ground cinnamon. Stir in the melted unsalted butter and refrigerate for about 15 minutes.
- Toss the peeled and thinly sliced apples with apple juice, granulated sugar, a bit of flour, ground cinnamon, and vanilla extract.
- Pour the apple mixture into your prepared baking dish. Crumble the chilled topping over the apples.
- Cover loosely with foil and bake for 20 minutes, then remove the foil and bake for an additional 25-30 minutes.
- Allow to cool for a few minutes before serving warm, optionally with vanilla ice cream.


