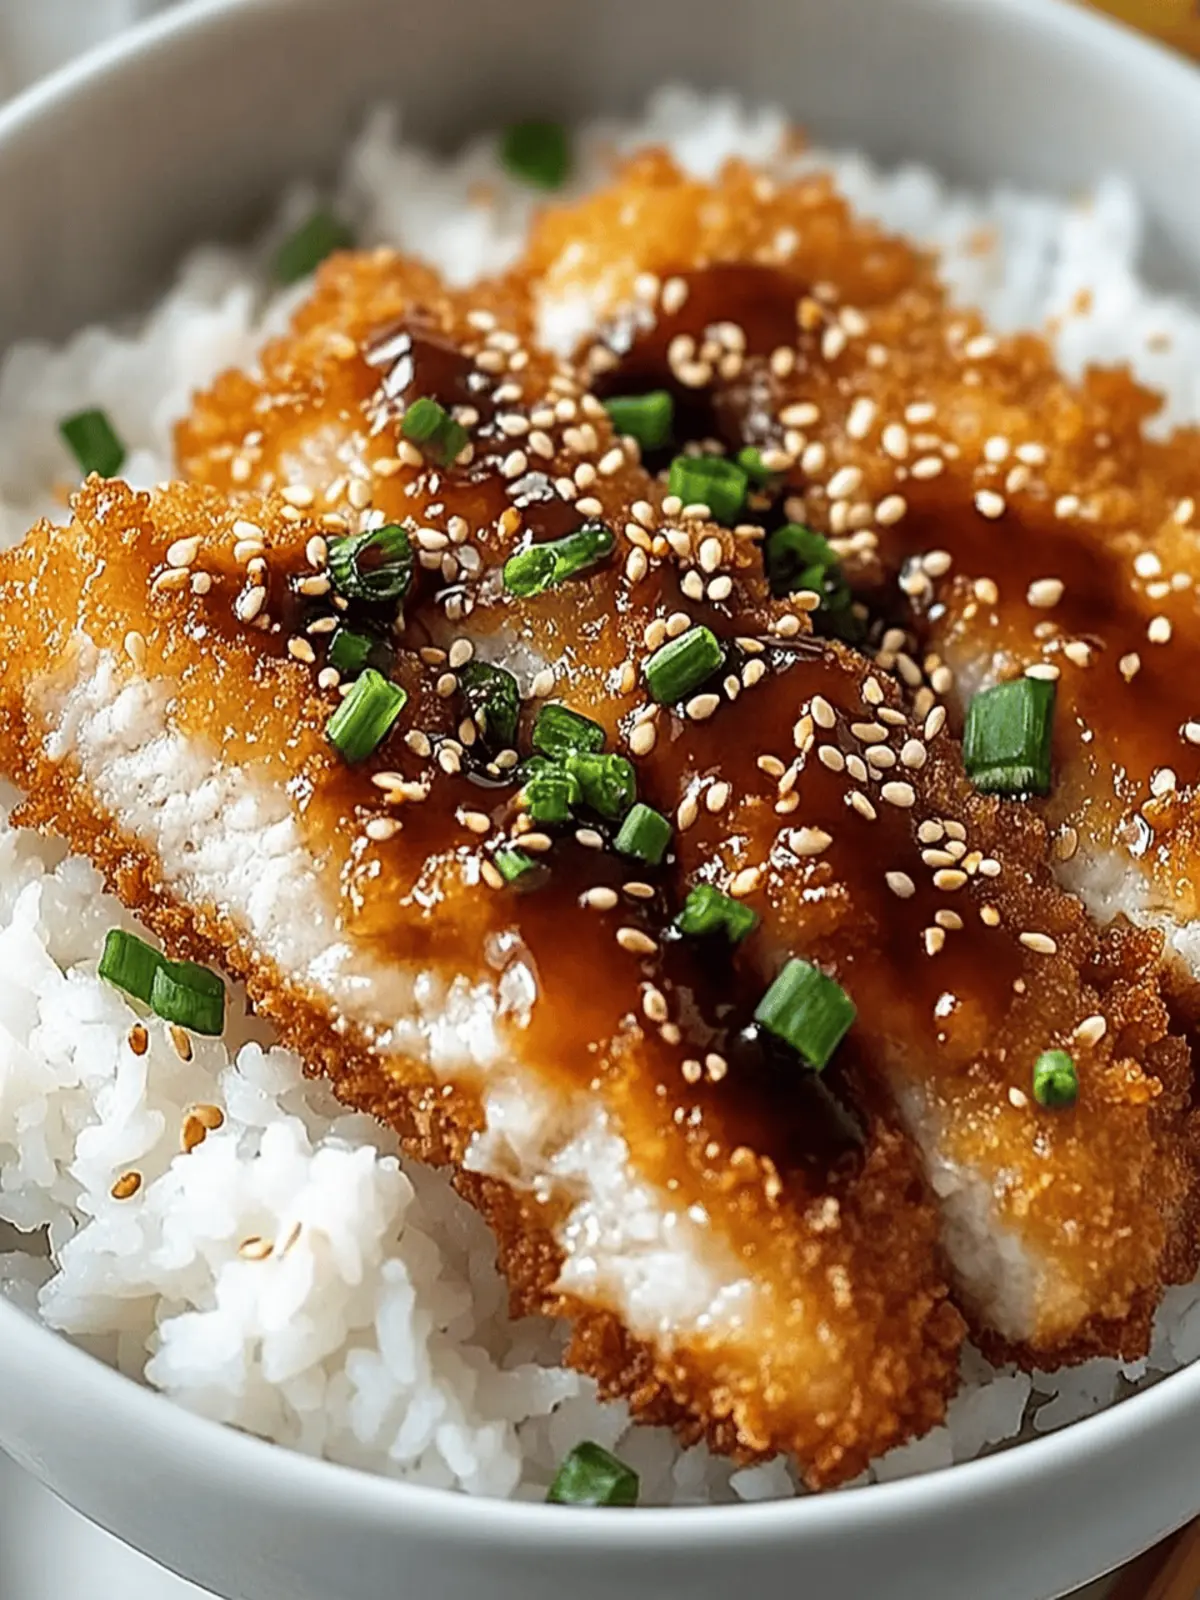
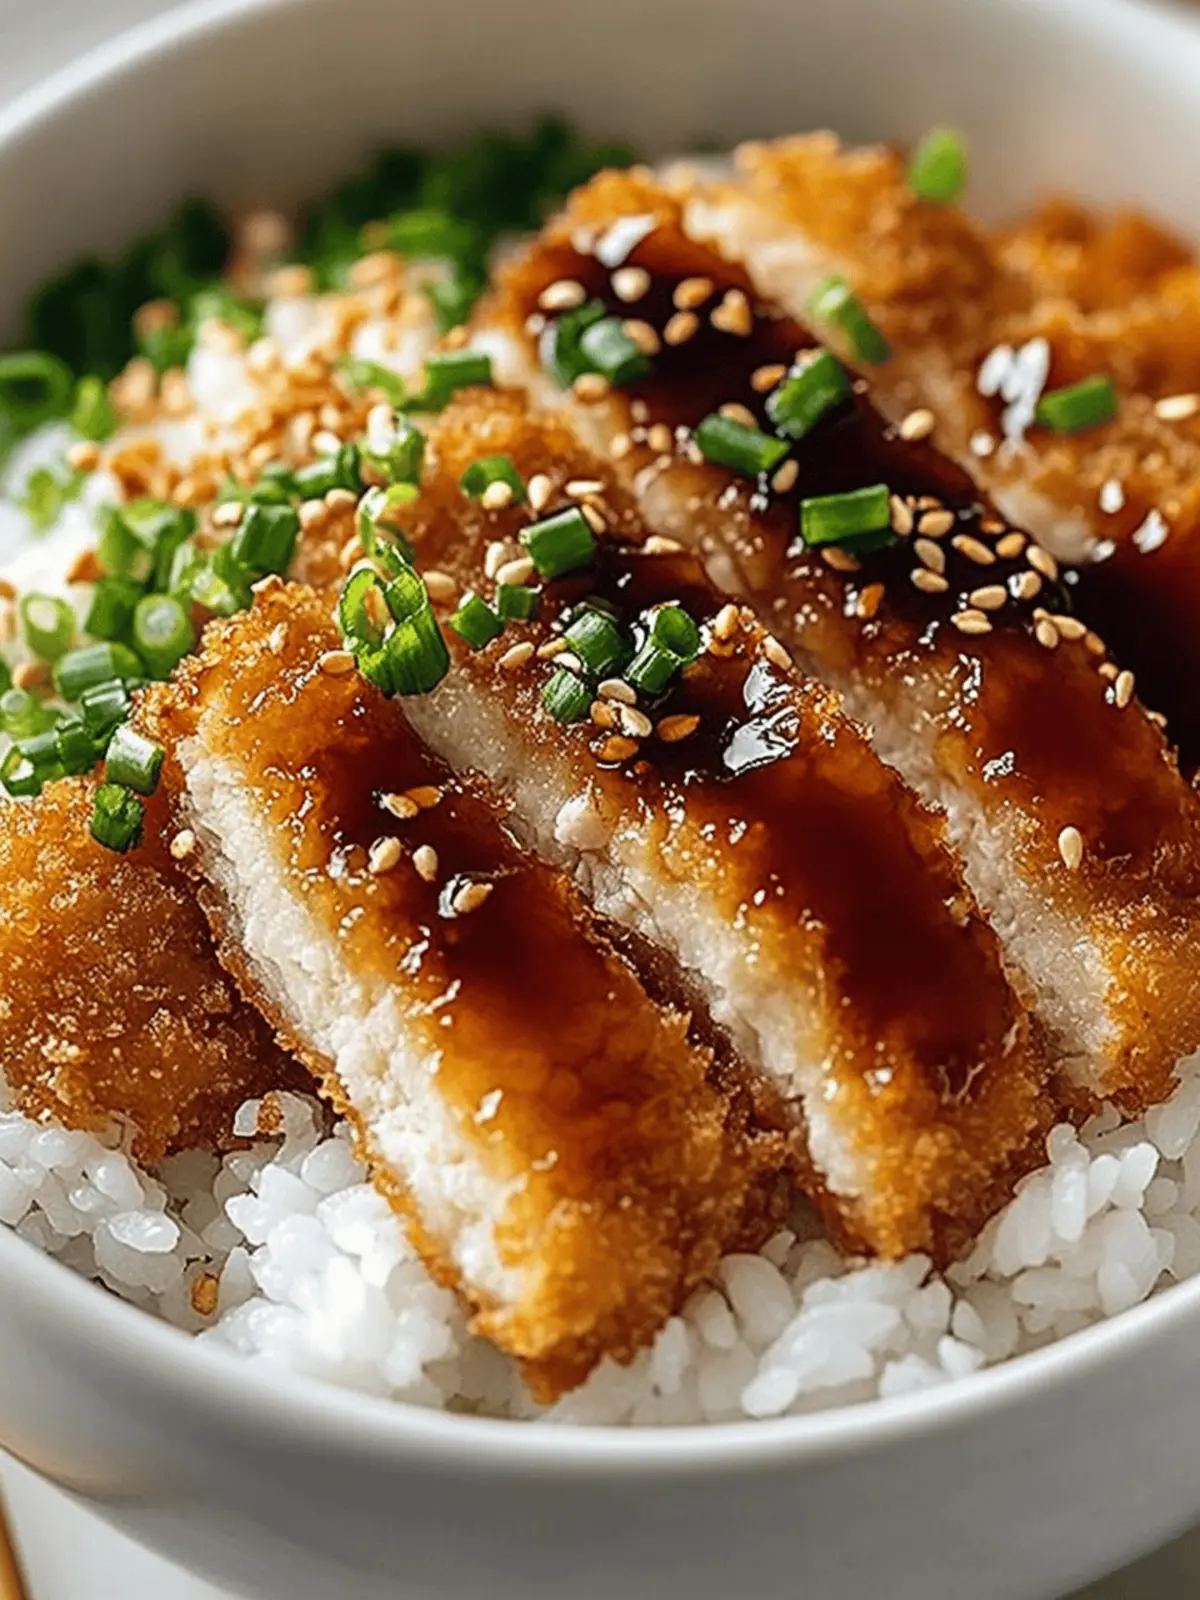
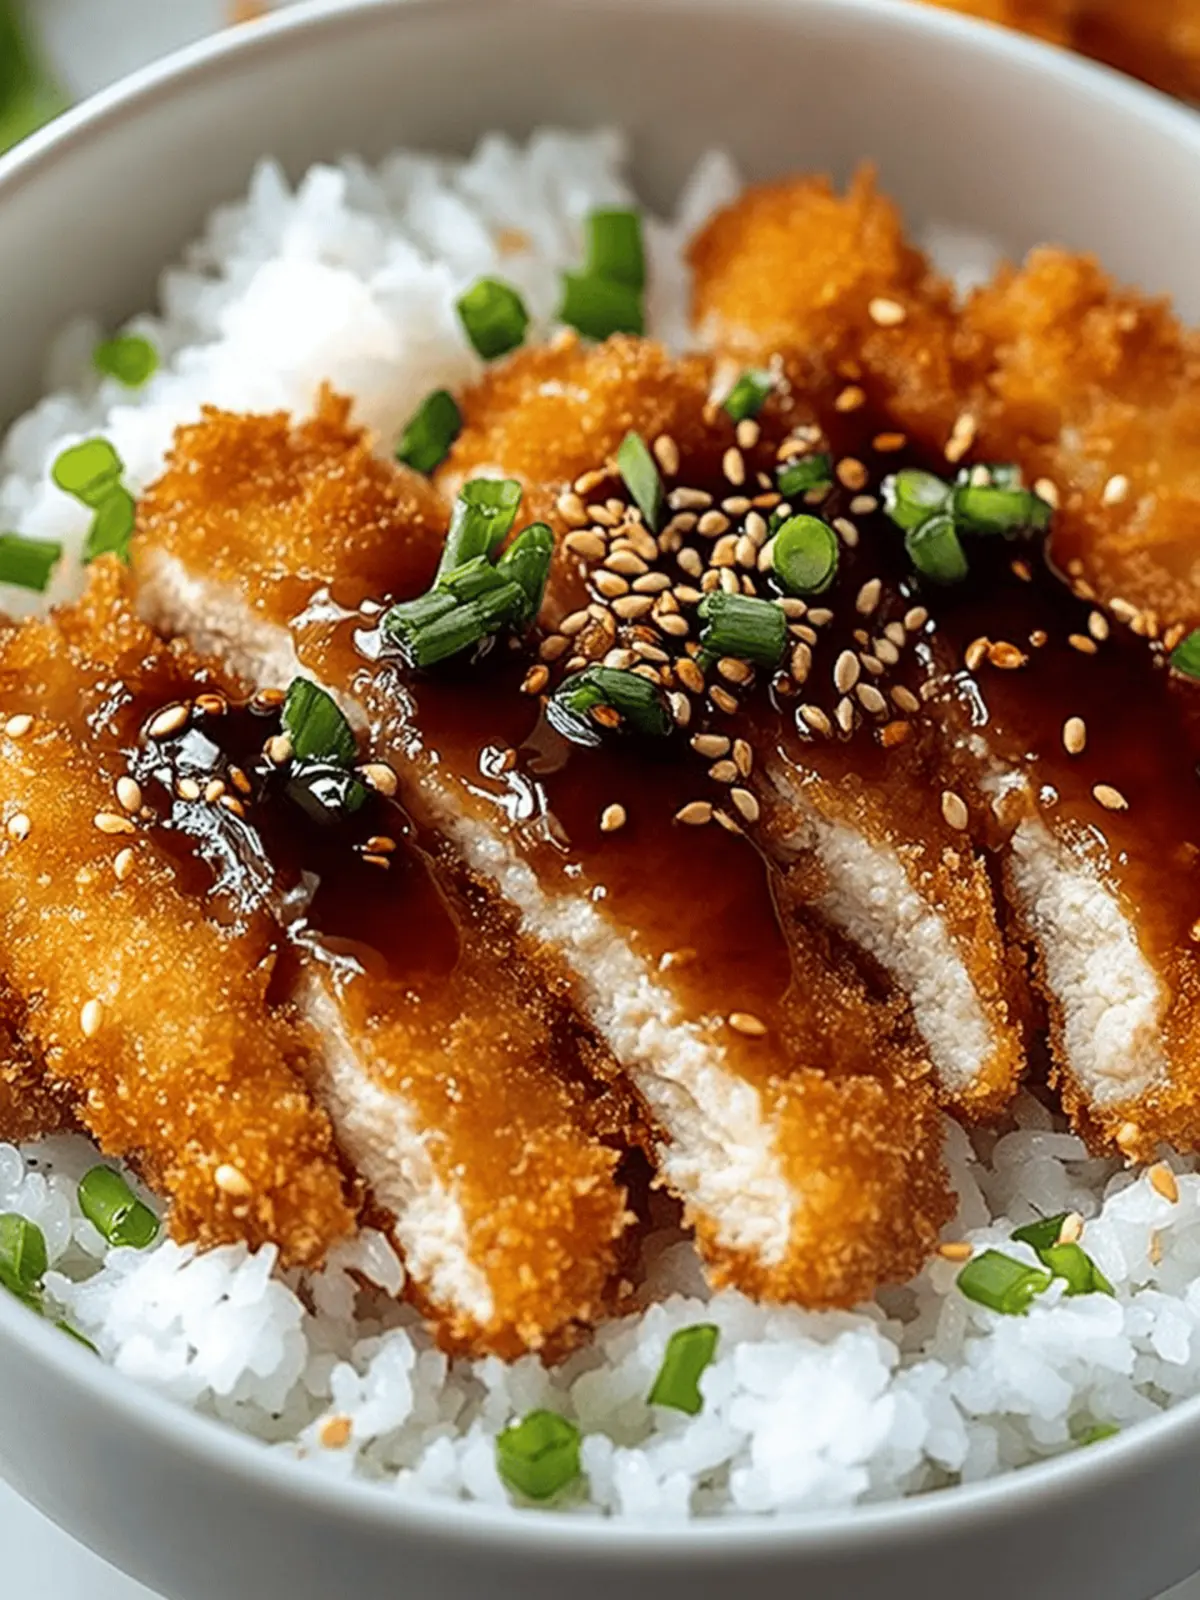
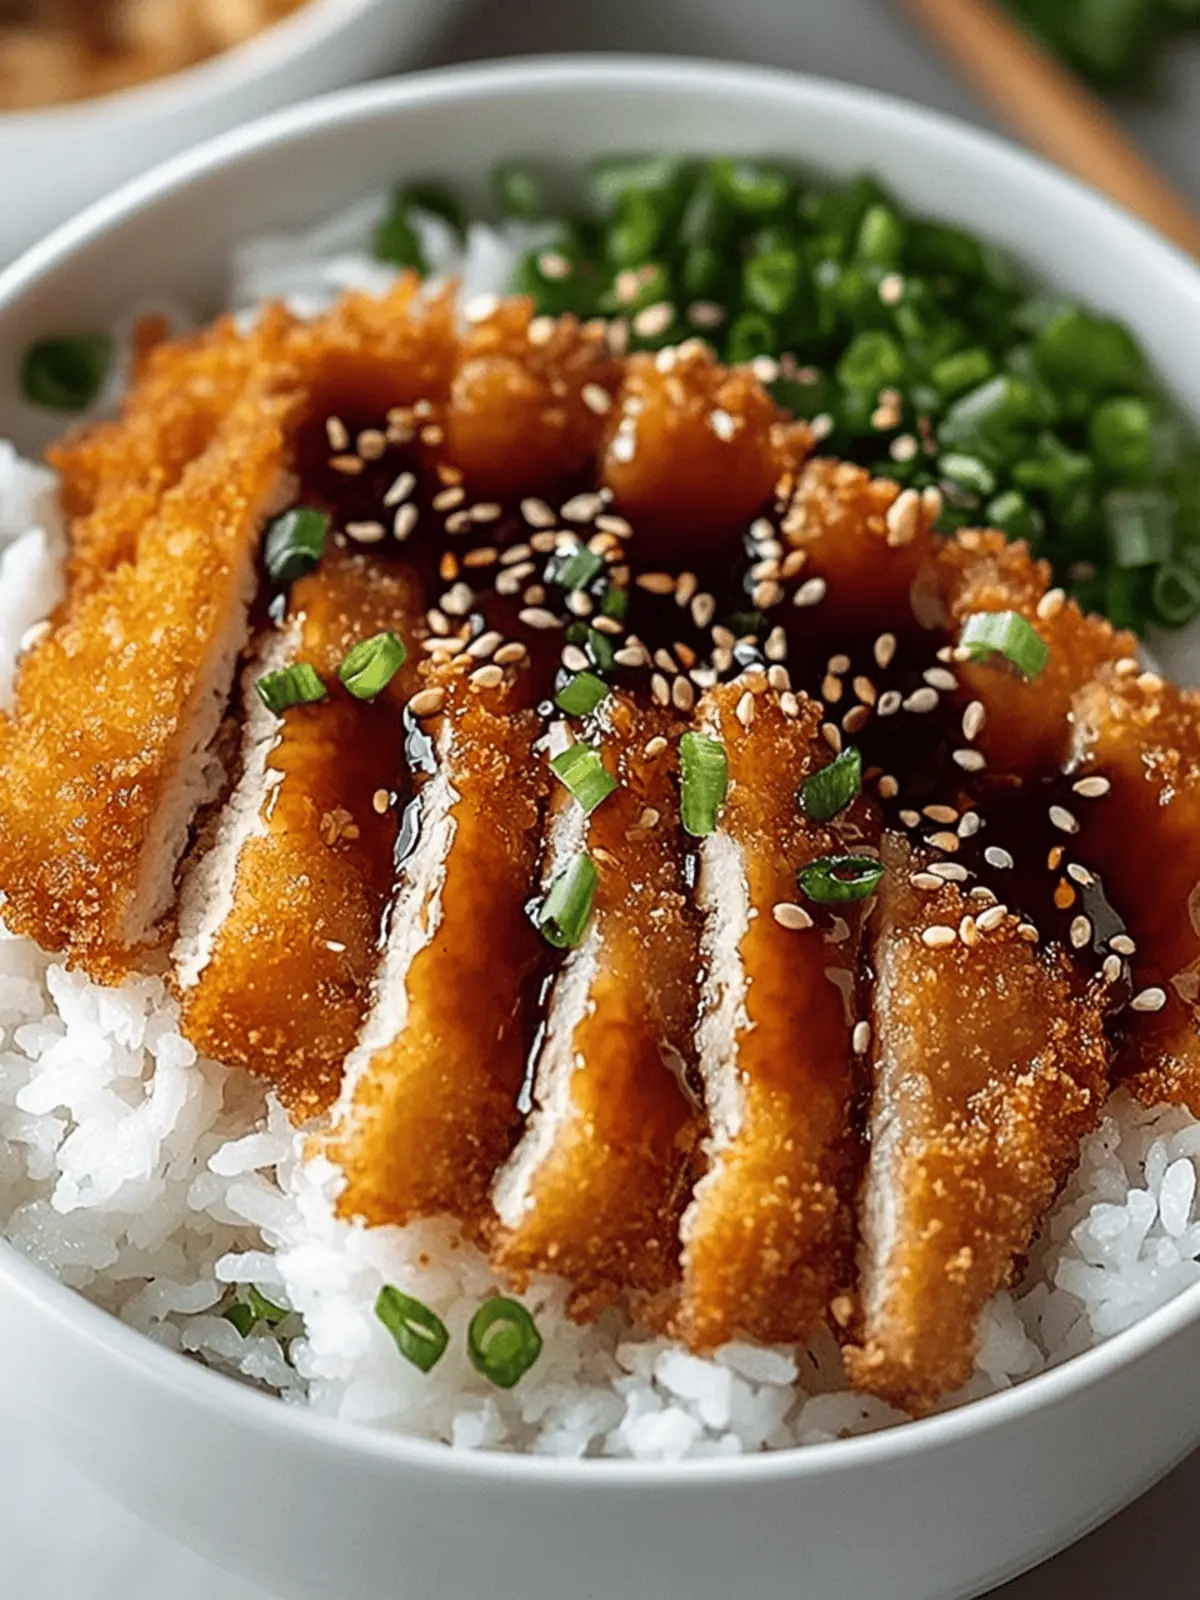
There’s something truly soul-soothing about the crunch of crispy chicken paired with tender rice in a Japanese Katsu Bowl. Just the thought of it brings back memories of cozy evenings spent in the kitchen, where the sizzle of frying cutlets fills the air, transforming a simple weeknight dinner into something extraordinary. When I discovered this dish, it felt like uncovering a hidden treasure; with its golden-brown chicken, savory tonkatsu sauce, and a sprinkle of fresh greens, it not only delights the eyes but also fills the heart.
What I love most about Katsu Bowls is their versatility—whether you prefer succulent chicken, tender pork, or even a vegetarian twist with eggplant or tofu, this dish adapts to your cravings. Perfect for busy nights or when you’re sharing comfort food with loved ones, these bowls will turn a mundane meal into a culinary adventure. Join me in whipping up this delightful dish that promises all the warmth of home cooking, with just a touch of Japanese flair!
Why are Japanese Katsu Bowls so irresistible?
Crispy Texture: Enjoy the satisfying crunch of golden-browned katsu, perfectly contrasted with tender rice.
Adaptable Flavors: Customize the protein to your liking—be it chicken, pork, or tofu—ensuring everyone’s happy.
Quick Dinner Solution: Prepare this comforting meal in under 30 minutes, making it ideal for busy weeknights.
Savory Sauce: The homemade tonkatsu sauce elevates each bite, infusing rich flavors that keep you coming back for more.
Visual Appeal: With fresh greens and a sprinkle of sesame, your plate will look as delightful as it tastes!
Embark on a heartwarming culinary journey with these Japanese Katsu Bowls that promise to please the palate.
Japanese Katsu Bowl Ingredients
• Discover the perfect elements to create your Japanese Katsu Bowls!
For the Katsu
- Chicken Breasts – The juicy main protein; swap for pork or tofu for variety.
- Salt and Pepper – Essential for enhancing the chicken’s natural flavors; adjust to your preference.
- All-Purpose Flour – Helps achieve that delectable crispy outer layer; gluten-free flour can be used instead.
- Large Eggs – Binds the breadcrumbs for a perfect texture; crucial for that signature coating.
- Panko Breadcrumbs – Provides a light and airy crunch; regular breadcrumbs can work in a pinch.
- Vegetable Oil – Ideal for frying; canola or peanut oil makes great substitutes.
For the Rice
- Japanese Short-Grain Rice – The fluffy base of the dish; sushi rice is a suitable alternative.
- Water – Essential for cooking the rice; adjust according to the rice type used.
- Rice Vinegar – Adds a delightful tang; apple cider vinegar can be used in its place.
- Sugar – Balances vinegar’s acidity; feel free to swap with honey for a natural sweetener.
- Salt – Enhances the flavor of the rice; adjust according to your taste.
For the Sauce
- Tonkatsu Sauce – Infuses the bowl with rich, savory flavor; store-bought options work great for convenience.
- Soy Sauce, Worcestershire Sauce, Ketchup – Together these ingredients add depth and complexity to your sauce; mix to your taste.
For the Garnish
- Shredded Cabbage – Adds freshness and crunch; coleslaw mix can be used as a quick substitute.
- Green Onions – Provide a sharp, fresh note; chives can offer a milder alternative.
- Sesame Seeds – A lovely garnish for texture; optional but enhances the presentation.
- Pickled Ginger – Adds a zesty contrast to your dish; completely optional but delightful.
With these ingredients on hand, you’re well on your way to crafting those irresistible Japanese Katsu Bowls!
How to Make Japanese Katsu Bowls
-
Rinse the Rice: Begin by rinsing your short-grain rice under cold water until it runs clear. This helps remove excess starch, leading to a fluffier texture. Soak the rinsed rice for about 30 minutes to enhance its chewiness.
-
Cook the Rice: In a pot, combine the soaked rice with water, then bring to a boil. Once boiling, cover the pot, lower the heat, and let it simmer for about 15 minutes. After cooking, let it rest for 10 minutes before mixing in rice vinegar, sugar, and salt for flavor.
-
Prepare the Chicken: While the rice is cooking, pound your chicken breasts to an even thickness and season them generously with salt and pepper. This will ensure every bite is flavorful and tender.
-
Dredge the Chicken: Set up a dredging station with three shallow dishes—one with flour, one with beaten eggs, and the other with panko breadcrumbs. Dredge each chicken breast in flour, dip in egg, and coat in panko, pressing gently to ensure it sticks.
-
Fry the Chicken: Heat a generous amount of vegetable oil in a skillet over medium-high heat. Once hot, carefully place the breaded chicken in the skillet. Fry for about 4-5 minutes on each side until golden brown and cooked through. Drain on paper towels before slicing into strips.
-
Make the Sauce: In a small bowl, combine the tonkatsu sauce, soy sauce, Worcestershire sauce, and ketchup. Mix well to create a rich, savory sauce that’s perfect for drizzling over your katsu.
-
Assemble the Bowl: To serve, place a generous scoop of fluffy rice in each bowl. Top with the sliced katsu, drizzle with your sauce, and finish with shredded cabbage and green onions for a burst of freshness.
Optional: Add a sprinkle of sesame seeds for extra crunch and visual appeal.
Exact quantities are listed in the recipe card below.
Make Ahead Options
These Japanese Katsu Bowls are wonderfully suited for meal prep, allowing you to enjoy homemade comfort without the last-minute rush! You can prepare the chicken katsu up to 24 hours in advance. Simply bread the chicken cutlets as directed, then refrigerate them uncooked. This not only saves time but also helps the coating adhere better when you fry them. Additionally, the rice can be cooked ahead and kept in the refrigerator for up to 3 days; just reheat gently before serving. To maintain freshness, store each component in airtight containers. When you’re ready to enjoy your Katsu Bowls, fry the chicken straight from the fridge for crispy, golden perfection, and serve topped with the flavorful sauce for a delightful meal made easy!
Expert Tips for Japanese Katsu Bowls
- Perfect Temperature: Ensure your oil is heated to 350°F (175°C) for those perfectly crispy katsu. A thermometer is a helpful tool here!
- Avoid Soggy Katsu: Don’t overcrowd the pan while frying; this can lower the oil temperature, leading to soggy cutlets. Fry in batches if needed.
- Use a Meat Thermometer: Check that chicken reaches an internal temperature of 165°F (75°C) for safe and delicious katsu bowls.
- Double Fry for Extra Crunch: For an even crunchier texture, consider double frying the katsu. Just let it rest between fryings for a few minutes!
- Adjust Your Flour: If using gluten-free flour, be sure to follow the specific directions on the package for the best results in your Japanese Katsu Bowls.
- Taste the Sauce: Don’t forget to taste your tonkatsu sauce and adjust with extra soy sauce, ketchup, or Worcestershire sauce to suit your flavor preference!
Japanese Katsu Bowls Variations & Substitutions
Feel free to make this recipe your own with these delightful twists that will add flavor and excitement!
-
Pork Alternative: Swap chicken for pork loin for a richer flavor. The juicy pork offers a heartwarming variation to this classic dish.
-
Tofu Delight: For a vegetarian option, use firm tofu, pressed and sliced. It absorbs sauces beautifully while providing a fulfilling texture!
-
Eggplant Twist: Replace chicken with eggplant slices for a savory, plant-based version. Bread the slices as you would with chicken for a delectable crunch.
-
Spicy Upgrade: Add sriracha or chili oil to the tonkatsu sauce for a spicy kick that elevates the taste profile to new heights. Your taste buds will thank you!
-
Avocado Creaminess: Top the katsu with fresh avocado slices for a creamy richness that pairs wonderfully with the savory flavors of the bowl.
-
Whole Grain Rice: Substitute white rice for brown rice to increase fiber and nutrients while still providing that fluffy texture. It’s a wholesome swap!
-
Fruit Garnish: Garnish with slices of pickled daikon radish for a refreshing tang that beautifully contrasts the rich katsu flavor. Unique and delicious!
-
Nutty Finish: Sprinkle chopped peanuts or cashews on top for an added crunch and a nutty flavor that enhances the overall dish experience.
Experimenting with these variations can turn each meal into a new adventure, bringing the essence of comfort and creativity right into your kitchen!
What to Serve with Japanese Katsu Bowls?
To create the ultimate dining experience with your katsu bowls, consider these delightful pairings that enhance every bite.
- Crispy Pickled Vegetables: They add a tangy crunch that beautifully contrasts the rich flavors of the katsu, refreshing your palate.
- Creamy Coleslaw: A light and creamy coleslaw brings a delightful crunch that complements the katsu’s crispy coating. The creaminess balances the savoriness, creating a harmonious bite.
- Miso Soup: Serve a warm bowl of miso soup to offer a comforting, umami-rich side that enhances the overall meal experience.
- Steamed Broccoli: This vibrant green adds a burst of color and nutrients to your meal, with a subtle earthy flavor that perfectly balances the savory katsu.
- Refreshing Cucumber Salad: A simple cucumber salad drizzled with soy sauce and sesame oil provides a refreshing crunch that brightens up the meal.
- Japanese Beer: Pair with light, crisp Japanese beer to enhance the flavors of your meal, offering a bubbly contrast to the crunchy katsu.
- Matcha Green Tea: For a unique twist, serve a chilled matcha green tea. Its earthy notes provide a refreshing cleanse after bites of rich katsu.
- Sesame Rice Balls: These bite-sized rice balls bring a nutty flavor while pairing well with the katsu, ideal for those who love a bit of extra texture.
Storage Tips for Japanese Katsu Bowls
- Fridge: Store leftovers in an airtight container in the refrigerator for up to 3 days. This keeps the flavors intact while preventing spoilage.
- Freezer: For longer storage, freeze the katsu and rice separately in airtight bags or containers for up to 2 months. This maintains their quality and texture well.
- Reheating: To restore crispiness, reheat the katsu in an oven or air fryer at 375°F (190°C) for 10-15 minutes. Microwave reheating can make it soggy, so avoid that if possible.
- Assembly Tip: It’s best to keep sauce and fresh vegetables like cabbage separate until you’re ready to serve; this way, your Japanese Katsu Bowls stay deliciously crisp and tasty!
Japanese Katsu Bowls Recipe FAQs
What type of chicken should I use for Japanese Katsu Bowls?
Absolutely, you can use boneless, skinless chicken breasts for the juiciest results! They’re easy to pound to an even thickness, ensuring even cooking. If you prefer a different protein, pork loin or even tofu are great substitutes. Just remember to adjust cooking times accordingly for thicker or denser proteins.
How should I store leftovers of my Japanese Katsu Bowls?
You can store leftovers in an airtight container in the refrigerator for up to 3 days. Just make sure the katsu and the rice are kept separate to maintain their textures. If you want to enjoy them beyond that, consider freezing them instead!
Can I freeze Japanese Katsu Bowls?
Yes, you can! To properly freeze, allow the chicken katsu and rice to cool completely. Place them in separate airtight containers or freezer bags. They can be frozen for up to 2 months. For best results, reheat the katsu in an oven or air fryer. This will help bring back its crispy texture!
What if my katsu isn’t crispy enough?
No worries! If your katsu lacks the desired crispiness, it might be due to the oil temperature being too low while frying. Ensure your oil is hot enough (about 350°F or 175°C) and avoid overcrowding the pan. If needed, double frying the katsu can also enhance crunchiness. Simply fry once, let it rest, and fry again!
Are Japanese Katsu Bowls suitable for gluten-free diets?
Very much so! By swapping out all-purpose flour and panko breadcrumbs with gluten-free alternatives, you can enjoy these bowls without worry. There are excellent gluten-free flours available, and many brands offer gluten-free panko. Just be sure to read the labels for any other ingredients that may contain gluten.
Can my pets enjoy any of the ingredients in Japanese Katsu Bowls?
While some ingredients like plain chicken can be safe for dogs, avoid feeding them seasoned or fried items. It’s best not to share any of the sauces, as ingredients like soy sauce and onion are harmful to pets. Always consult with your veterinarian before introducing new foods to your pet’s diet!

Savor Homemade Japanese Katsu Bowls for Ultimate Comfort
Ingredients
Equipment
Method
- Rinse the Rice: Begin by rinsing your short-grain rice under cold water until it runs clear. Soak the rinsed rice for about 30 minutes.
- Cook the Rice: In a pot, combine the soaked rice with water, bring to a boil, cover, lower heat, and simmer for about 15 minutes. Let it rest for 10 minutes before mixing in rice vinegar, sugar, and salt.
- Prepare the Chicken: Pound your chicken breasts to an even thickness and season with salt and pepper.
- Dredge the Chicken: Set up a dredging station with flour, beaten eggs, and panko breadcrumbs. Dredge each chicken breast in flour, dip in egg, and coat in panko.
- Fry the Chicken: Heat vegetable oil in a skillet over medium-high heat. Fry the breaded chicken for about 4-5 minutes on each side until golden brown. Drain on paper towels before slicing into strips.
- Make the Sauce: In a small bowl, combine the tonkatsu sauce, soy sauce, Worcestershire sauce, and ketchup. Mix well.
- Assemble the Bowl: Place a scoop of rice in each bowl, top with sliced katsu, drizzle with sauce, and finish with cabbage and green onions.
- Optional: Add sesame seeds for extra crunch.


