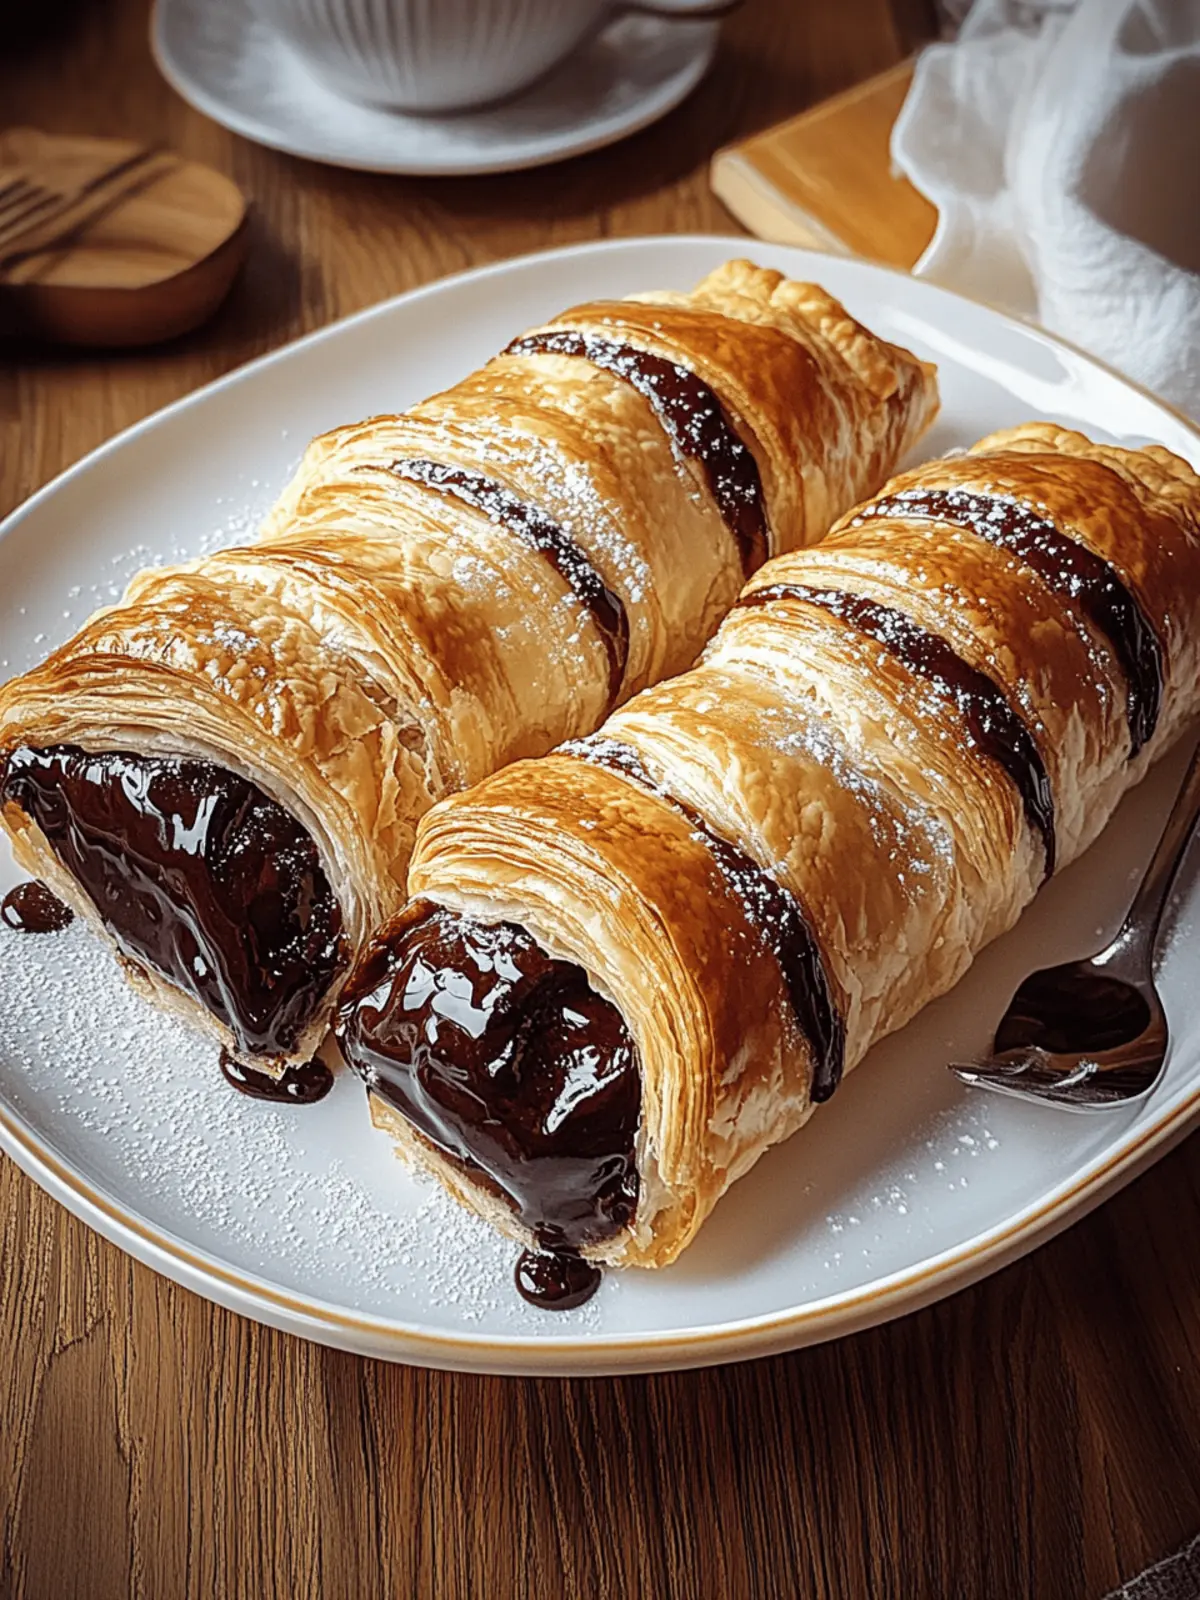
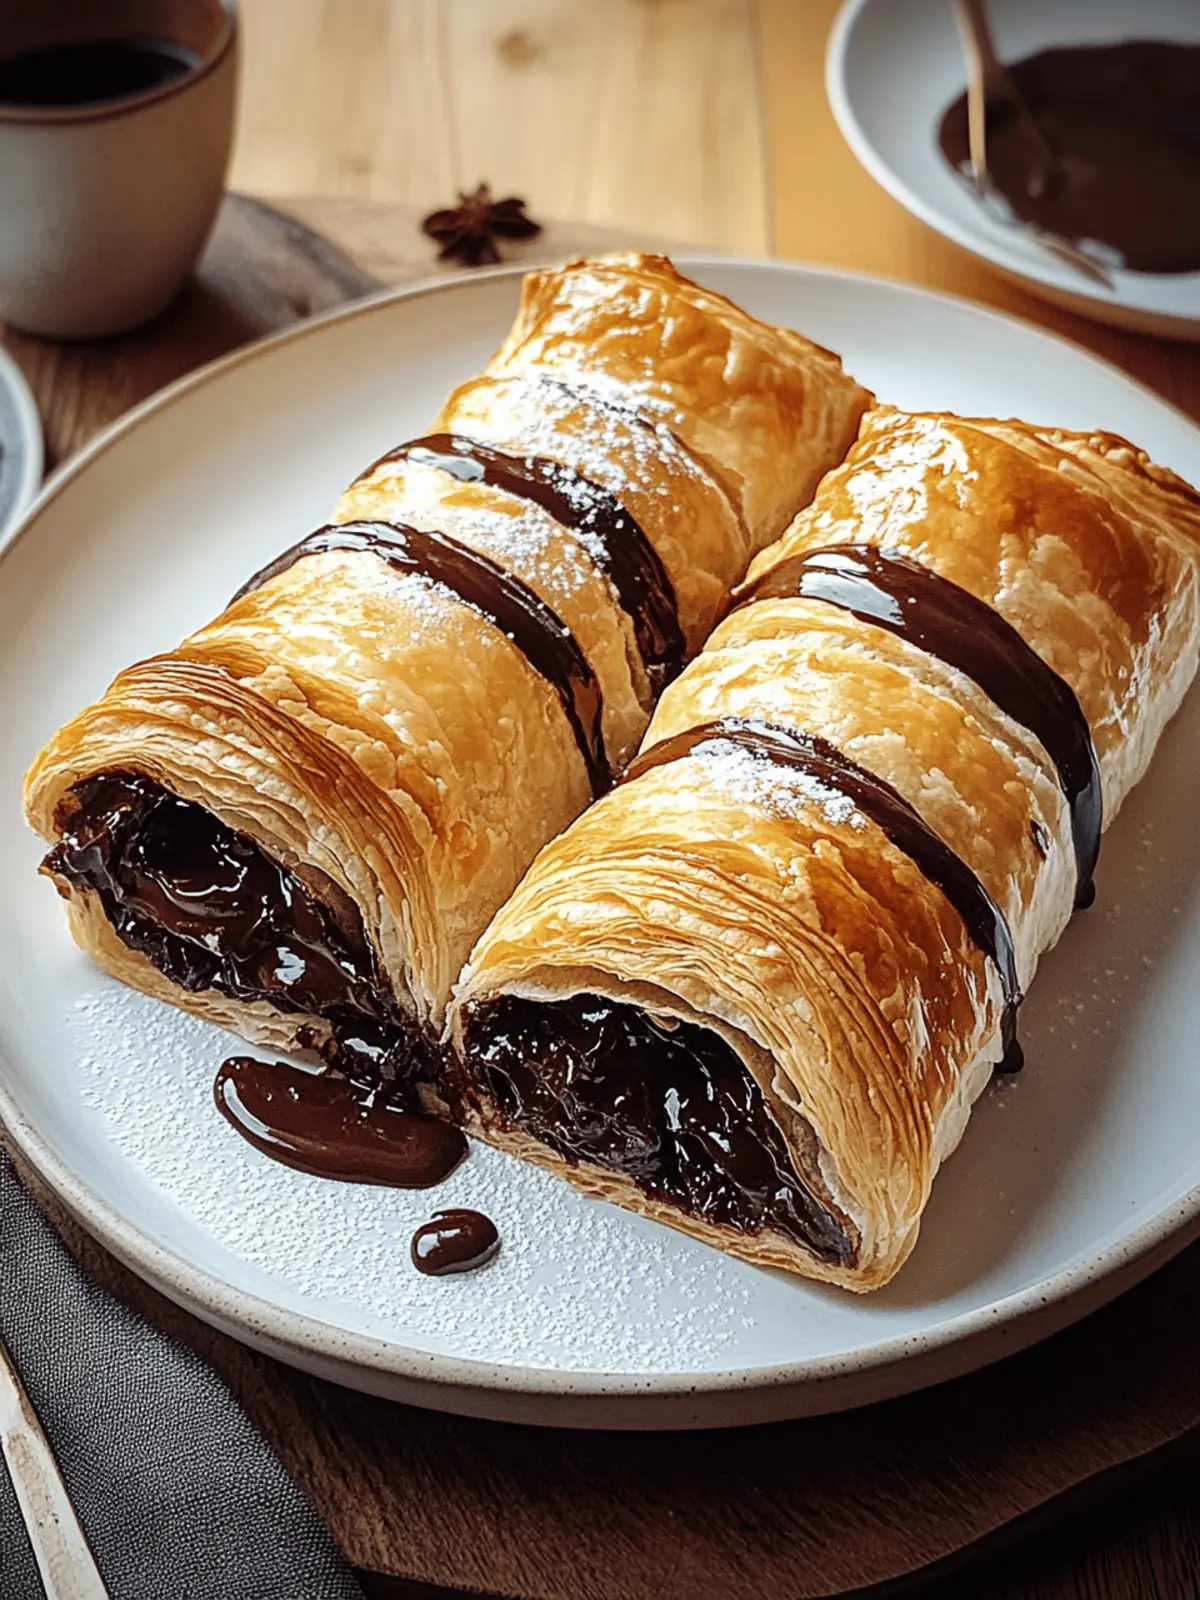
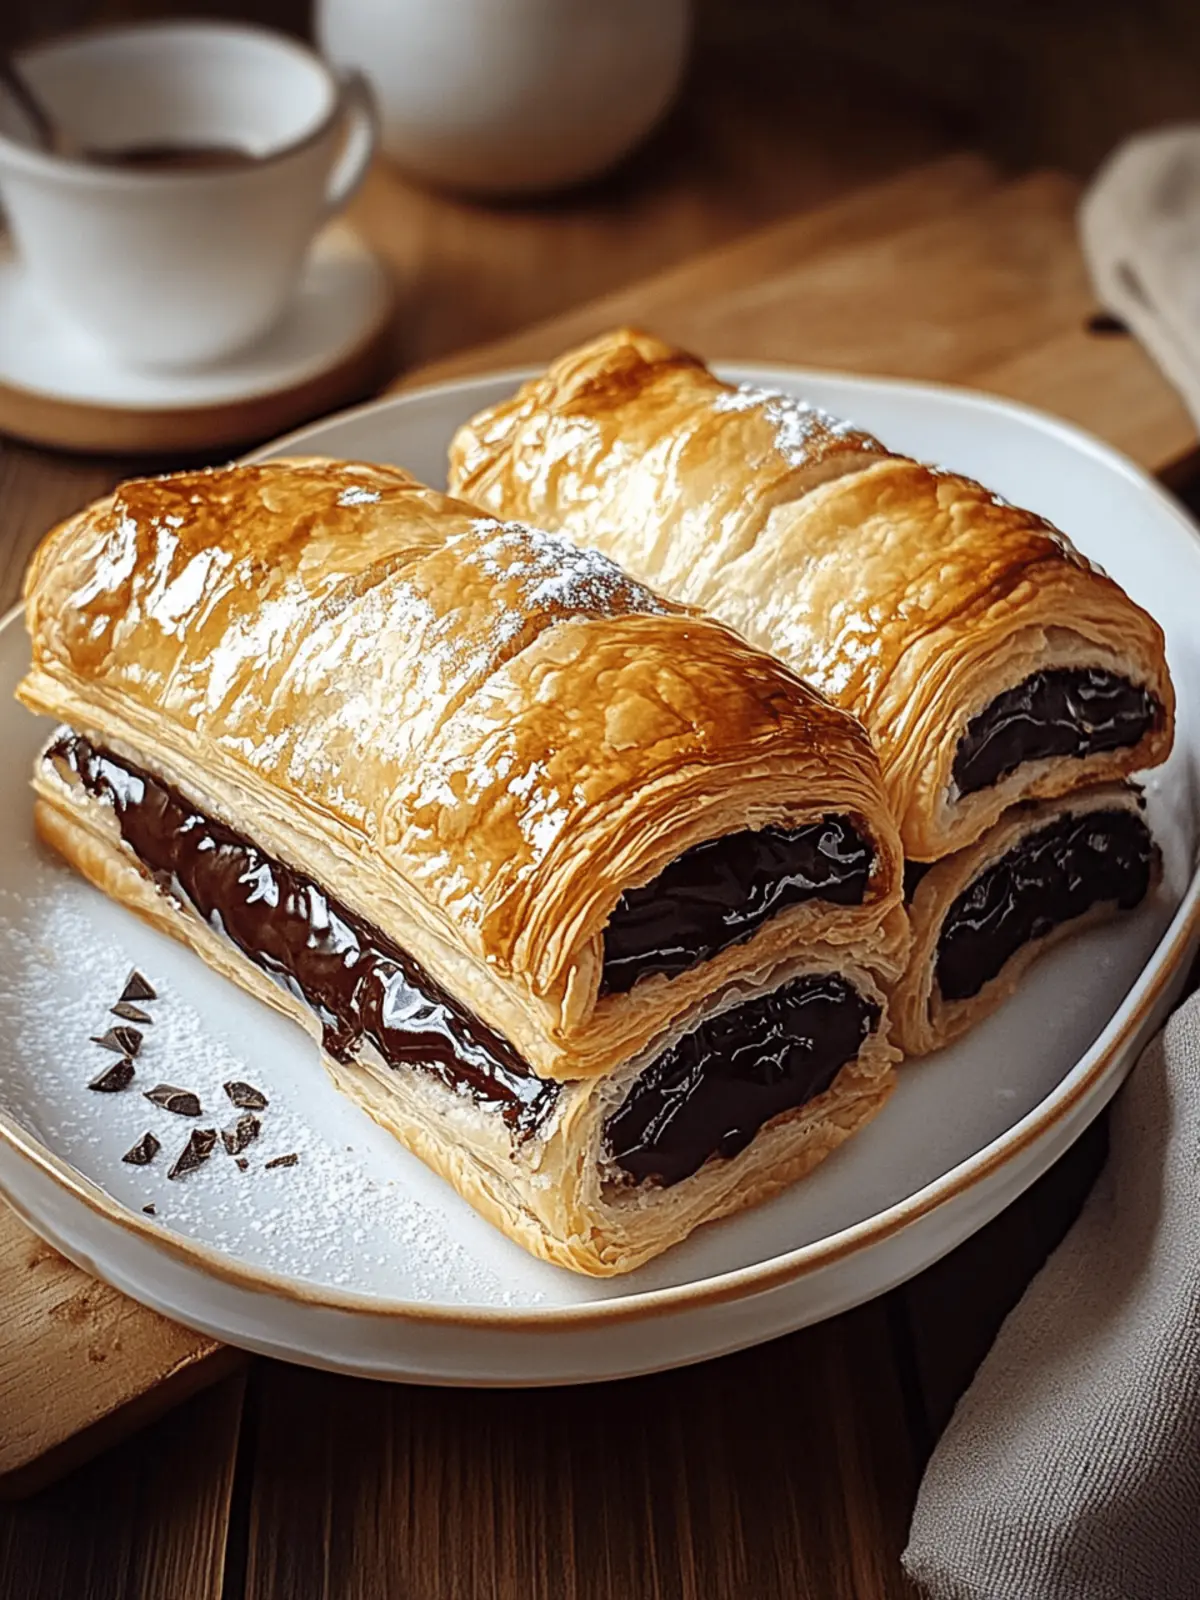
There’s something undeniably enchanting about the sound of a golden pastry crust as it puffs perfectly in the oven, releasing the intoxicating aroma of melted chocolate. I can’t help but smile every time I prepare these Easy Chocolate Puff Pastries, a delightful dessert that’s perfect for any occasion or even just an indulgent night in. Thanks to store-bought puff pastry, this recipe is a game-changer, allowing anyone—from novice cooks to seasoned chefs—to create an impressive treat in just 40 minutes.
Whether you’re using dark, milk, or white chocolate, this dessert invites a world of customization. Imagine biting into a flaky pastry that gives way to a warm, gooey chocolate center, possibly enhanced with hazelnuts or fresh berries. It’s a versatile delight that transforms any sweet craving into a moment of pure joy, leaving your guests wondering if you’ve been slaving in the kitchen for hours. Let’s indulge ourselves in this easy and decadent adventure!
Why is Chocolate Puff Pastry a Must-Try?
Decadent Indulgence: Rich chocolate embraced by flaky pastry creates a dessert that’s pure delight.
Quick and Easy: Use store-bought puff pastry to skip the hassle, making this recipe accessible for everyone.
Customizable Creations: With options for dark, milk, or white chocolate, plus extra fillings like berries or hazelnuts, you can tailor this treat to your taste.
Crowd-Pleasing Appeal: Perfect for gatherings, this impressive dessert will have friends and family raving.
Gourmet Touch: Despite its simplicity, each bite feels luxurious, providing a touch of elegance to your dessert table.
Chocolate Puff Pastry Ingredients
For the Pastry
• Store-bought puff pastry – A convenient option that provides the flaky texture you crave without the fuss.
• Egg (for egg wash) – Helps achieve that beautiful golden finish; can be swapped with a milk wash for a vegan option.
For the Filling
• Chocolate (dark, milk, or white) – The star of the show, lending sweetness and richness to your pastry; feel free to get creative with your favorite kind!
Optional Additions
• Sugar (for sprinkling) – Enhances the sweetness on the crust; adjust according to your taste preference.
• Vanilla extract – Adds depth of flavor; skip if you prefer a more straightforward chocolate treat.
• Salt – A pinch enhances the flavors; a little goes a long way!
• Hulled hazelnuts or berries – Add these for a delightful texture and burst of flavor to complement the chocolate.
• Powdered sugar (for dusting) – Not essential, but sprinkles of this add an elegant touch before serving.
Elevate your dessert experience with this Chocolate Puff Pastry that’s as easy as it is indulgent!
How to Make Chocolate Puff Pastry
-
Preheat Oven: Start by setting your oven to 400°F (200°C). This high temperature is key to achieving that perfectly crisp pastry finish!
-
Prepare Puff Pastry: Unroll the store-bought puff pastry and slice it into 4-5 rectangles. Ensure you’re working on a lightly floured surface to prevent sticking.
-
Melt Chocolate: In a microwave or a double boiler, melt your choice of chocolate until smooth. If desired, mix in a bit of vanilla extract and a pinch of salt for added flavor.
-
Assemble Pastries: Using a spoon, place about 1 tablespoon of the melted chocolate onto the center of each rectangle, making sure to leave an edge for sealing.
-
Seal Pastry: Gently fold each pastry over the chocolate filling, pressing down the edges to create a seal. For a decorative touch, crimp the edges with a fork.
-
Apply Egg Wash: Brush the tops of the pastries with the beaten egg for a beautiful golden color. If you’d like, sprinkle a little sugar over them for added sweetness.
-
Bake: Place the pastries on a lined baking sheet and bake in the preheated oven for 20-25 minutes, or until they turn golden brown and puffed.
-
Cool and Serve: Once baked, allow your pastries to cool on a wire rack. Just before serving, consider dusting with powdered sugar for a lovely finish.
Optional: Serve warm with dipping sauces like chocolate or caramel for an extra-special treat.
Exact quantities are listed in the recipe card below.
What to Serve with Chocolate Puff Pastry?
Indulge your senses and elevate your dessert experience with these delightful pairings to complement the rich, flaky treat.
-
Fresh Berries: The tartness of strawberries or raspberries cuts through the richness, adding a burst of freshness to every bite.
-
Vanilla Ice Cream: Creamy and cold, a scoop of vanilla ice cream perfectly contrasts the warm chocolate pastry, creating a blissful balance of temperatures and textures.
-
Chocolate Sauce: Drizzling silky chocolate sauce over the warm pastries enhances the chocolate flavor, creating an indulgent moment that’s oh-so-satisfying.
-
Caramel Drizzle: Sweet, sticky caramel adds a beautiful contrast to the chocolate’s richness, and the elegance of its golden hue upgrades your dessert presentation.
-
Hazelnut Spread Dip: A sweet hazelnut spread for dipping introduces new layers of flavor, marrying the nutty and chocolaty profiles beautifully.
-
Espresso: A bold shot of espresso alongside the sweet pastries provides an exquisite coffee contrast, perfect for lifting the richness and enhancing enjoyment.
-
Whipped Cream: Light and airy whipped cream adds a decadent touch, inviting the chocolate and pastry flavors to shine through.
-
Mint Tea: The refreshing mint infusion cleanses the palate with every sip, making it an ideal beverage pairing with the indulgent pastry.
These pairings will not only enhance your experience of the Chocolate Puff Pastry but also create a delightful dessert spread for any occasion.
Expert Tips for Chocolate Puff Pastry
-
Chill the Pastry: Keep your puff pastry cold before baking; this helps it puff up beautifully and prevents it from becoming too soft.
-
Avoid Overfilling: Be cautious not to overfill the pastries with chocolate. Too much filling can cause leaks during baking, ruining your chocolate puff pastry.
-
Seal Well: Ensuring the edges are tightly sealed is crucial for preventing the chocolate from escaping in the oven. Use a fork to crimp for added security.
-
Check Doneness: Keep an eye on the baking time; start checking your pastries a few minutes early to avoid overbaking and drying them out.
-
Flavor Variations: Experiment with different chocolate types or add ingredients like berries or hazelnuts to create unique variations of this delightful dessert.
-
Serving Warm: Chocolate puff pastries are best served warm. If reheating leftovers, pop them back into the oven for a few minutes to regain their flaky texture.
Make Ahead Options
These Chocolate Puff Pastries are perfect for meal prep enthusiasts! You can prepare the pastry components up to 24 hours in advance by assembling the pastries and placing them on a lined baking sheet. Cover them with plastic wrap to prevent drying out in the refrigerator. When you’re ready to serve, simply brush them with the egg wash and bake straight from the fridge for about 25-30 minutes, ensuring they achieve that golden, flaky texture. This method not only saves you time but also keeps the pastries just as delicious and flaky. Enjoying a gourmet dessert has never been easier, even on your busiest days!
Chocolate Puff Pastry Variations
Feel free to explore delightful twists and turns with your chocolate puff pastries! Each variation offers a new layer of taste and experience.
-
Nutty Delight: Swap out chocolate for a mix of hazelnut spread and chopped nuts for a crunchy, creamy treat. The combination takes each bite to the next level!
-
Berry Burst: Add fresh or frozen berries along with the chocolate to introduce a tangy contrast. Think of the bright flavors bursting in your mouth with each flaky piece.
-
Caramel Swirl: Drizzle caramel sauce inside before sealing the pastries, adding sweetness that perfectly complements the chocolate. This indulgent touch will have everyone coming back for more!
-
Spicy Kick: For an adventurous twist, add a pinch of cayenne pepper to your melted chocolate, giving your pastries a surprising heat that balances beautifully with the sweetness.
-
Citrus Zest: Mix in a bit of orange or lemon zest into the chocolate for a refreshing, zesty flavor that cuts through the richness, providing a bright note to your dessert.
-
Dairy-Free: Use dairy-free chocolate for a vegan-friendly version while keeping the rich flavors intact. Everyone can enjoy an allergy-friendly dessert without compromising on taste!
-
Mini Pastries: Cut the puff pastry into smaller rectangles for bite-sized versions, perfect for parties or gatherings. These cute treats are as fun to eat as they are to make!
-
Chocolate and Coffee: Blend in instant espresso powder with your chocolate for an irresistible mocha twist that’s perfect for coffee lovers. Each bite will be an awakening experience!
Storage Tips for Chocolate Puff Pastry
-
Room Temperature: Store leftover pastries in an airtight container for up to 2 days to maintain their freshness and prevent them from becoming soggy.
-
Freezer: For longer storage, freeze your chocolate puff pastries for up to 2-3 months. Wrap each pastry individually in plastic wrap and place them in a freezer-safe bag.
-
Reheating: When ready to enjoy, reheat in a preheated oven at 350°F (175°C) for about 10-15 minutes to restore their crispness and warm chocolate filling.
-
Chilled Options: If you prefer a chilled treat, you can store them in the fridge for 1-2 days. Just remember they won’t have the same flaky texture as when freshly baked.
Chocolate Puff Pastry Recipe FAQs
How do I choose the right chocolate for my puff pastry?
Absolutely! The type of chocolate you select will greatly influence the flavor of your Chocolate Puff Pastry. For a rich and intense taste, opt for dark chocolate. Milk chocolate offers a sweeter profile, which is perfect for those with a sweet tooth, while white chocolate provides a creamy and sweet contrast. Feel free to mix and match or even try dairy-free chocolate if you’re accommodating dietary restrictions!
What is the best way to store leftover chocolate puff pastries?
Very simple! To keep your leftover pastries fresh, store them in an airtight container at room temperature for up to 2 days. If you’re planning to keep them longer, wrapping each pastry in plastic wrap and placing them in a freezer-safe bag allows for freezing for up to 2-3 months. When you’re ready to enjoy them, simply reheat in a preheated oven at 350°F (175°C) for about 10-15 minutes to restore that delightful crispiness.
Can I freeze chocolate puff pastries? How should I do it?
Yes, indeed! Freezing is a great option. After baking and cooling, wrap each chocolate puff pastry tightly in plastic wrap, ensuring there’s no air exposure, which can cause freezer burn. Place the wrapped pastries in a freezer-safe bag and label with the date. You can freeze them for up to 2-3 months. When you’re ready to enjoy, reheat them in the oven as mentioned above for the best texture.
What should I do if my puff pastry doesn’t puff up while baking?
Don’t worry, it happens! If your Chocolate Puff Pastry doesn’t puff up, there are a few things to consider. First, ensure that the oven is preheated properly before baking — the heat is crucial for puffing. Secondly, make sure to keep the pastry cold before baking, as warm pastry won’t puff as effectively. Lastly, ensure you have properly sealed each pastry to avoid chocolate leakage, which can weigh the pastry down and prevent it from rising.
Are there any allergenic ingredients I should be aware of for my puff pastry?
Absolutely! If you’re considering allergies, pay attention to the type of chocolate used; some may contain dairy or nuts. For a vegan alternative, simply omit the egg wash and choose dairy-free chocolate. Always double-check labels for potential allergens, especially if you have guests with dietary restrictions. And remember, you can always adapt the recipe further by using nut-free alternatives or gluten-free puff pastry if required!
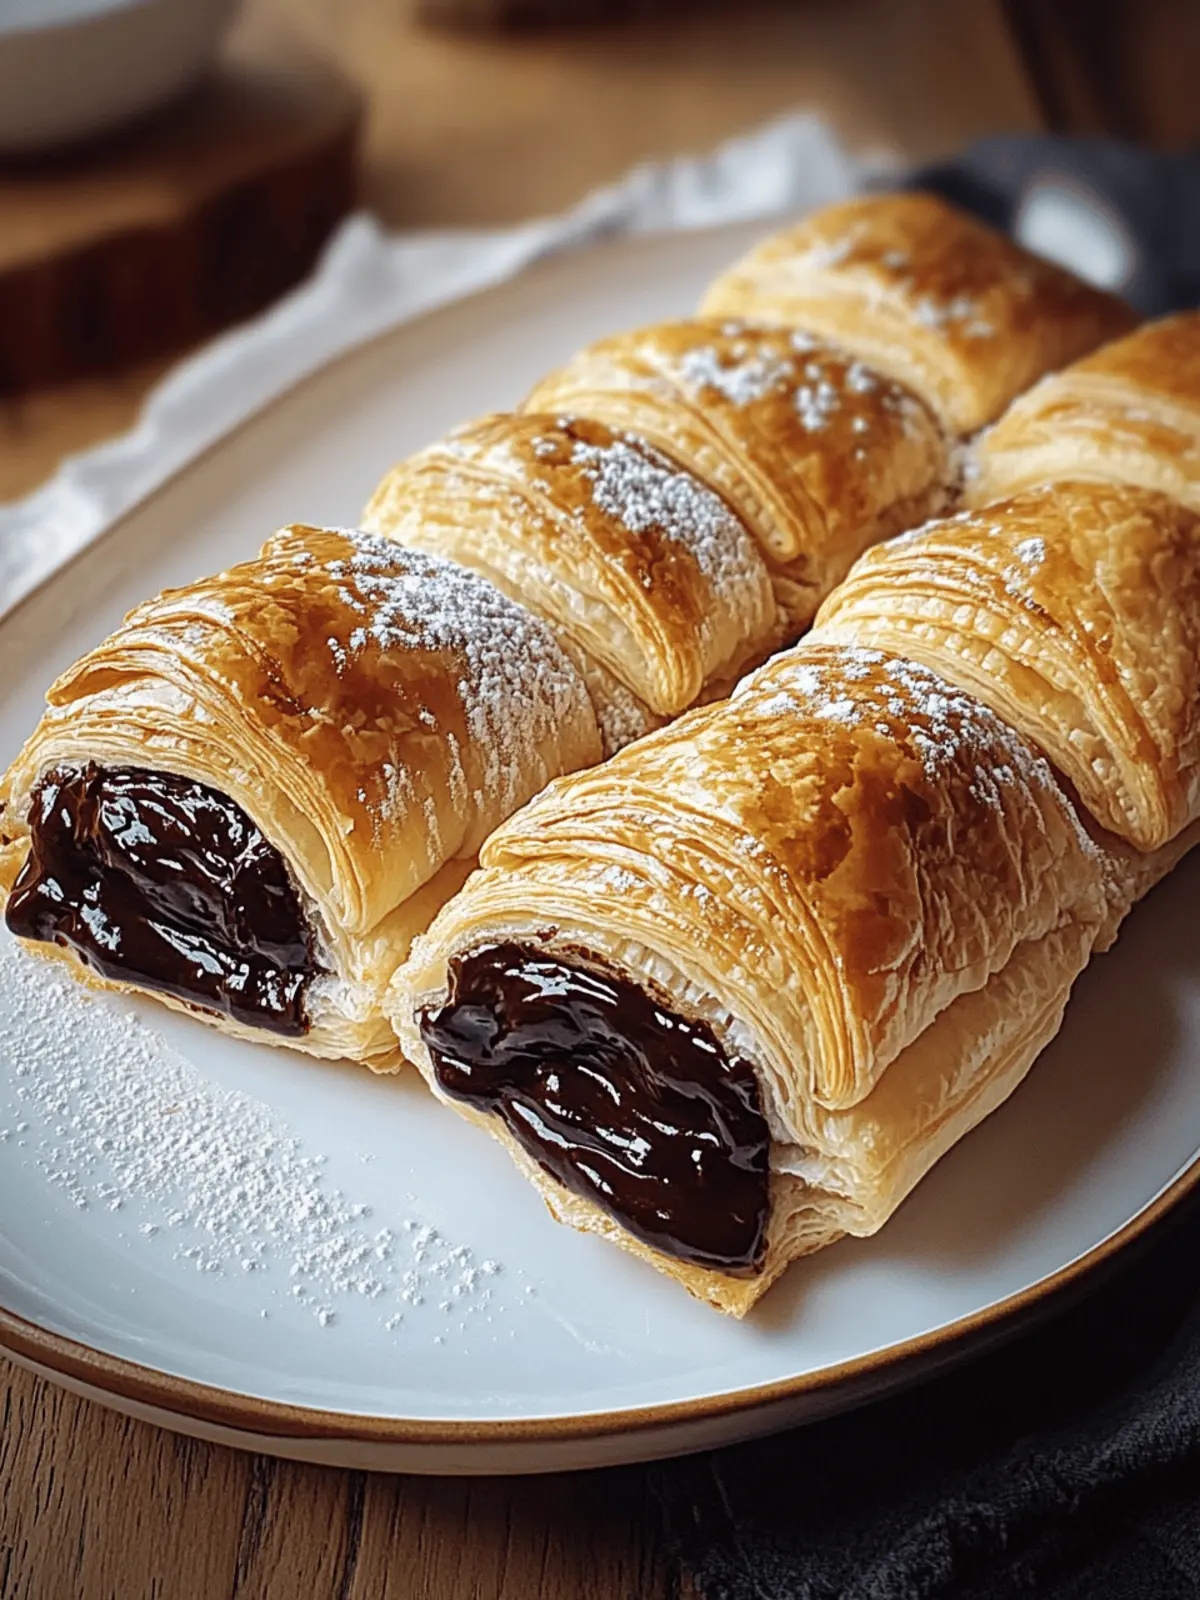
Irresistible Chocolate Puff Pastry in Just 40 Minutes
Ingredients
Equipment
Method
- Preheat your oven to 400°F (200°C).
- Unroll the store-bought puff pastry and slice it into 4-5 rectangles on a lightly floured surface.
- Melt your choice of chocolate in a microwave or double boiler until smooth. Mix in vanilla extract and a pinch of salt if desired.
- Place about 1 tablespoon of the melted chocolate onto the center of each rectangle, leaving an edge for sealing.
- Fold each pastry over the chocolate filling and press down the edges to seal. Crimp the edges with a fork for decoration.
- Brush the tops with the beaten egg and sprinkle a bit of sugar on top if desired.
- Bake on a lined baking sheet for 20-25 minutes, or until golden brown and puffed.
- Allow to cool on a wire rack and dust with powdered sugar before serving, if desired.

