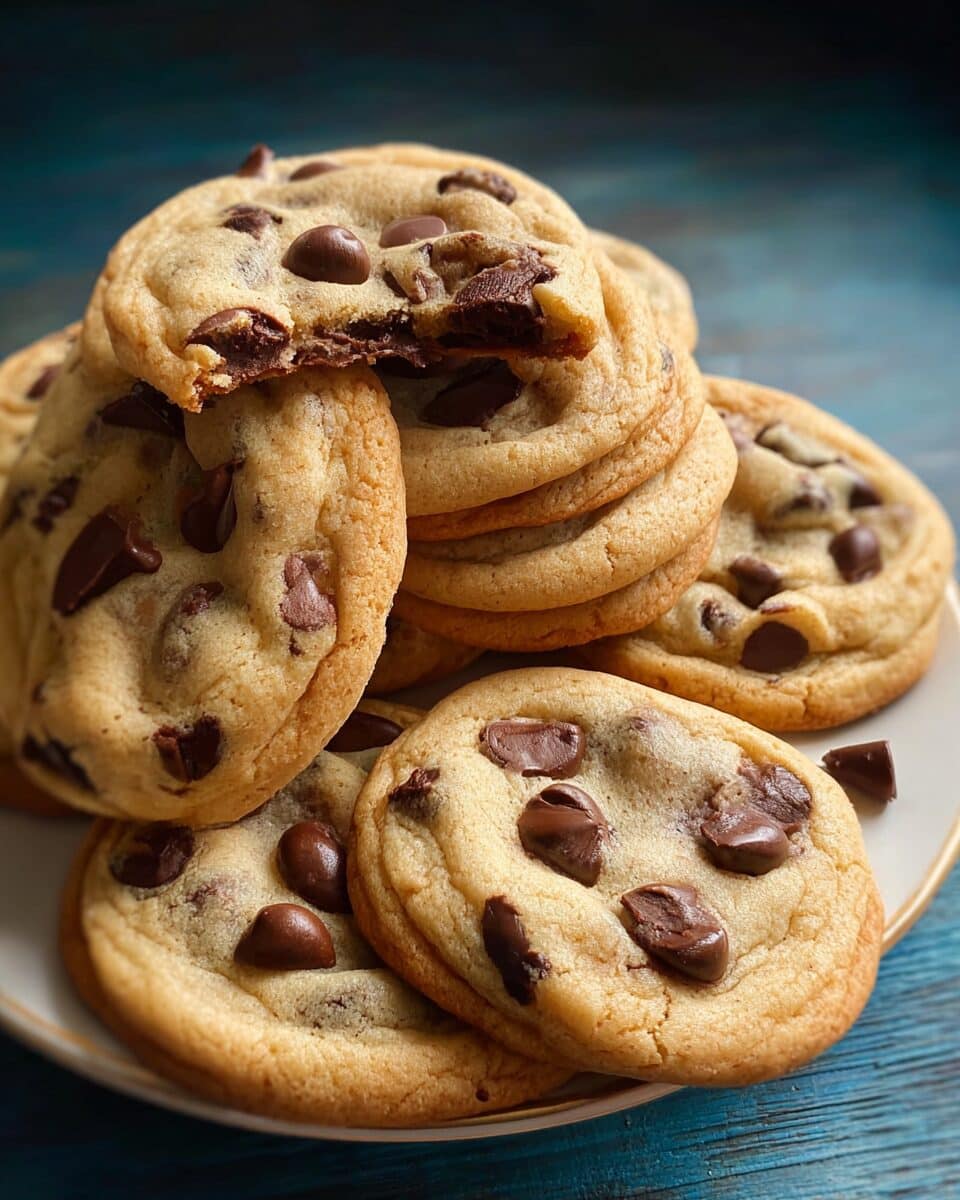
The warm aroma of browned butter, sweet vanilla, and melting chocolate chips is pure nostalgia in cookie form. These upgraded Nestlé Toll House cookies stay true to the beloved original while incorporating simple but transformative tweaks. Think crisp, golden edges paired with irresistibly soft, gooey centers—perfection in every bite.
These cookies have become a cherished ritual in our kitchen. The secret? Grandma’s tradition of browning a portion of the butter and resting the dough before baking. That extra step brings out deeper caramel notes and a texture that’s both chewy and tender. Whether you’re baking with kids or preparing a treat for friends, this recipe never disappoints. Bake a batch, and you’ll see why it’s a classic worth passing down.
Full recipe:
Ingredients:
-
2 ¼ cups all-purpose flour (spooned and leveled)
-
1 teaspoon baking soda
-
½ teaspoon salt
-
1 cup unsalted butter (softened; brown ¼ cup for richer flavor)
-
¾ cup granulated sugar
-
¾ cup light brown sugar (packed)
-
2 large eggs (room temperature)
-
1 teaspoon pure vanilla extract (high quality)
-
2 cups Nestlé Toll House semi-sweet chocolate chips
-
1 cup chopped walnuts or pecans (optional)
Directions:
-
Preheat oven to 375°F (190°C). Line baking sheets with parchment paper.
-
In a medium bowl, whisk together flour, baking soda, and salt. Set aside.
-
Brown ¼ cup of butter in a saucepan until golden and fragrant, then mix it with the remaining softened butter.
-
In a large bowl, beat the butter, granulated sugar, and brown sugar until light and fluffy.
-
Add eggs one at a time, beating well after each. Mix in vanilla.
-
Gradually add the dry ingredients, mixing just until combined.
-
Fold in chocolate chips and optional chopped nuts.
-
Press plastic wrap directly onto the dough and let it rest for 1 hour at room temperature before chilling (optional but recommended).
-
Drop rounded tablespoons of dough onto the prepared baking sheets, spacing them 2 inches apart.
-
Bake for 9–11 minutes or until edges are golden and centers are still soft.
-
Let cool on the baking sheet for 2 minutes, then transfer to a wire rack to cool completely.
Prep Time: 15 minutes | Cooking Time: 10 minutes | Total Time: 1 hour 25 minutes (including rest)
Kcal: 180 kcal per cookie | Servings: About 36 cookies
The Story Behind the Classic Nestlé Chocolate Chip Cookies
Few things spark nostalgia quite like the smell of chocolate chip cookies baking in the oven. This particular recipe, an elevated take on the iconic Nestlé Toll House Chocolate Chip Cookies, has been part of our family’s culinary heritage for over 15 years. It all started with that familiar yellow bag of chocolate morsels – a staple in pantries across America – but it has since transformed into something truly extraordinary thanks to small, meaningful tweaks passed down through generations.
This recipe isn’t just about recreating a beloved classic; it’s about enhancing it through time-tested techniques. My grandmother was the first to make subtle changes that turned a good cookie into a great one. By browning a portion of the butter, resting the dough, and understanding the science behind the bake, she unlocked deeper flavors and the perfect texture balance — crisp on the outside and chewy on the inside.
What Makes This Cookie Recipe So Special?
There’s a reason people come back to this recipe over and over again — and it’s not just the taste. Every component has been thoughtfully considered to ensure consistent results and maximum flavor.
-
Browning a Portion of the Butter: This simple step elevates the overall flavor. Browning brings out nutty, caramel-like notes in the butter, which gives the cookies a rich, toffee undertone that can’t be matched by regular melted butter alone.
-
The Dough “Nap”: Allowing the dough to rest for an hour before chilling gives the flour time to absorb moisture and allows the sugars and vanilla to meld. The result? A more cohesive dough that bakes evenly and tastes more complex.
-
Balance of Sugars: Using both granulated and brown sugar in equal parts delivers the best of both worlds: crisp edges (thanks to the white sugar) and chewy, moist centers (thanks to the molasses in the brown sugar).
-
Proper Baking Time: Most people overbake cookies. We take them out when the edges just turn golden and the centers are still soft. The residual heat continues to cook them on the tray, ensuring that dreamy gooey center.
Why This Recipe is Foolproof
Over the years, we’ve tested this recipe under different conditions—hot kitchens, high humidity, cold climates—and it still performs. Here’s why:
-
Ingredient Accessibility: Nothing fancy here. All ingredients are easy to find at any grocery store, but it’s the technique that elevates the outcome.
-
Beginner-Friendly: Even if it’s your first time baking cookies, this method is easy to follow. There’s no special equipment needed beyond a basic electric mixer, baking sheets, and parchment paper.
-
Flexible Add-Ins: While the base recipe is nearly perfect, it also serves as a canvas for experimentation. You can fold in walnuts, pecans, or even swap out semi-sweet chips for white chocolate, dark chocolate, or flavored morsels.
-
Freezer-Friendly: You can freeze both the dough and the baked cookies. This makes it easy to portion out and bake fresh cookies anytime you want, whether it’s for guests, school events, or your own midnight craving.
The Science Behind the Cookie
Ever wonder why your cookies don’t spread right or why they come out cakey instead of chewy? A few scientific principles are at play in this recipe that help avoid those common problems.
-
Room Temperature Butter and Eggs: These ingredients emulsify better when they’re not cold, ensuring a smoother dough and more uniform texture.
-
Creaming the Butter and Sugar Properly: This step incorporates air into the dough and helps the cookies rise and hold their shape. Don’t rush it — 3 to 5 minutes of creaming is ideal.
-
Accurate Flour Measuring: Too much flour leads to dense cookies. Always spoon the flour into your measuring cup and level it with a knife to prevent overpacking.
-
High Oven Temperature (375°F): This slightly higher temperature helps set the edges quickly while leaving the center soft. Lower temps bake more uniformly but can result in flatter cookies.
Flavor Tweaks That Still Work
If you want to keep things exciting, here are some small but impactful adjustments you can make:
-
Add a Touch of Espresso Powder: A teaspoon of instant espresso intensifies the chocolate flavor without making the cookies taste like coffee.
-
Sprinkle Sea Salt on Top: Flaky sea salt just before baking adds a pop of contrast and enhances the sweetness of the chocolate.
-
Use a Mix of Chips: Combine milk, semi-sweet, and dark chocolate chips for a more layered chocolate experience.
-
Try a Stuffed Version: Want a surprise center? Stuff each dough ball with a cube of caramel, Nutella, or even peanut butter before baking.
How to Store Them for Maximum Freshness
Nothing is sadder than a stale cookie, but this recipe holds up beautifully when stored properly:
-
On the Counter: Store in an airtight container at room temperature for up to 4 days. Add a slice of bread to help retain moisture.
-
In the Freezer (Baked): Let cookies cool completely, then store in layers separated by parchment in an airtight container. Thaw at room temp before eating.
-
In the Freezer (Dough): Scoop dough onto a baking sheet and freeze. Once solid, transfer to a bag or container. Bake straight from frozen—just add 1-2 minutes to the baking time.
Perfect for Every Occasion
Whether it’s a birthday, a holiday, or a rainy Sunday afternoon, these cookies never feel out of place. They’re easy enough to whip up on a weeknight but delicious enough to gift during the holidays. Their familiarity makes them universally loved, yet the enhanced flavor and texture give them a bakery-style upgrade that’s hard to beat.
Kids love helping with the scooping (and the tasting), and adults appreciate the balance of textures. It’s a dessert that pleases all age groups and pairs wonderfully with a glass of milk, coffee, or hot cocoa.
Generational Value: More Than Just a Cookie
What truly sets this recipe apart is the emotional connection it creates. Making these cookies becomes a tradition, a family activity, a memory-maker. It’s something my son Max and I look forward to every season, every birthday, and especially every time Grandma visits.
Passing on techniques like butter browning and dough resting keeps old traditions alive while still allowing space for personalization. It turns baking from a task into a shared experience.
Conclusion
There’s a reason the classic Nestlé chocolate chip cookie recipe has stood the test of time—and this enhanced version carries the legacy forward with even more flavor, texture, and heart. From the rich aroma of browned butter to the moment the first bite melts in your mouth, every part of this cookie delivers a deeply satisfying experience.
Simple ingredients, expert techniques, and cherished memories come together in a single cookie that continues to bring joy to every kitchen it enters. If you’re looking for a foolproof, flavorful, and family-approved treat, this is it. Give it a try, and don’t be surprised if it becomes your go-to cookie recipe for life.


