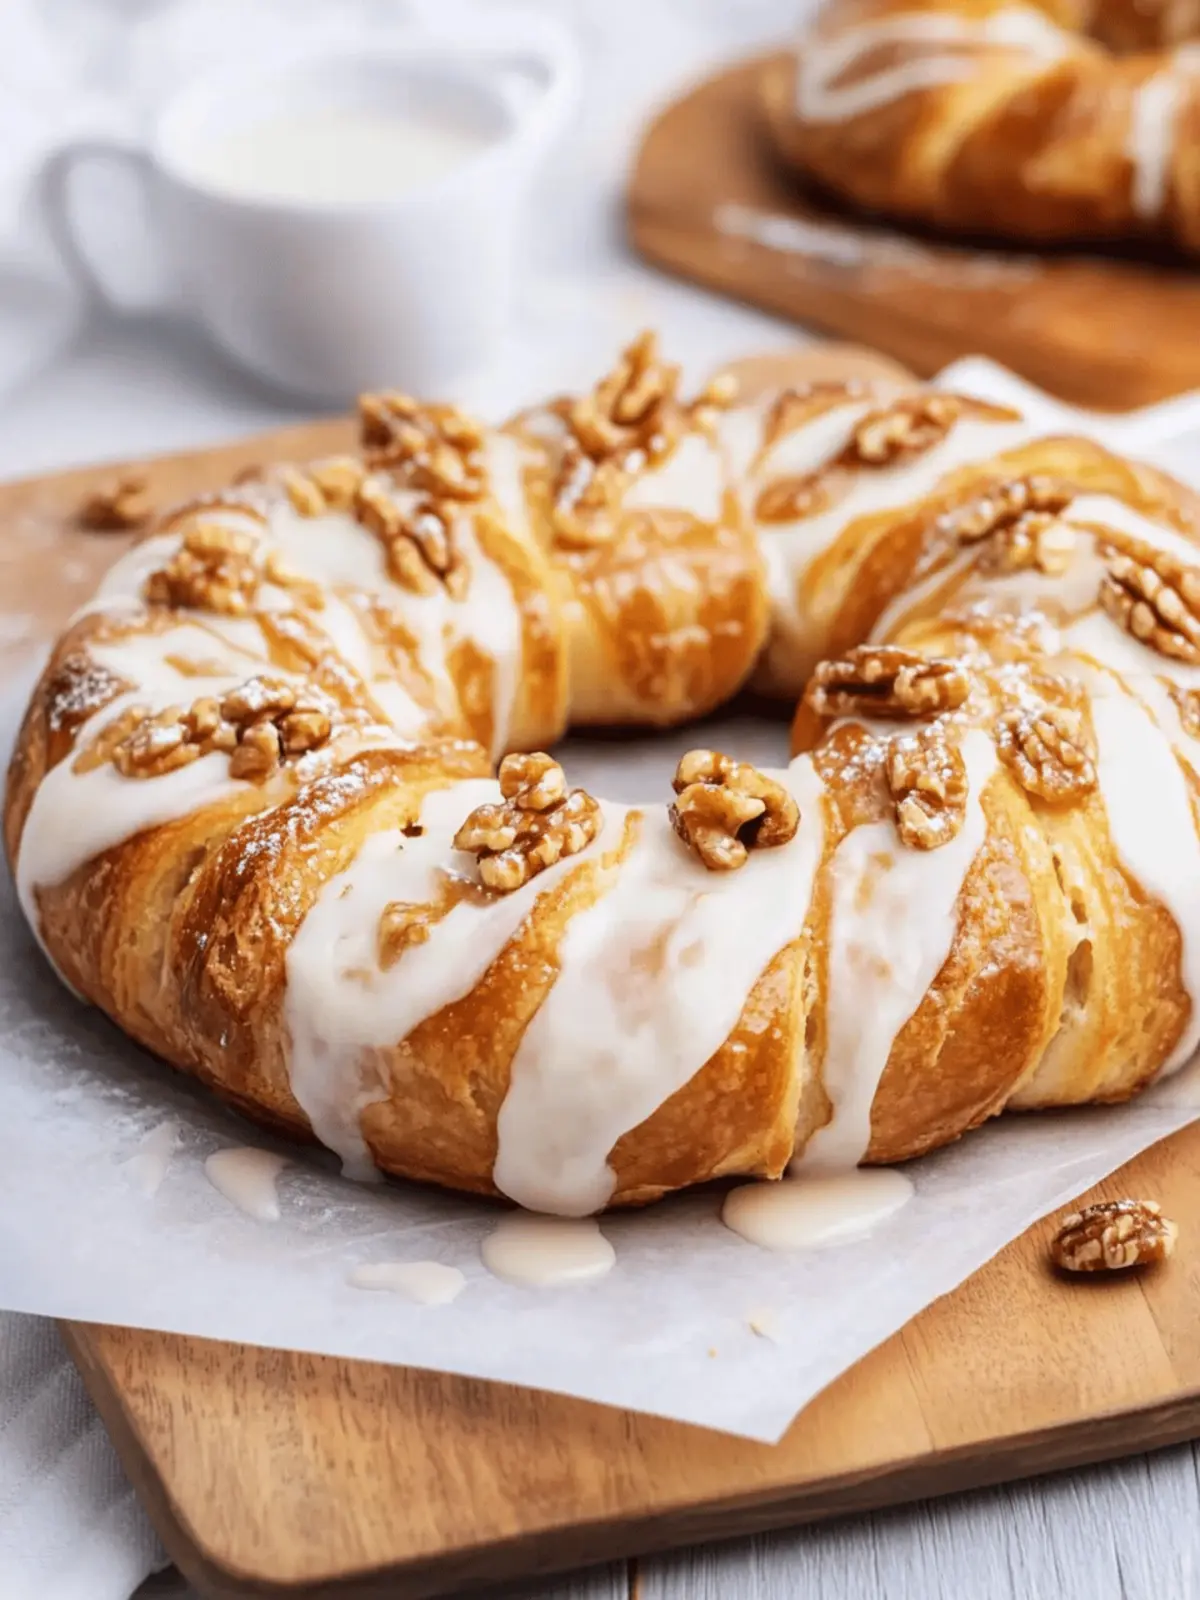
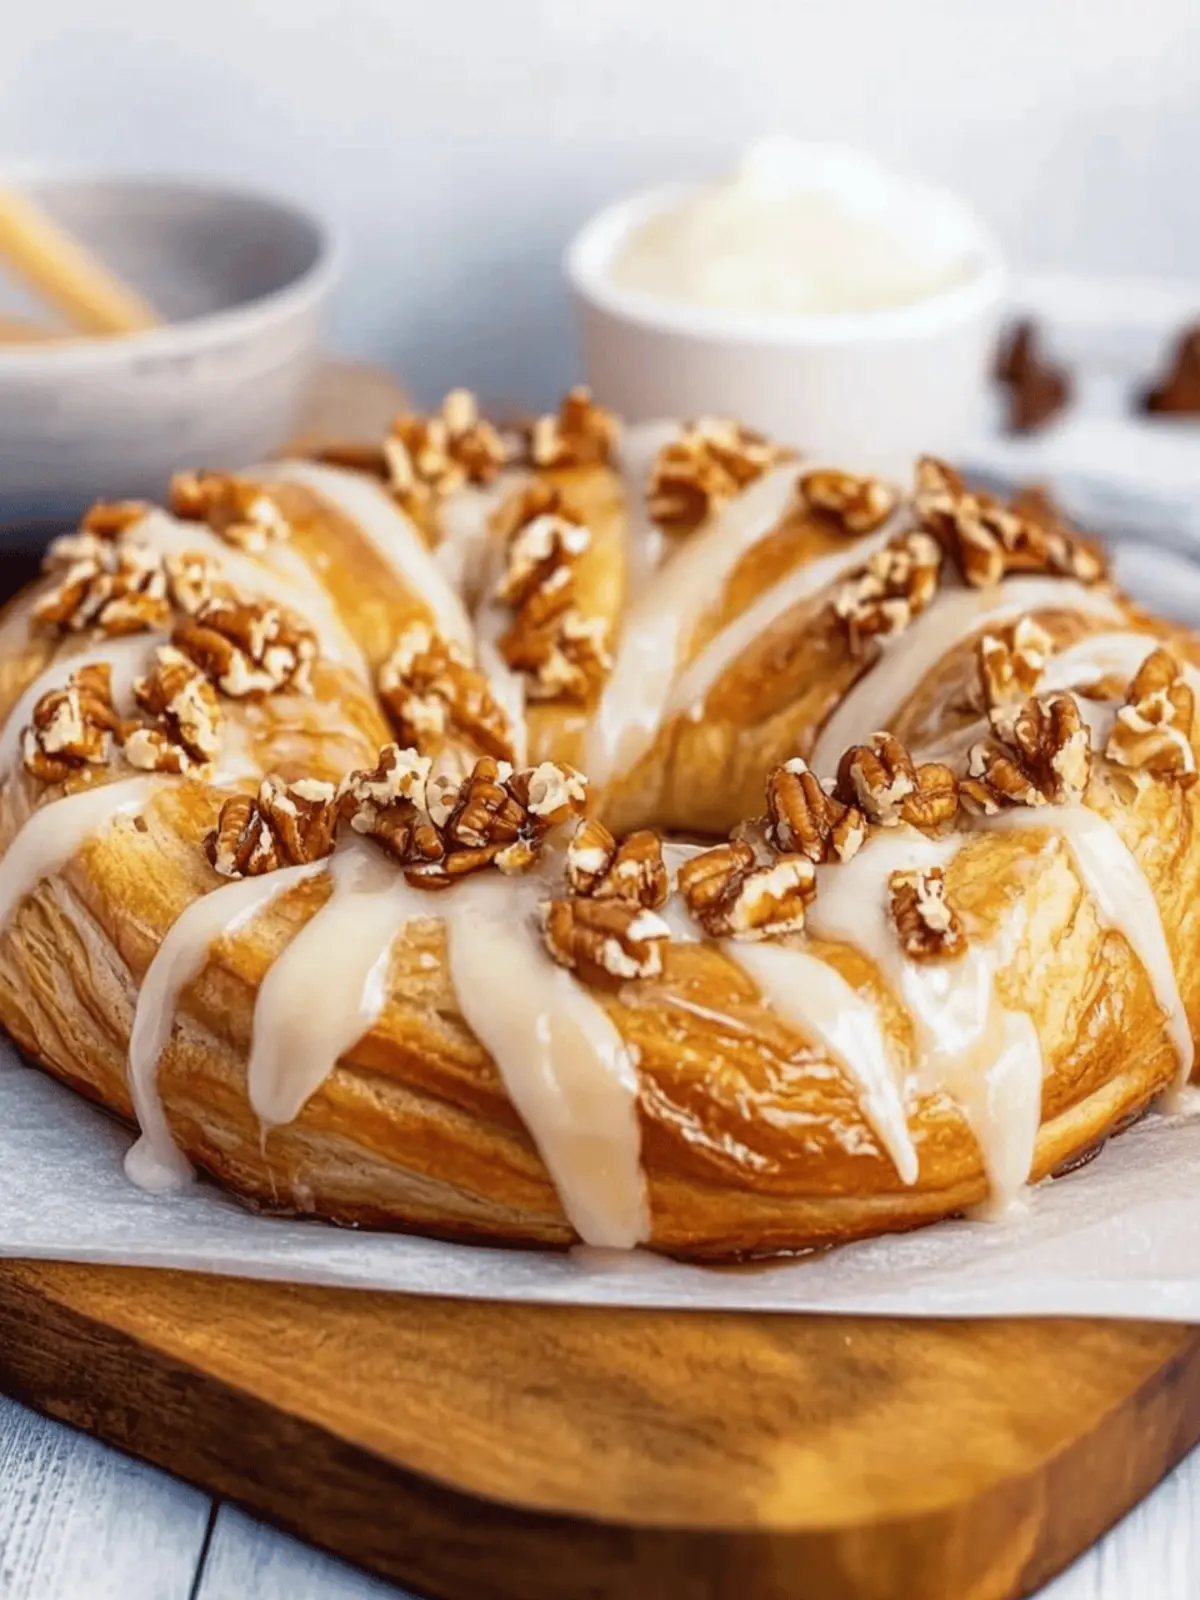
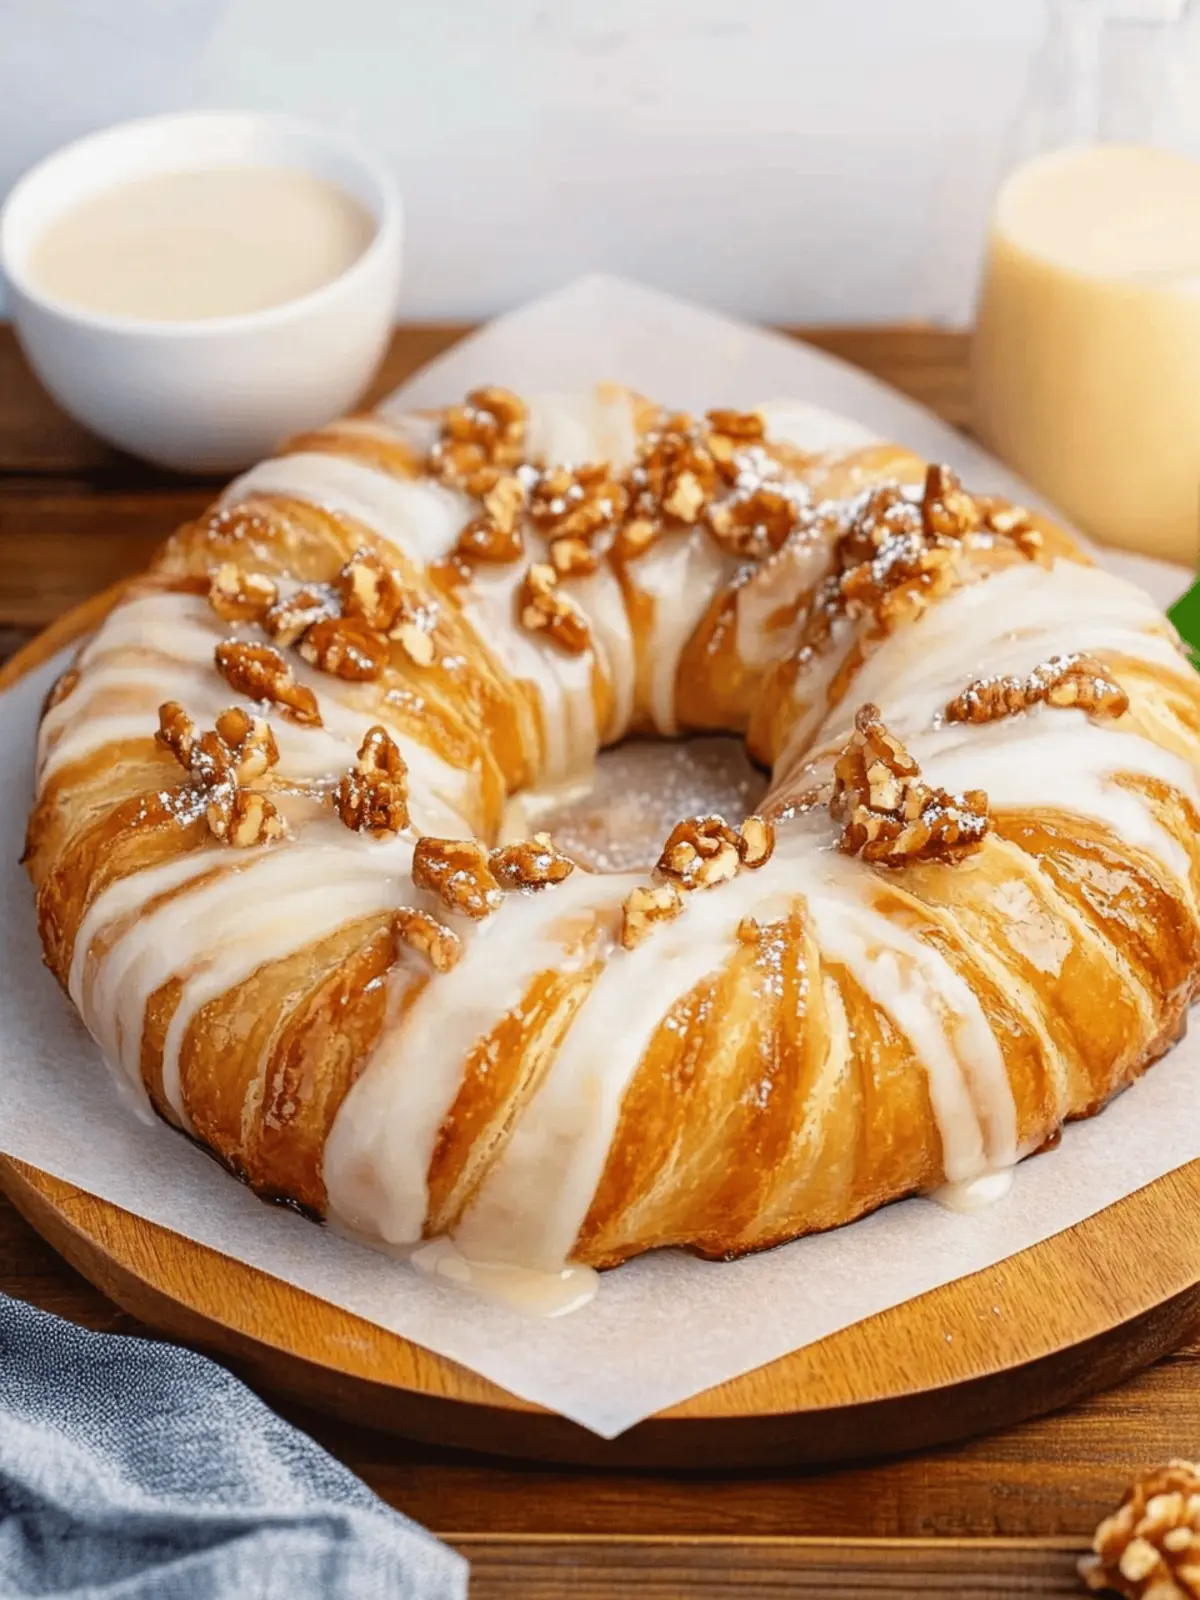
The first time I encountered Danish kringle, it felt as if I had been transported to a cozy Copenhagen bakery, where the air was rich with the scent of buttery pastries. This delightful dessert isn’t just a treat; it’s a loving embrace, layering flaky dough around a heartwarming filling that can be tailored to your cravings, whether it’s nutty pecans or sweet seasonal fruits.
Imagine serving up this stunning pastry for brunch, or perhaps at a festive gathering – the kind of dish that makes everyone pause, reach for their phones, and snap a picture before diving in. For me, creating this Danish kringle recipe is a satisfying journey through technique and flavor, transforming simple ingredients into something beautiful and unforgettable.
It’s a wonderful way to shake off the fast-food monotony and indulge in some homemade happiness. Plus, with its elegant appearance, you’ll impress friends and family without spending the entire day in the kitchen. Let’s dive into this delicious adventure and discover how you can make your own Danish kringle!
Why is this Danish Kringle Recipe a must-try?
Deliciously Unique: With its flaky layers and rich filling, this kringle is unlike any pastry you’ve ever made at home.
Customizable: Add seasonal fruits or keep it classic with pecans; it’s entirely up to your taste!
Impressive Presentation: Serve this stunning treat at any gathering and watch guests be amazed by your baking skills.
Easy Steps: Even if you’re new to baking, the clear instructions guide you through each step, making it manageable and fun.
Perfect for Any Occasion: Whether for brunch or dessert, this kringle is sure to be the star of the table!
Time-Saving: While it does require some chill time, the actual baking is quick, allowing you to enjoy the process without being tied down all day.
Danish Kringle Ingredients
• You’ll need these delightful components to create the magic!
For the Dough
- Butter – Gives the kringle its rich flavor and flaky texture.
- Sugar – Adds sweetness that perfectly balances the filling.
- Flour – Essential for structure; opt for all-purpose for best results.
- Egg – Acts as a binding agent and creates a beautiful golden crust.
For the Filling
- Nuts (e.g., pecans) – Provides a crunchy contrast; feel free to substitute with your favorite nut!
- Pecan pie filling – Offers a rich, sweet layer that enhances the kringle’s flavor profile.
- Cream cheese – Adds a luscious creaminess to the filling and makes it irresistible.
- Brown sugar – A hint of caramel flavor to enrich your filling nicely.
For Optional Add-Ins
- Apple – A tart touch that brings freshness; great for autumn flavors.
- Almonds – For a nutty twist; almond flavor pairs beautifully with sweet fillings.
- Cherry – A sweet and slightly tart option that adds a pop of color and flavor.
- Raspberry – Offers vibrant flavor and a lovely tang; perfect for summer baking.
For the Glaze
- Salt – A pinch enhances the sweetness and adds depth to the frosting.
Frosting Ingredients
- Unspecific ingredients – Get creative with your frosting; use powdered sugar and milk for a classic glaze, or mix in some vanilla for an aromatic touch.
Now that you have the ingredients ready, let’s make your own delightful Danish kringle!
How to Make Danish Kringle
-
Process Ingredients: In a large mixing bowl, combine butter, sugar, flour, and egg. Mix until a soft dough forms, ensuring all ingredients are well incorporated.
-
Chill the Dough: Pat the kringle dough into a rectangle shape. Wrap it tightly in plastic wrap and refrigerate for at least 1 hour to help firm it up.
-
Roll and Fold: Once chilled, roll the dough out to about ¼ inch thick. Fold it into thirds, seal the edges, and refrigerate again. Repeat this process one more time to create multiple layers.
-
Make the Nut Filling: In a separate bowl, mix together chopped pecans, softened butter, and brown sugar. Stir until combined, creating a deliciously sweet filling.
-
Divide the Dough: Remove the dough from the refrigerator and divide it in half. This will help you create two beautiful kringles.
-
Form the Strips: Roll each piece into a 6” x 24” strip. Spread your nut filling evenly down the center of each strip, inviting a warm aroma to fill your kitchen.
-
Fold and Seal: Take one long side of each strip and fold it over the filling. Brush the exposed edge with an egg wash. Then, fold the other side over and pinch securely to seal it.
-
Shape the Kringle: Gently form each piece of dough into an oval shape, bringing the ends together and sealing them slightly. Place them seam-side down on a baking sheet.
-
Let it Rise: Cover the kringle and let it rise in a warm spot for about 2 hours, or until they have puffed up slightly.
-
Bake the Pastries: Preheat your oven to 375°F. Apply an egg wash on top of each kringle and bake for approximately 25 minutes or until they are golden brown and fragrant.
-
Cool and Frost: After baking, let the kringles cool on a wire rack. When they’re still slightly warm, prepare your frosting and spread it generously over the pastries.
-
Drizzle with Glaze: Finally, create a salted caramel glaze and drizzle it lovingly over each kringle, adding a beautiful finish to your creation.
Optional: Add sliced almonds on top for an extra crunch!
Exact quantities are listed in the recipe card below.
How to Store and Freeze Danish Kringle
Room Temperature: Store leftover Danish kringle in an airtight container for up to 2 days to keep it fresh and flaky.
Fridge: If you have leftover kringle, refrigerate it in a sealed container for up to 5 days. Reheat it gently in the oven to restore some of its original texture.
Freezer: To freeze, wrap the kringle tightly in plastic wrap and then aluminum foil. It can be stored in the freezer for up to 3 months.
Reheating: When ready to enjoy, thaw it overnight in the fridge and reheat in the oven at 350°F for about 10-15 minutes to maintain its delightful flavor and texture.
Make Ahead Options
These delightful Danish kringles are perfect for meal prep enthusiasts! You can prepare the dough and filling up to 3 days in advance, making your baking day just a little easier. To start, mix the dough and wrap it tightly in plastic wrap before refrigerating. Additionally, create the nut filling and store it in an airtight container in the fridge. When you’re ready to bake, simply roll out the chilled dough, spread the filling, shape each kringle, and let them rise while you preheat the oven. By allowing for some prep ahead of time, you’ll enjoy the same delicious, flaky results with minimal stress on baking day.
What to Serve with Danish Kringle?
Indulging in a slice of Danish kringle is a memorable experience, and pairing it with complementary dishes can elevate your meal to new heights.
-
Fresh Fruit Salad: Bright, juicy fruits bring a refreshing contrast to the sweet richness of the kringle, enhancing every bite.
-
Whipped Cream: Light and airy, a dollop of freshly whipped cream adds lusciousness that perfectly balances the flaky pastry and nutty filling.
-
Hot Coffee: A warm cup of coffee not only enhances the flavors but also complements the kringle’s buttery texture, making for a perfect morning treat.
-
Vanilla Ice Cream: This creamy delight melts into warm kringle, creating a heavenly combination that brings a luscious sweetness to each mouthful.
-
Nutty Granola: Crunchy granola adds delightful texture and nutty flavor, harmonizing beautifully with the soft, flaky kringle for a perfect breakfast option.
-
Chai Tea: The aromatic spices in chai tea offer a warm, comforting pairing, enhancing the flavors of both the pastry and the beverage.
-
Berries Compote: A vibrant berry compote drizzled over your kringle can add a refreshing acidity, creating a balanced contrast to the dessert’s sweetness.
-
Maple Syrup: Drizzling pure maple syrup can amplify the sweetness, providing a unique twist that perfectly complements the nutty elements in the filling.
-
Sparkling Cider: Cheers to your baking triumph with a glass of sparkling cider! Its effervescence and light sweetness pair beautifully with the richness of the kringle.
Expert Tips for Danish Kringle Recipe
-
Chill Your Dough: Ensure the dough is chilled adequately after folding to achieve the flaky texture that defines a great kringle.
-
Even Filling: Spread the filling evenly down the center to avoid overflow during baking, which can create a gooey mess.
-
Sealing Technique: Pinch the dough securely when sealing to prevent any filling from leaking out during baking; this helps maintain the kringle’s beautiful shape.
-
Rising Time: Don’t rush the rising process! Letting the kringle rise properly ensures it puffs up beautifully in the oven for that perfect texture.
-
Experiment with Flavors: Feel free to explore different fillings or toppings beyond nuts; fruits and flavored frostings offer a delightful twist on this Danish kringle recipe.
-
Monitor Baking: Keep an eye on the kringles as they bake; ovens can vary in temperature, and you want them golden brown, not overdone!
Danish Kringle Recipe Variations
Feel free to unleash your creativity and make this recipe your own with some delightful twists!
-
Nut-Free: Swap pecans for sunflower seeds or omit nuts entirely for a lighter, allergy-friendly version.
-
Fruity Filling: Use fresh fruit like diced apples or cherries alongside the nut filling for a burst of flavor and juiciness. Think of the sweet juices blending in with the nutty goodness—pure bliss!
-
Gluten-Free: Substitute all-purpose flour with a 1:1 gluten-free baking blend, ensuring everyone can enjoy this treat. The textures may vary, but the taste will remain delightful!
-
Chocolate Lovers: Add chocolate chips or cocoa powder to the dough for a rich chocolate twist that makes this kringle even more irresistible. Imagine biting into a warm, gooey chocolate-filled pastry!
-
Savory Twist: For a unique approach, try adding cheese (like cream cheese or feta) and herbs to the filling for a savory version—perfect for brunch gatherings. The contrast between sweet and savory will leave your guests buzzing!
-
Fruit Glaze: Instead of a traditional frosting, drizzle a glaze made with fruit juice and powdered sugar for a refreshing, fruity finish. It adds brightness and vibrancy to your kringle!
-
Spicy Kick: Incorporate a pinch of cinnamon or nutmeg into the dough or filling for a warm spice that dances on your palate. This simple addition transforms the kringle into a comforting seasonal delight.
-
Caramel Swirl: Mix in caramel sauce with the nut filling for a gooey, decadent flavor that takes this pastry to the next level. You’ll create a rich, indulgent experience with every bite!
Danish Kringle Recipe FAQs
What is the best way to select ripe ingredients for my Danish kringle?
Absolutely! For the best results, choose fruit that is fresh and firm. If you’re using apples, look for ones with no dark spots, as they indicate overripeness. For nuts, go for unsalted pecans, and ensure they’re not stale or rancid by checking for any off smells.
How do I store my Danish kringle after baking?
Very! To keep your Danish kringle fresh, store it in an airtight container at room temperature for up to 2 days. If you have leftovers longer than that, it’s best to refrigerate them in a sealed container for up to 5 days. Remember, reheating them in a warm oven will help restore some of that fabulous flaky texture!
Can I freeze Danish kringle, and if so, how?
Absolutely! To freeze your delicious Danish kringle, wrap each pastry tightly in plastic wrap to prevent freezer burn, then add another layer of aluminum foil for extra protection. It can remain in the freezer for up to 3 months. When you’re ready to indulge, allow it to thaw overnight in the fridge, then pop it in a preheated oven at 350°F for about 10-15 minutes to bring back the crispy texture.
What should I do if my dough is too sticky?
If your kringle dough feels too sticky while rolling it out, don’t hesitate to add a little more flour to your work surface and your rolling pin. A light sprinkle of flour should help. Keeping your hands floured while handling the dough can also prevent it from sticking. Furthermore, if the dough is excessively sticky, it may need more chilling time in the refrigerator to firm up.
Are there any dietary considerations I should keep in mind for this recipe?
Very! If you or your guests have dietary restrictions, feel free to customize the filling. You can opt for gluten-free flour instead of regular flour for a gluten-free Danish kringle. Although nuts are a key ingredient, you can use nut-free substitutions, like seeds, if allergies are a concern. Always check labels to ensure all ingredients meet any dietary restrictions.
What type of frosting can I use for my Danish kringle?
You have plenty of options! Classic powdered sugar mixed with milk creates a simple yet delicious glaze. For a richer touch, you might consider adding vanilla or even cream cheese for added creaminess. Get creative by incorporating flavors that complement your filling; a hint of almond extract pairs wonderfully with nut fillings!
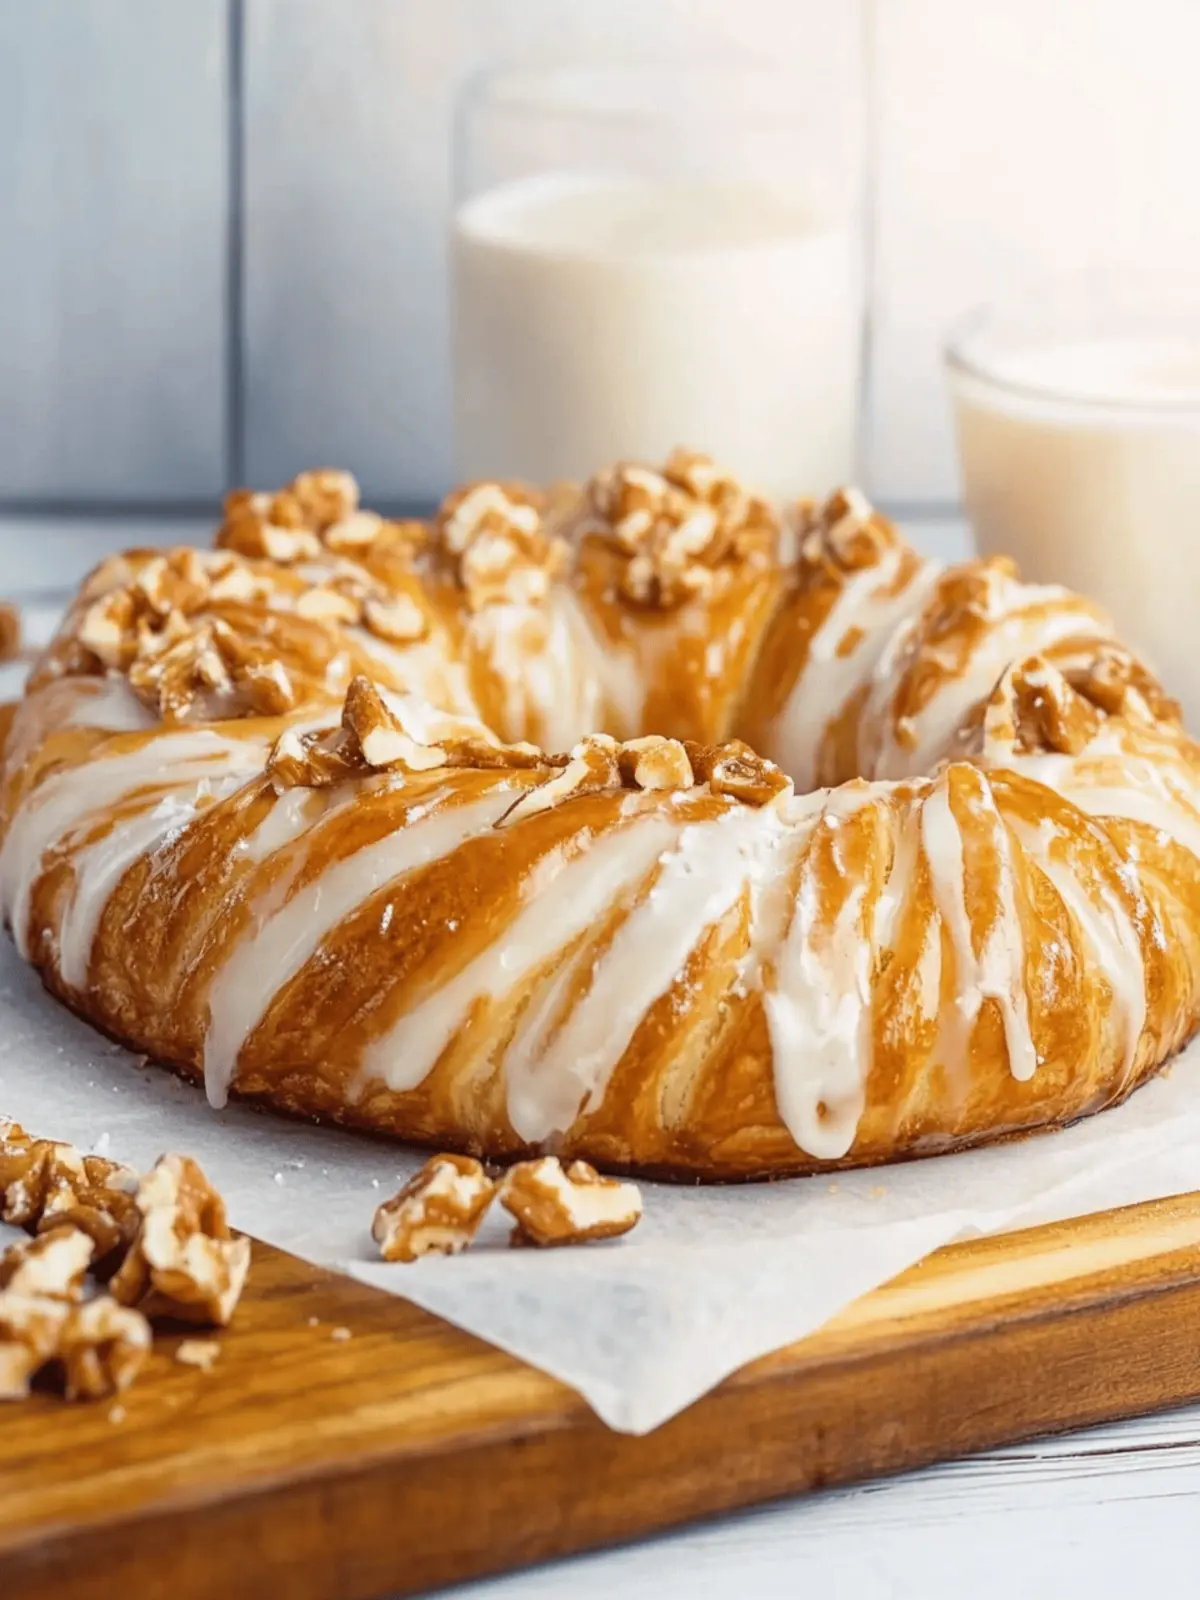
Delicious Danish Kringle Recipe for a Perfect Homemade Treat
Ingredients
Equipment
Method
- In a large mixing bowl, combine butter, sugar, flour, and egg. Mix until a soft dough forms, ensuring all ingredients are well incorporated.
- Pat the kringle dough into a rectangle shape. Wrap it tightly in plastic wrap and refrigerate for at least 1 hour to help firm it up.
- Once chilled, roll the dough out to about ¼ inch thick. Fold it into thirds, seal the edges, and refrigerate again. Repeat this process one more time to create multiple layers.
- In a separate bowl, mix together chopped pecans, softened butter, and brown sugar. Stir until combined, creating a deliciously sweet filling.
- Remove the dough from the refrigerator and divide it in half.
- Roll each piece into a 6” x 24” strip. Spread your nut filling evenly down the center of each strip.
- Take one long side of each strip and fold it over the filling. Brush the exposed edge with an egg wash. Then, fold the other side over and pinch securely to seal it.
- Gently form each piece of dough into an oval shape, bringing the ends together and sealing them slightly. Place them seam-side down on a baking sheet.
- Cover the kringle and let it rise in a warm spot for about 2 hours, or until they have puffed up slightly.
- Preheat your oven to 375°F. Apply an egg wash on top of each kringle and bake for approximately 25 minutes or until they are golden brown and fragrant.
- After baking, let the kringles cool on a wire rack. When they’re still slightly warm, prepare your frosting and spread it generously over the pastries.
- Create a salted caramel glaze and drizzle it over each kringle.

