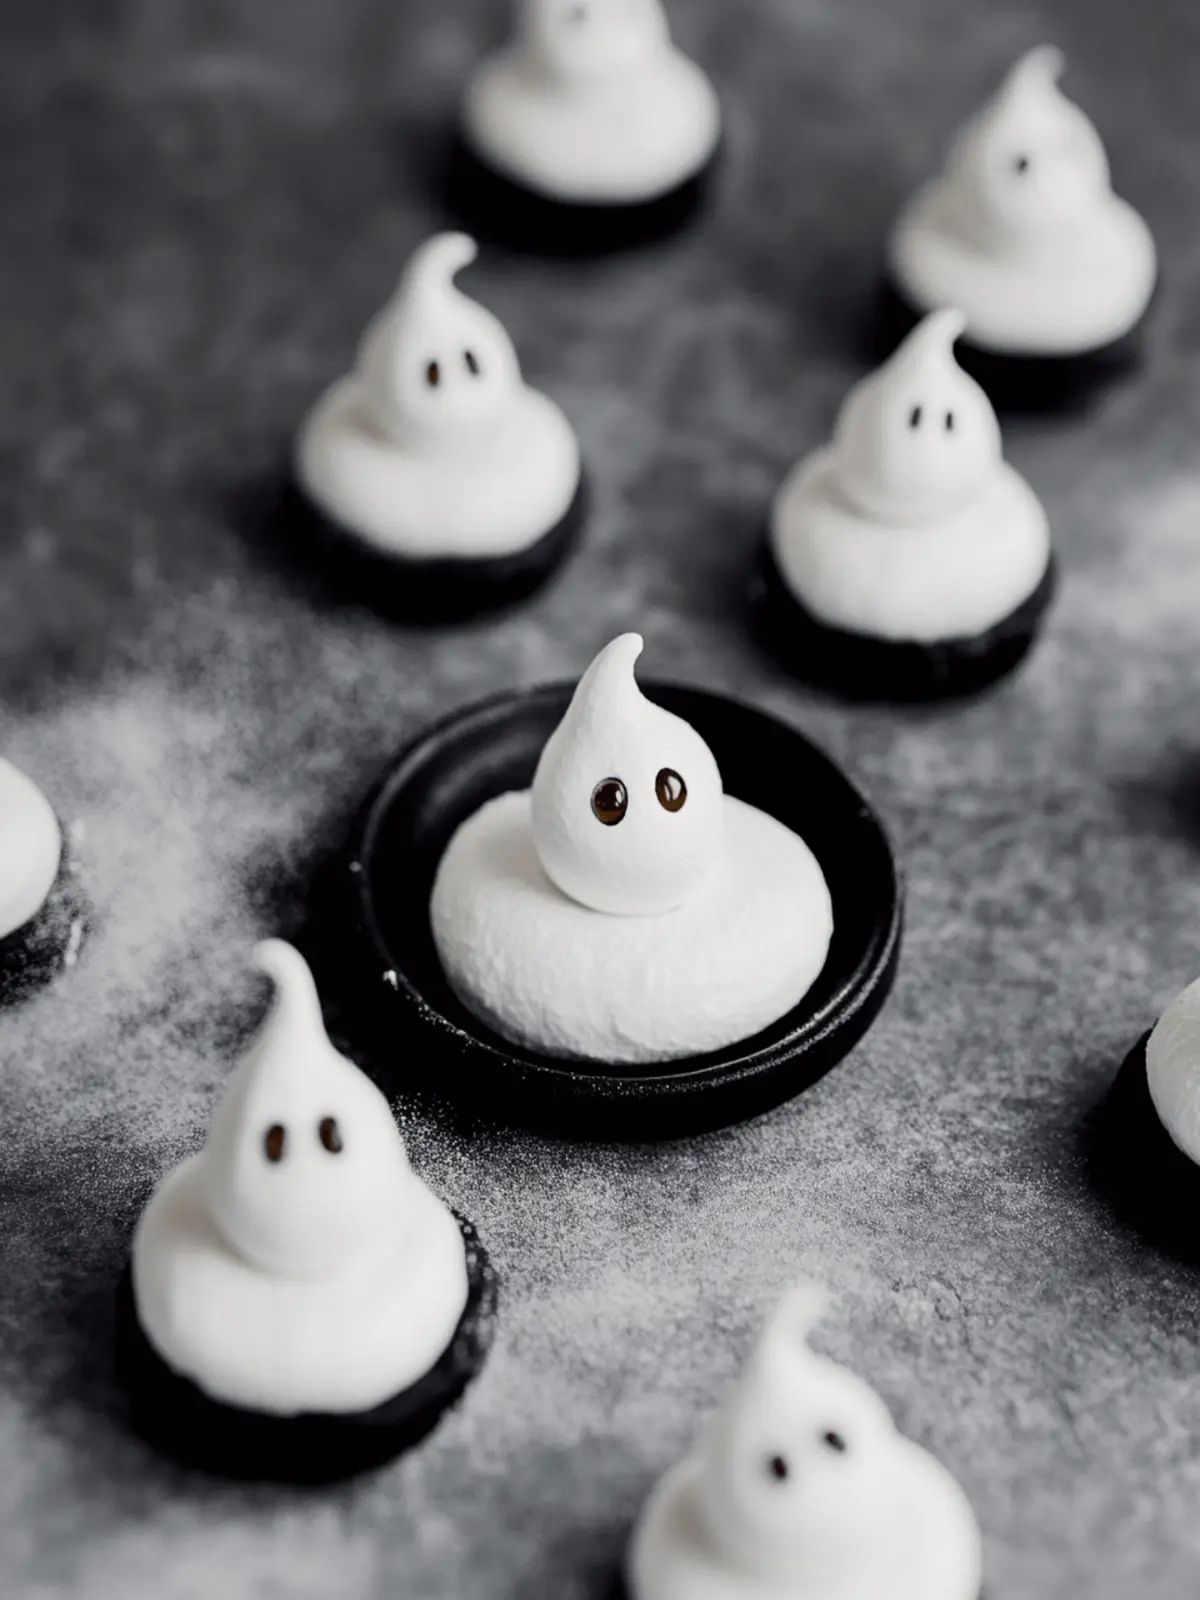
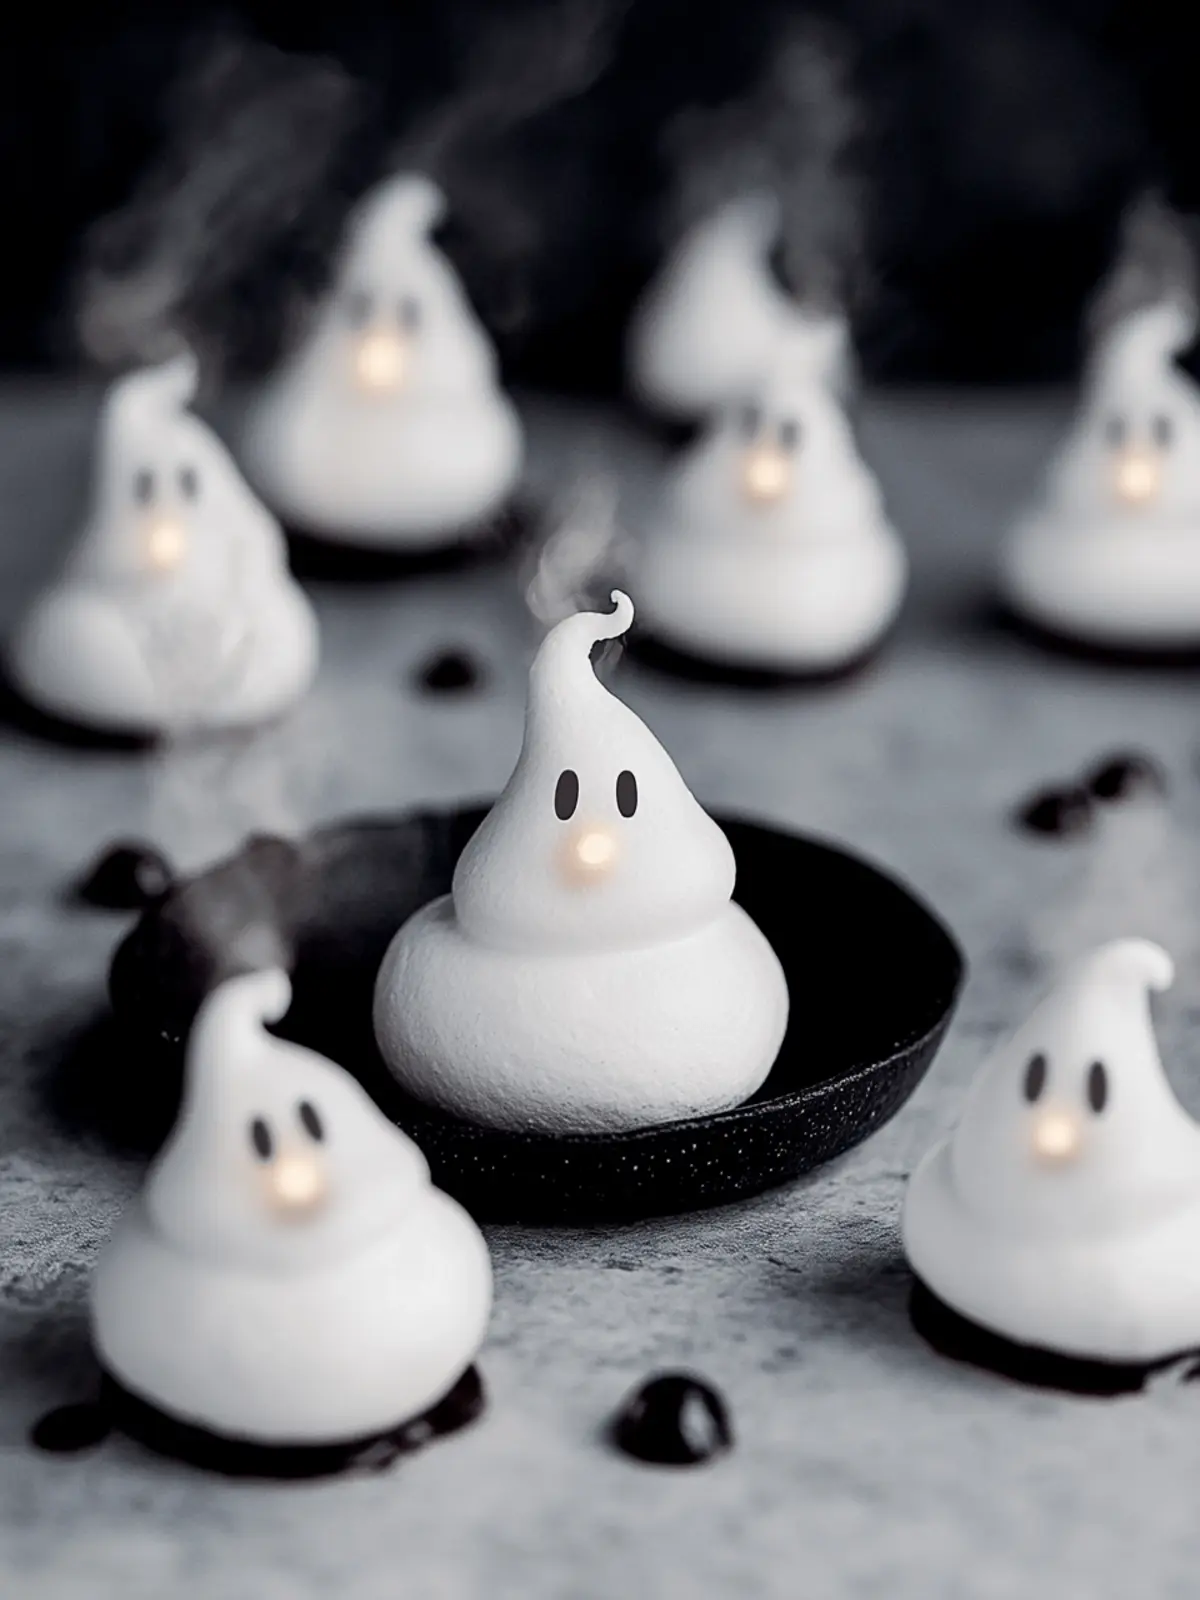
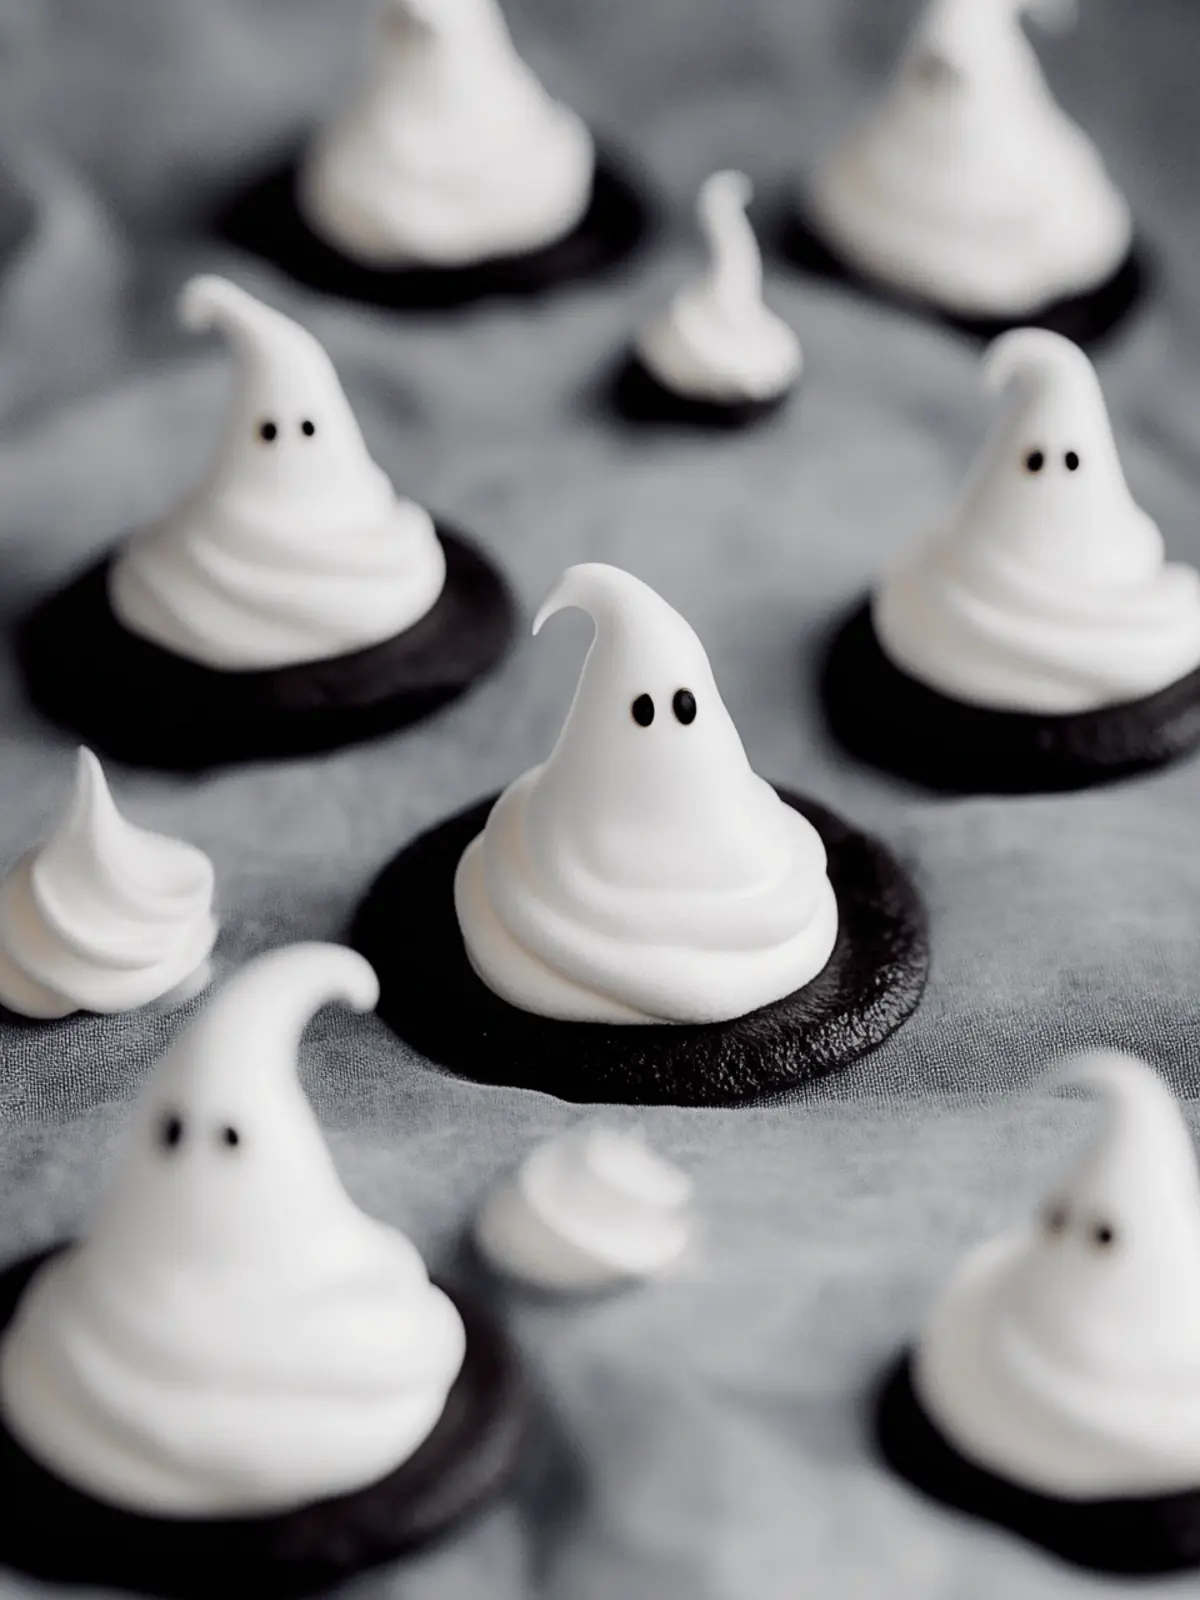
The spooky season is upon us, and what better way to celebrate than with these delightful ghost meringues? Picture this: you open your oven to reveal fluffy white clouds, each one transformed into an adorable little ghost, ready to haunt your dessert table! With a crisp exterior and a pillowy interior, these treats are a joyful addition to your Halloween festivities.
I stumbled upon this recipe during an afternoon spent experimenting in my kitchen, hoping to create a light and festive dessert that would delight both children and adults alike. With just five simple ingredients and minimal prep time, these meringues are surprisingly easy to whip up. Plus, they’re naturally gluten-free, making them a fantastic choice for anyone looking to enjoy something sweet without the usual guilt. Dress them up with chocolate faces or let your creativity shine with colorful decorations—these ghostly delights are sure to amuse and satisfy all your guests. Let’s get started!
Why are Ghost Meringues a Must-Try?
Enchanting visuals: These ghost meringues are not just delicious but also an eye-catching centerpiece for any Halloween gathering.
Easy to make: With just five ingredients, anyone can achieve baking success—perfect for novice cooks or busy chefs.
Gluten-free treat: Enjoy a festive dessert that fits various dietary needs while still being indulgent!
Creative freedom: Transform these meringues with fun decorating techniques, letting your imagination run wild.
Crowd-pleaser: The airy texture and sweet flavor captivate both kids and adults, ensuring smiles all around.
Ghost Meringues Ingredients
For the Meringue
- Egg Whites – Provide structure and volume; can be aged for better consistency.
- Cream of Tartar – Stabilizes egg whites during whipping; no substitute is necessary for structure.
- Granulated Sugar – Sweetens and supports meringue structure; substitutions are not recommended as honey changes the texture.
- Vanilla Bean Paste – Adds a rich vanilla flavor without excess moisture; vanilla extract can be a substitute in small amounts.
For Decorating
- Dark Chocolate – Used for decorating ghost faces; can substitute with food coloring or edible markers for creative designs.
How to Make Ghost Meringues
-
Preheat your oven to 200°F (93°C) and line a baking sheet with parchment paper or a silicone mat. This ensures our ghostly meringues bake evenly and don’t stick!
-
Whisk the egg whites and cream of tartar in a stand mixer on medium speed until the mixture is frothy and bubbly. This preparation sets the stage for our light and airy meringue!
-
Add granulated sugar gradually while increasing the mixer speed to medium-high. Whip until soft peaks form, about 5-6 minutes. Then, incorporate vanilla bean paste for that delicious touch!
-
Beat the mixture until it reaches stiff peaks, which makes the meringue hold its shape. Transfer it to a piping bag fitted with a large round tip for easy decorating.
-
Pipe mounds of meringue onto the lined baking sheet, leaving about 1 inch of space between each blob. This allows them to puff up nicely while baking!
-
Bake for 1 hour, then turn off the oven. Leave the meringues inside to dry for another 1-2 hours, allowing them to develop their delightful crunch.
-
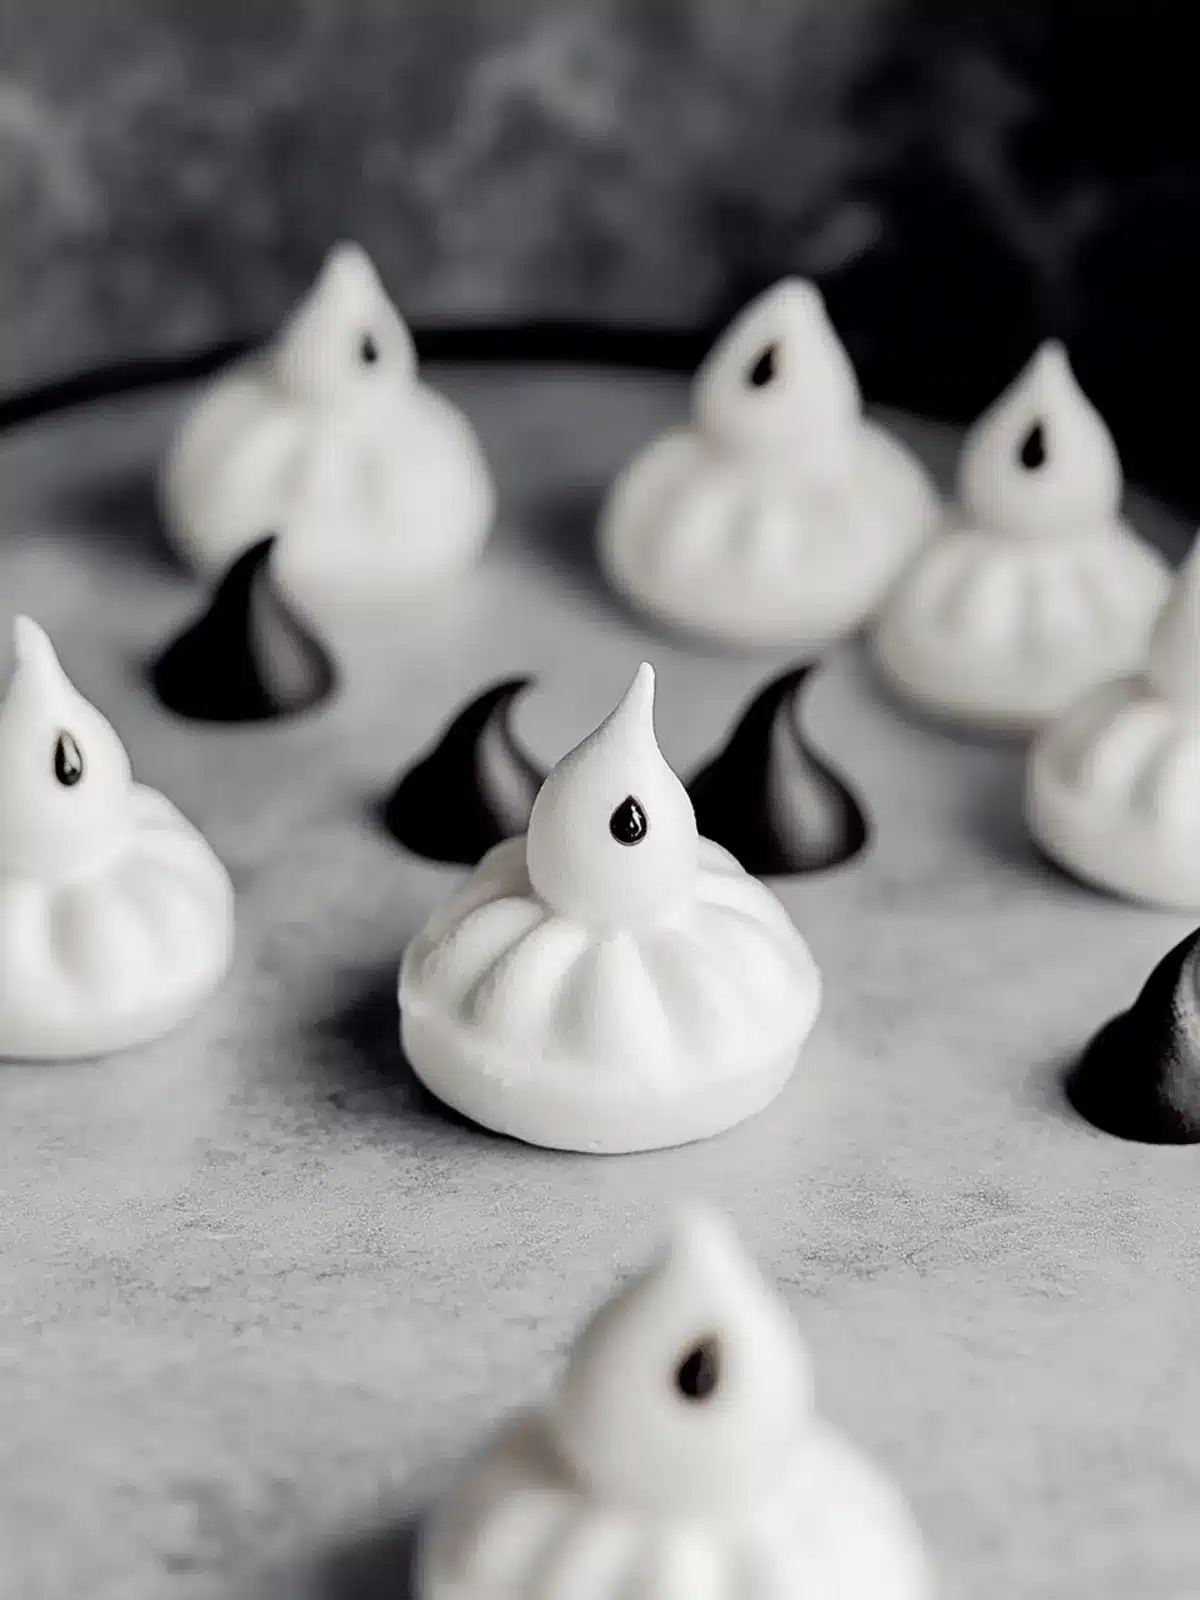
Cool completely to room temperature and then decorate by painting faces on your ghostly meringues with melted dark chocolate—let your creativity haunt your dessert table!
Optional: For a fun twist, add food coloring to the meringue before piping for a festive touch.
Exact quantities are listed in the recipe card below.
Storage Tips for Ghost Meringues
Room Temperature: Keep your ghost meringues in an airtight container at room temperature to maintain their delightful crispness for up to 3 days.
Humidity Alert: Avoid storing them in humid environments, as moisture can make the meringues chewy instead of light and airy.
Freezer: If you want to save them longer, freeze ghost meringues in an airtight container for up to 1 month. Just allow them to thaw at room temperature before serving!
Reheating: Meringues don’t require reheating; simply enjoy them as they are, allowing their unique airy texture to shine!
Ghost Meringues Variations & Substitutions
Feel free to unleash your creativity and customize these delightful treats to suit your taste and occasion!
- Flavored Extracts: Swap vanilla bean paste for almond, mint, or hazelnut extracts for a unique twist your taste buds will adore.
- Colorful Meringues: Add food coloring to the meringue before piping to create vibrant designs for any theme beyond Halloween!
- Sugar Alternatives: For a subtle change, use coconut sugar instead of granulated sugar, which will lend a hint of caramel flavor.
- Chocolate Face Alternatives: Instead of dark chocolate, try white chocolate or royal icing for decorating the ghost faces, adding a different sweetness.
- Mini Ghosts: Pipe smaller mounds for bite-sized treats—perfect for parties and playful snacking. These little morsels will disappear instantly!
- Nuts ‘n’ Spice: Fold in finely chopped nuts or a sprinkle of cinnamon to the meringue for added texture and flavor contrast.
- Savory Option: For a fun twist, infuse a bit of cheese powder into the meringue to create a savory variant—perfect for adventurous eaters!
- Chocolate-Dipped Bottoms: After they cool, dip the bases of the meringues in chocolate for a decadent flourish that will leave everyone craving more.
Make Ahead Options
These ghost meringues are perfect for meal prep enthusiasts! You can whip up the meringue mixture and pipe it onto the baking sheet up to 24 hours in advance. Just cover the tray loosely with plastic wrap to protect them from moisture as they refrigerate. When you’re ready to bake, simply pop them in a preheated oven and follow the remaining steps. Alternatively, after baking, once completely cooled, store the meringues in an airtight container at room temperature for up to 3 days to maintain their crispness. Remember, the earlier you prepare, the more time you’ll save for enjoying the festivities with loved ones! These meringues will be just as delicious and delightful, making your Halloween celebrations a breeze!
What to Serve with Ghost Meringues?
These delightful treats are perfect for adding whimsy to any Halloween dessert table and pairing them with other festive delights can create a memorable celebration.
-
Pumpkin Spice Cheesecake: The creamy richness of cheesecake complements the light texture of the meringues, creating a delightful contrast in every bite.
-
Chocolate Cupcakes: These moist, chocolatey desserts can harmonize beautifully with the airy ghost meringues, balancing sweetness and offering a variety of flavors.
-
Crisp Apple Slices: Fresh and crunchy, apple slices add a refreshing contrast to the sweetness of the meringues. Serve with caramel dip for an extra fun touch!
-
Spiced Hot Cider: Warm spiced cider offers comforting aromas and flavors that perfectly match the festive spirit of Halloween, making it a cozy beverage choice.
-
Trick-or-Treat Candy Board: A colorful assortment of Halloween candies can create a playful backdrop alongside the ghost meringues, inviting guests to explore sweet surprises.
-
Vanilla Ice Cream: Creamy vanilla ice cream provides a luscious counterpart to crispy meringues. Drizzle with chocolate sauce for a dessert that truly wows.
Let your creativity run wild with these pairings and elevate your Halloween gathering with an unforgettable feast!
Expert Tips for Ghost Meringues
• Aging Egg Whites: Let egg whites sit in the fridge for 24-72 hours. This helps achieve a more stable meringue consistency for your ghost meringues.
• No Yolk Allowed: Be extra cautious to keep yolk out of the egg whites. Even a small amount can ruin the whipping process and affect your meringues.
• Humidity Matters: Store your ghost meringues in a dry environment. Humidity can turn these treats chewy instead of keeping them light and crisp.
• Piping Precision: When piping, ensure there’s enough space between mounds. This allows each ghost to expand without merging into one another during baking.
• Decorating Ideas: Use melted dark chocolate for faces, or consider alternative decorations like colored icing or edible markers to customize your ghost meringues.
Ghost Meringues Recipe FAQs
What should I look for when selecting egg whites?
Absolutely! For the best results, choose fresh eggs with clear, vibrant whites. If possible, using aged egg whites—those left in the refrigerator covered for 24-72 hours—can yield a more stable meringue, giving your ghost meringues that perfect fluffy texture.
How should I store ghost meringues?
Very! Store your ghost meringues in an airtight container at room temperature to keep them crisp for up to 3 days. Make sure to place them in a dry environment since humidity can cause them to become chewy and lose their delightful crunch.
Can I freeze ghost meringues?
Absolutely! For longer storage, you can freeze ghost meringues. Place them in an airtight container, separating layers with parchment paper, and freeze for up to 1 month. When you’re ready to enjoy them, simply allow them to thaw at room temperature—no reheating necessary!
What should I do if my meringue doesn’t form stiff peaks?
No worries! If your meringue isn’t reaching stiff peaks, ensure your mixing bowl and whisk are completely clean and free from any grease or yolk. It’s also important to whip the egg whites on medium-high speed and add the sugar gradually. If you’ve inadvertently mixed in any yolk, the meringue won’t whip properly, so be vigilant!
Are there any dietary considerations for ghost meringues?
Yes! Ghost meringues are generally gluten-free and low in fat, making them a lighter dessert option. However, if you’re serving them to someone with egg allergies or intolerances, you might want to suggest alternative treats, as meringue contains egg whites as its primary ingredient.
What alternatives can I use for decorating the ghost faces?
Very! While dark chocolate is wonderful for decorating, you can also use food coloring or edible markers to create colorful designs. If you’re feeling extra festive, consider using colored icing to add even more personality to your ghost meringues—let your creativity shine!
Ghost Meringues: Fun & Easy Halloween Treats Everyone Will Love
Ingredients
Equipment
Method
- Preheat your oven to 200°F (93°C) and line a baking sheet with parchment paper or a silicone mat.
- Whisk the egg whites and cream of tartar in a stand mixer on medium speed until frothy and bubbly.
- Gradually add granulated sugar while increasing the mixer speed to medium-high, whipping until soft peaks form.
- Incorporate vanilla bean paste and beat the mixture until it reaches stiff peaks.
- Transfer the meringue to a piping bag fitted with a large round tip.
- Pipe mounds of meringue onto the lined baking sheet, leaving about 1 inch space between each blob.
- Bake for 1 hour, then turn off the oven and leave the meringues inside to dry for another 1-2 hours.
- Cool completely to room temperature and decorate with melted dark chocolate.

