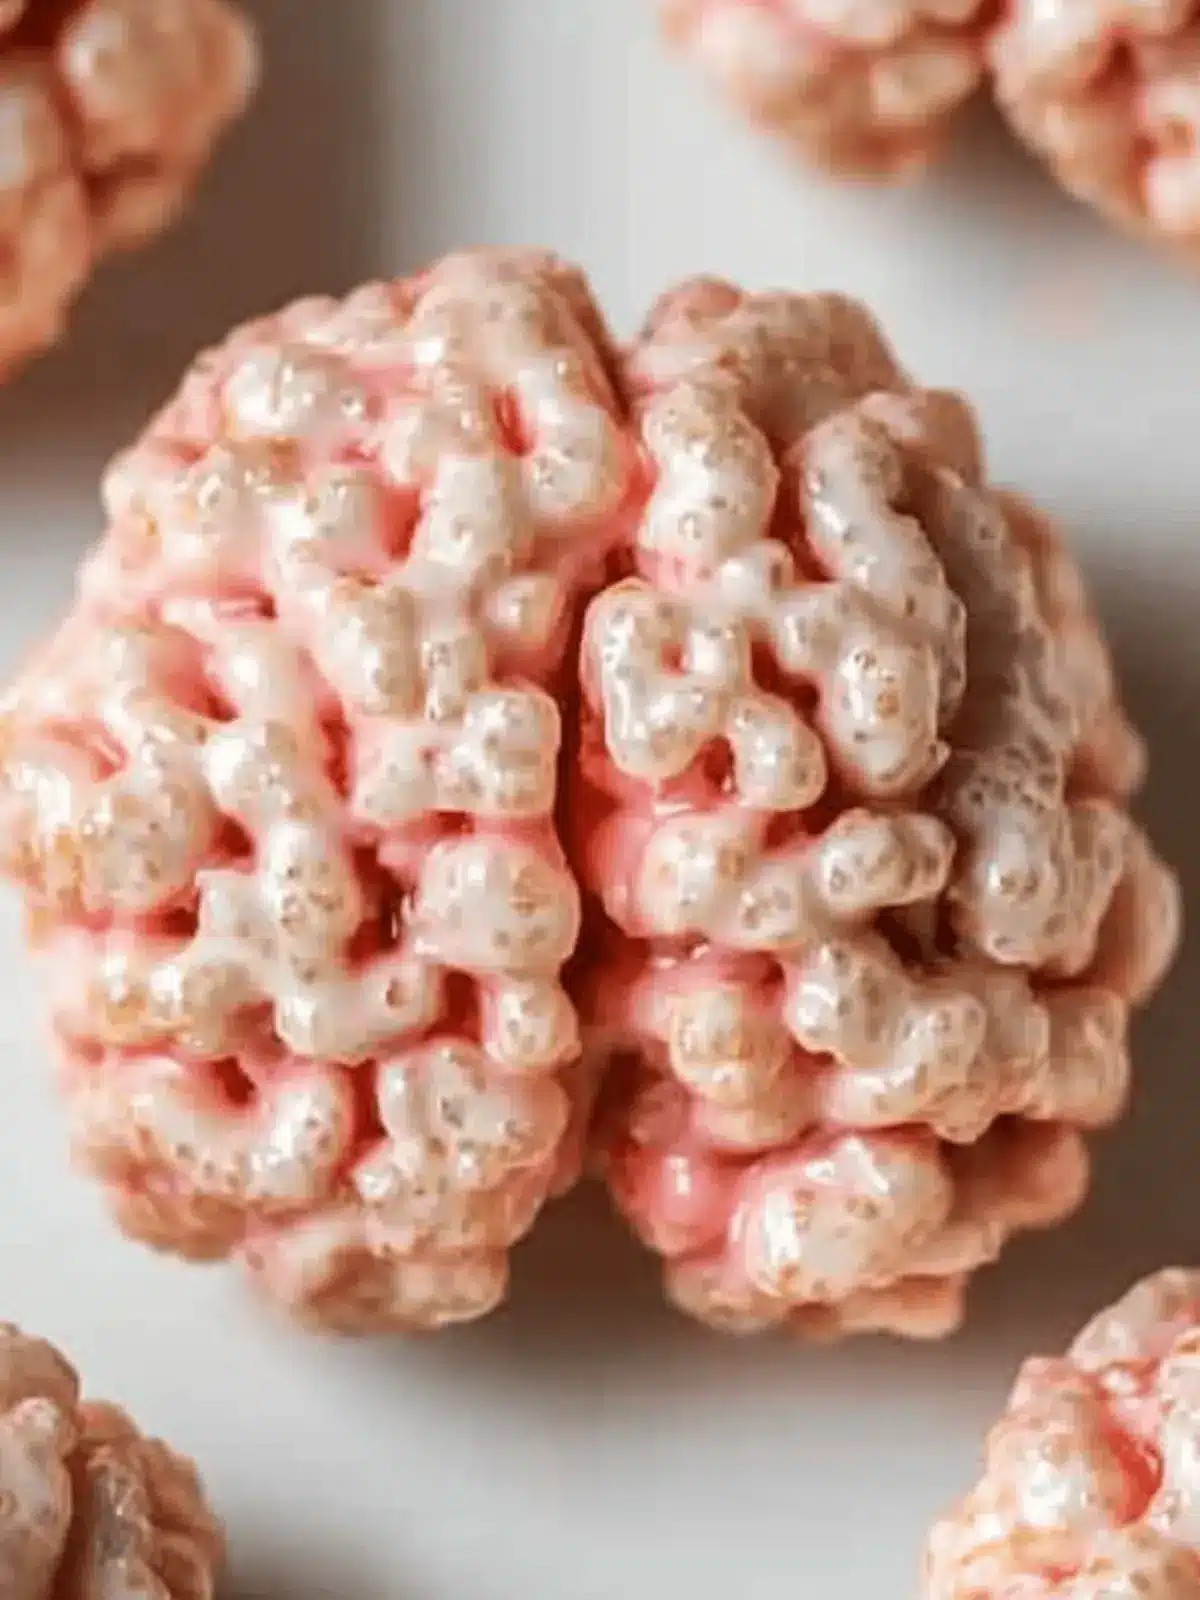
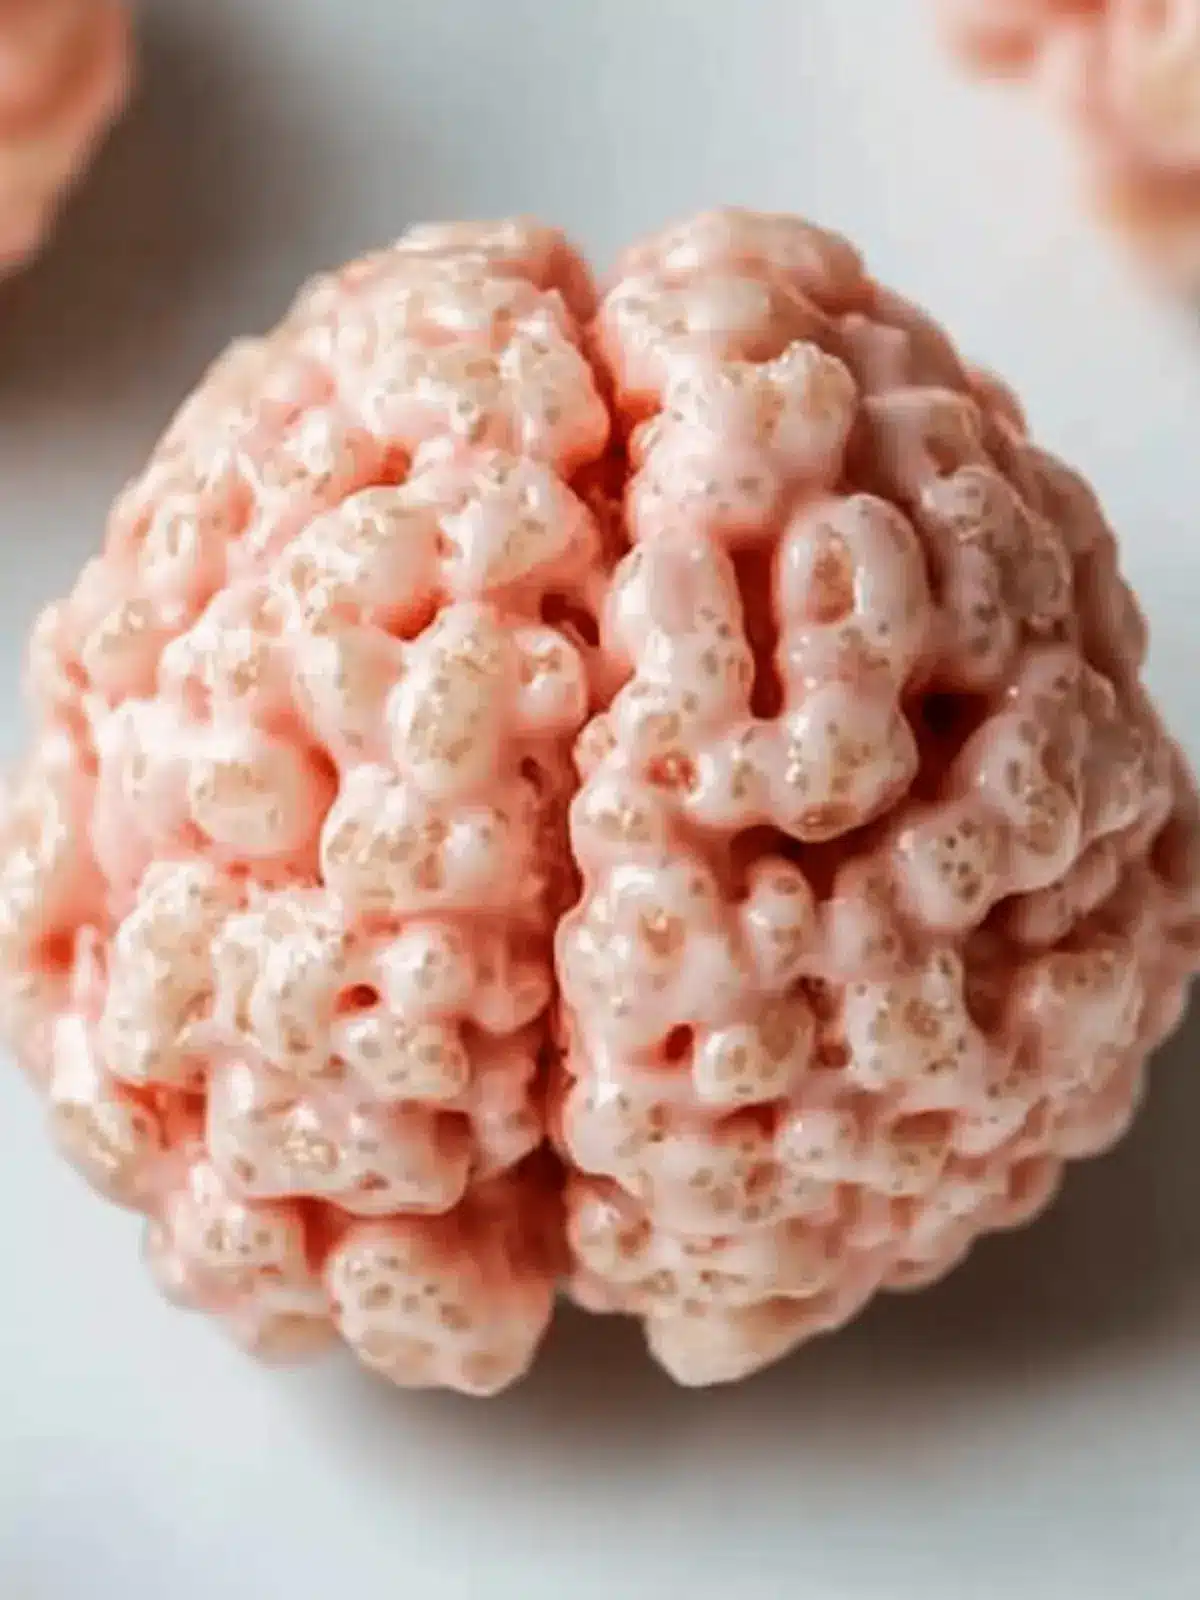
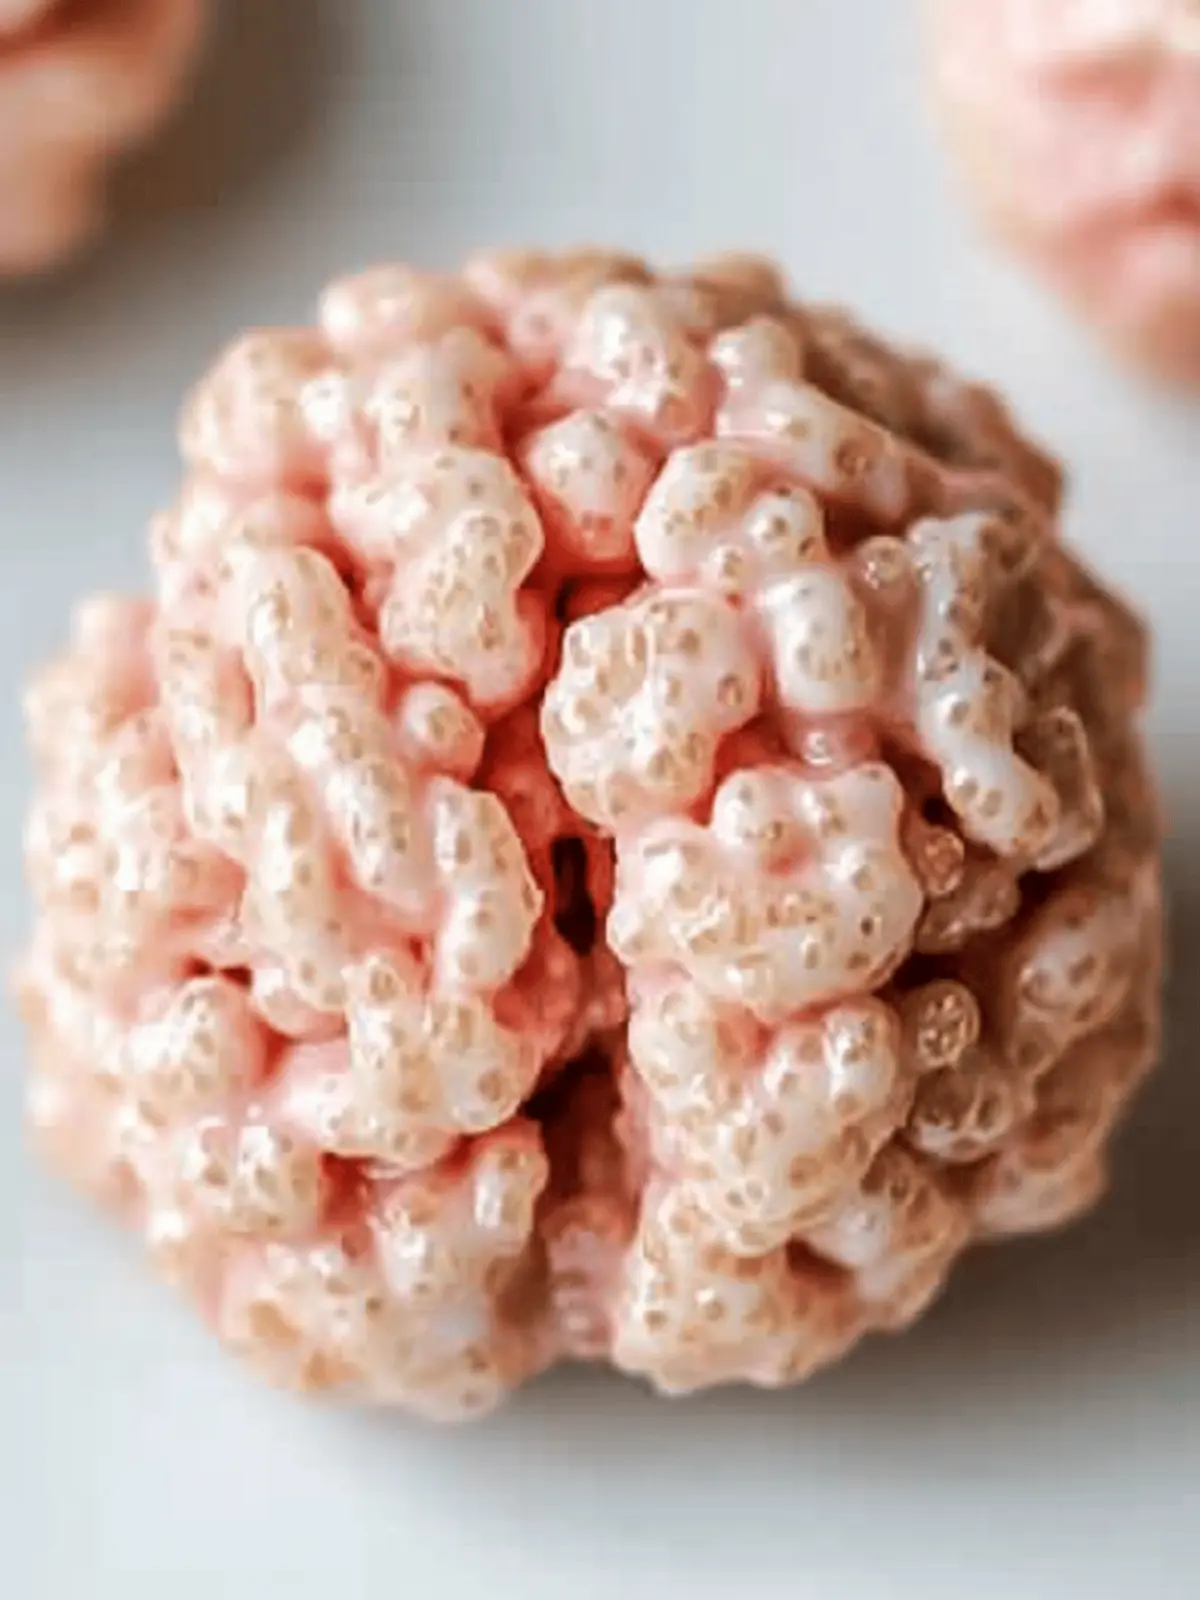
As the days grow shorter and the air turns crisp, my kitchen transforms into the ultimate Halloween workshop, filled with both giggles and gasps. This year, I wanted to whip up something that captures the playful spirit of spooky season without compromising on fun or flavor. Enter these Marshmallow Rice Krispies Halloween Brains! The very thought of these eerie treats makes me chuckle, as they perfectly blend crunchy, gooey goodness with a dash of fright.
I stumbled upon this recipe while exploring my pantry and searching for something whimsical yet simple enough for last-minute gatherings. With just a handful of ingredients, these brain-shaped delights are not just a feast for the eyes, but they offer endless possibilities—whether you’re accommodating dietary restrictions or simply wanting to switch things up. So gather your little monsters and let’s create some deliciously creepy snacks that are bound to impress trick-or-treaters and party guests alike!
Why love Marshmallow Rice Krispies Halloween Brains?
Amazingly Fun: These treats elevate your Halloween festivities while being incredibly fun to make, allowing you to unleash your creativity with different colors and shapes.
Easy to Prepare: With minimal ingredients and straightforward steps, they fit perfectly into busy schedules, making them a fantastic last-minute dessert.
Customizable Variations: From gluten-free to seasonal flavors, this recipe adapts effortlessly to suit various dietary needs or preferences, ensuring everyone can indulge.
Crowd-Pleasing Appeal: Their unique spooky shape delights kids and adults alike, making them a guaranteed conversation starter at parties.
Memorable Presentation: The striking brain design is visually captivating, providing that perfect mix of deliciousness and seasonal spirit effortlessly!
Marshmallow Rice Krispies Halloween Brains Ingredients
For the Base
• Unsalted Butter – Creates a smooth base; substitute with coconut oil for a dairy-free option.
• Regular Marshmallows – The primary binding agent; ensure they are fresh for the best gooey texture.
• Rice Krispies Cereal – Provides the crunchy texture; opt for certified gluten-free Rice Krispies for a gluten-free version.
For the Flavor and Color
• Salt – Enhances the sweetness and balances flavors; feel free to omit for a low-sodium treat.
• Red Food Coloring – Vital for creating the creepy brain effect; gel colors give better vibrancy without added moisture.
With these simple yet essential ingredients, you’re all set to create your deliciously eerie Marshmallow Rice Krispies Halloween Brains!
How to Make Marshmallow Rice Krispies Halloween Brains
-
Prepare Bain-Marie: Fill a medium saucepan with ½ cup water and bring to a gentle boil. Place a large heatproof bowl on top to create a double boiler effect for melting ingredients.
-
Melt Ingredients: Add the unsalted butter and regular marshmallows to the bowl. Whisk continuously until the mixture is completely melted and smooth, which should take about 2-4 minutes.
-
Mix in Color & Salt: Remove the bowl from the heat. Whisk in the salt and 2-3 drops of red food coloring to achieve that vibrant brain hue. Adjust the color to your preference!
-
Combine with Cereal: Pour the melted mixture over the Rice Krispies in a large mixing bowl. Stir quickly but gently to ensure all the cereal is evenly coated with the gooey mixture.
-
Shape Brains: Lightly oil your hands with vegetable oil to prevent sticking. Take portions of the mixture and shape them into oval brain forms, then carve a groove down the center for a more realistic look.
-
Add Details: Use a toothpick dipped in additional food coloring to draw vein patterns on your marshmallow brains. Get creative—this is where the spooky fun really shines!
Optional: Dust with edible glitter for an extra spooky touch!
Exact quantities are listed in the recipe card below.
What to Serve with Marshmallow Rice Krispies Halloween Brains?
As you prepare these delightful spooky treats, consider some creative accompaniments that will elevate your Halloween festivities.
-
Warm Apple Cider: The sweet and spiced warmth of cider pairs perfectly with these treats, enhancing their sugar rush with cozy autumn flavors.
-
Hot Chocolate Bar: Set up a hot chocolate station complete with toppings like whipped cream and sprinkles for a fun way to warm up chilly nights.
-
Bloody Red Velvet Popcorn: This sinister snack adds a crunchy contrast, creating a delightful visual and textural experience that complements the gooey brains.
-
Sliced Fruit Platter: Fresh, crisp fruit like apples and pears offers a refreshing balance to the sweetness of your treats, helping to cleanse the palate between bites.
-
Pumpkin Spice Cupcakes: These festive bites can bring a delightful theme to your gathering, combining flavors of fall, all while looking cute among your Halloween decor!
-
Ghostly Marshmallow Treats: For added fun, craft small ghost-shaped marshmallows on sticks with chocolate eyes, offering another eerie snack for your guests to enjoy.
This collection of goodies will create an unforgettable Halloween spread that not only delights the senses but also keeps everyone entertained and satisfied!
Marshmallow Rice Krispies Halloween Brains Variations
Feel free to add your unique spin to these spooky delights. Let your creativity shine while keeping the spirit of Halloween alive!
- Dairy-Free: Substitute unsalted butter with coconut oil to make the recipe dairy-free without losing any texture.
- Nutty Twist: Add creamy peanut butter to the melted marshmallows for a rich, nutty flavor that makes these treats unforgettable.
- Sugar-Free: Use sugar-free marshmallows to cater to those looking to enjoy a low-sugar treat without sacrificing the fun!
- Colorful Brains: Try using different food coloring to create monster-themed brains—think green or purple for a festive twist!
- Puffed Quinoa: Replace Rice Krispies with puffed quinoa for a nutritious, crunchy alternative that packs extra protein.
- Chunky Textures: Mix in mini chocolate chips or crushed Oreos to your cereal mixture for a deliciously textural treat representing ‘neurons.’
- Pumpkin Spice: Stir in pumpkin spice into the melted marshmallow mixture for a seasonal flavor explosion.
- Savory Spin: Add a pinch of cayenne pepper for a surprising kick to balance out the sweetness; it’s a flavor combination sure to impress!
Expert Tips for Marshmallow Rice Krispies Halloween Brains
-
Stay Fresh: Use fresh marshmallows to achieve the best gooey consistency; stale marshmallows won’t melt properly, ruining your Halloween brains.
-
Oil Your Hands: Lightly oil your hands with vegetable oil before shaping the mixture. This prevents the sticky cereal from sticking to your fingers.
-
Temperature Control: If the mixture is too stiff, gently warm it. If it’s too sticky, let it cool slightly before shaping your Marshmallow Rice Krispies Halloween Brains for easier handling.
-
Mix Quickly: Once you pour the melted mixture over the Rice Krispies, stir quickly to ensure even coating without hardening.
-
Be Creative: Personalize your creations by adding mini chocolate chips or incorporating peanut butter for a unique flavor twist in your Halloween treats.
How to Store and Freeze Marshmallow Rice Krispies Halloween Brains
Airtight Container: Store your treats in an airtight container at room temperature for up to one week to maintain their freshness and chewy texture.
Cool Before Storing: Allow the Marshmallow Rice Krispies Halloween Brains to cool completely before placing them in storage to prevent condensation from making them sticky.
Freezer Option: For longer storage, freeze the shaped brains in a single layer on a baking sheet, then transfer them to a freezer-safe bag after they’re frozen solid. They can be stored for up to 3 months.
Reheating: To enjoy them warm, simply let them thaw at room temperature for a few hours before serving or warm them briefly in the microwave for a few seconds.
Make Ahead Options
These Marshmallow Rice Krispies Halloween Brains are perfect for busy home cooks looking for a fun, time-saving treat! You can shape the brains up to 3 days in advance; just store them in an airtight container to keep them fresh and maintain their spooky appearance. To enhance their flavor, prepare the base mixture of melted marshmallows and Rice Krispies up to 24 hours ahead and refrigerate it, then let it sit at room temperature for about 30 minutes before shaping. When you’re ready to finish, simply oil your hands, mold into the brain shapes, add the vein details, and voilà—deliciously creepy snacks that are just as delightful as the day you made them!
Marshmallow Rice Krispies Halloween Brains Recipe FAQs
What type of marshmallows should I use for the best results?
Absolutely! You should use fresh regular marshmallows, as they are the primary binding agent for your Marshmallow Rice Krispies Halloween Brains. Stale marshmallows won’t melt properly and can result in a less gooey texture. For a unique twist, consider using flavored marshmallows if you want to experiment!
How should I store leftover treats, and how long do they last?
I recommend storing your Marshmallow Rice Krispies Halloween Brains in an airtight container at room temperature. They will stay fresh for up to one week. Just ensure they are completely cool before storing to prevent them from becoming sticky due to condensation!
Can I freeze these treats, and how do I do it?
Yes, indeed! For longer-lasting enjoyment, you can freeze your shaped brains. First, freeze them in a single layer on a baking sheet. Once they are solid, transfer them to a freezer-safe bag. They can be stored for up to 3 months. To enjoy them again, let them thaw at room temperature or warm them gently in the microwave for a few seconds.
What should I do if the mixture is too sticky or stiff while shaping?
Very good question! If the mixture feels too sticky when shaping your Halloween brains, lightly oil your hands with vegetable oil to help prevent sticking. Conversely, if the mixture appears too stiff to mold, gently warm it in a microwave for about 10-15 seconds until it is easier to work with.
Are there any dietary considerations I should be aware of?
Absolutely! These treats can easily accommodate various dietary needs. For gluten-free options, make sure to use certified gluten-free Rice Krispies. If you have dairy allergies, substitute the unsalted butter with coconut oil or any other preferred non-dairy fat. You can also use sugar-free marshmallows for a healthier twist!
Can I make these Marshmallow Rice Krispies Halloween Brains in advance?
Yes, the more the merrier! You can shape the brains up to 3 days in advance. Simply store them as outlined above and add any decorative details, like vein patterns, just before serving. This way, your treats look fresh and spooky for your Halloween gatherings!
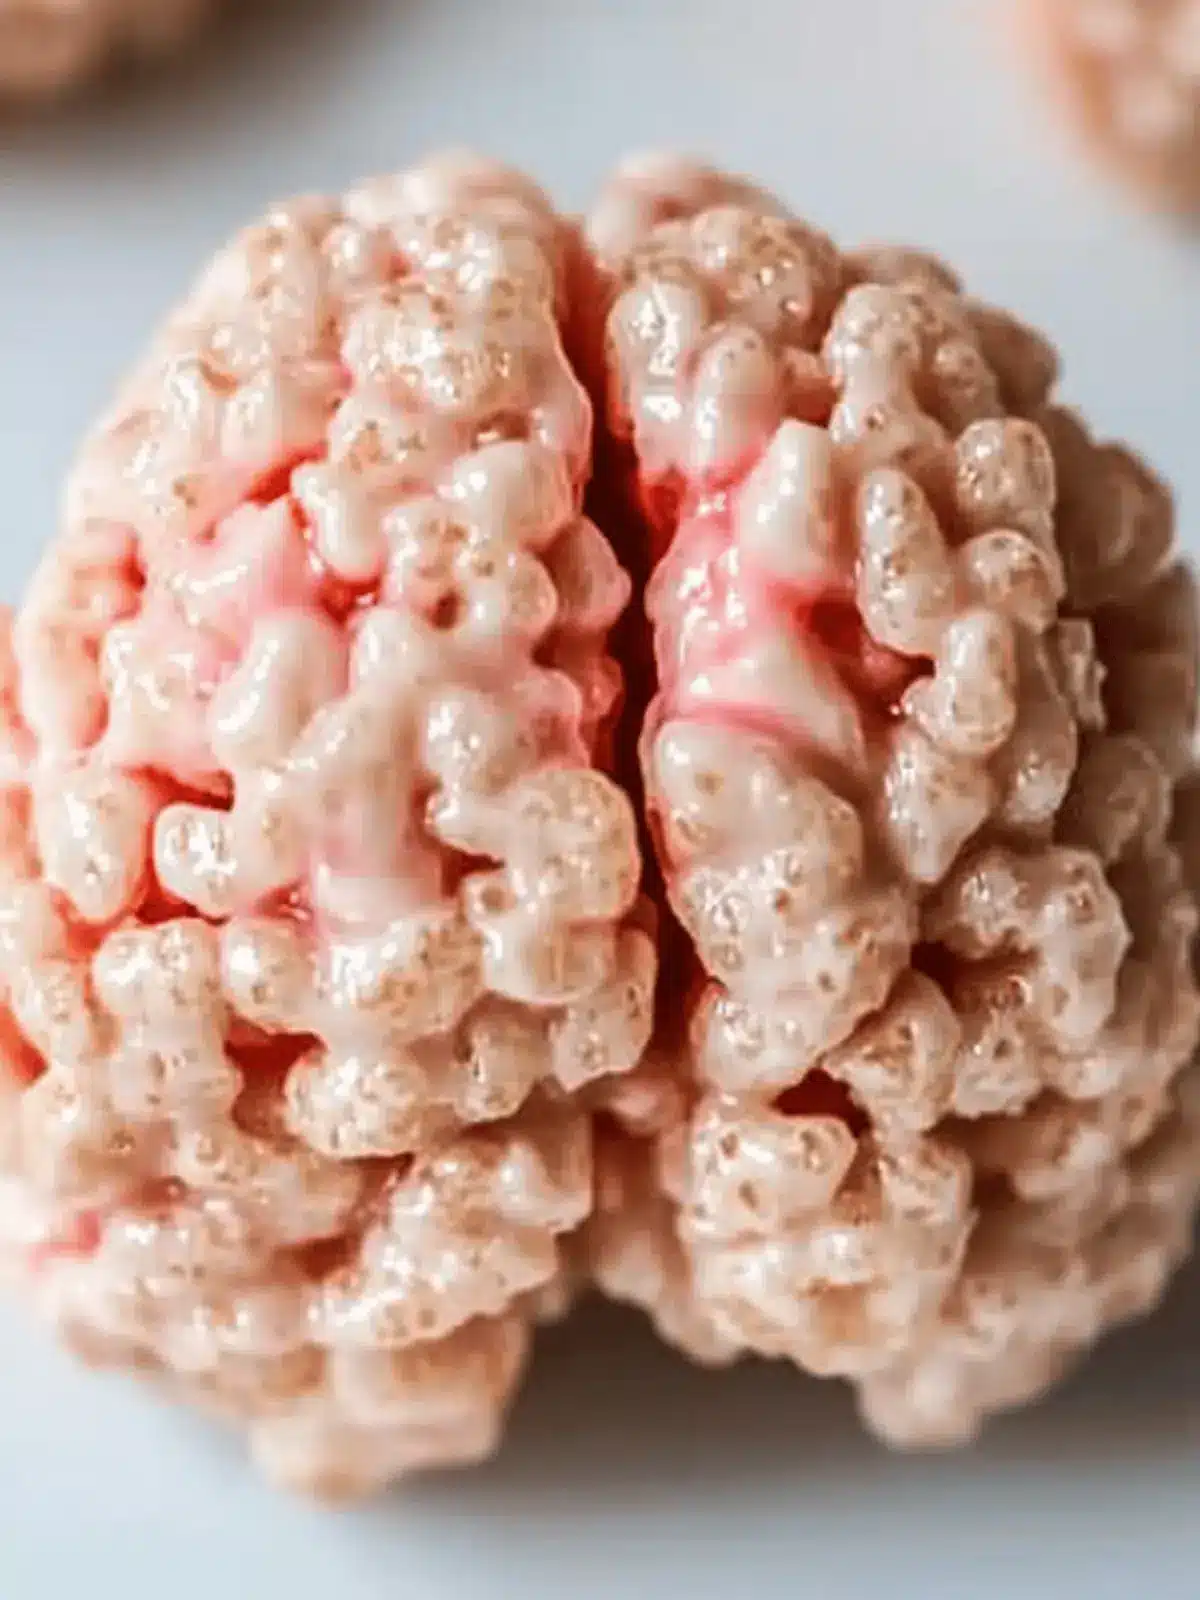
Marshmallow Rice Krispies Halloween Brains for Spooky Fun
Ingredients
Equipment
Method
- Fill a medium saucepan with ½ cup water and bring to a gentle boil. Place a large heatproof bowl on top to create a double boiler effect for melting ingredients.
- Add the unsalted butter and regular marshmallows to the bowl. Whisk continuously until the mixture is completely melted and smooth, which should take about 2-4 minutes.
- Remove the bowl from the heat. Whisk in the salt and 2-3 drops of red food coloring to achieve that vibrant brain hue. Adjust the color to your preference!
- Pour the melted mixture over the Rice Krispies in a large mixing bowl. Stir quickly but gently to ensure all the cereal is evenly coated with the gooey mixture.
- Lightly oil your hands with vegetable oil to prevent sticking. Take portions of the mixture and shape them into oval brain forms, then carve a groove down the center for a more realistic look.
- Use a toothpick dipped in additional food coloring to draw vein patterns on your marshmallow brains. Get creative—this is where the spooky fun really shines!

