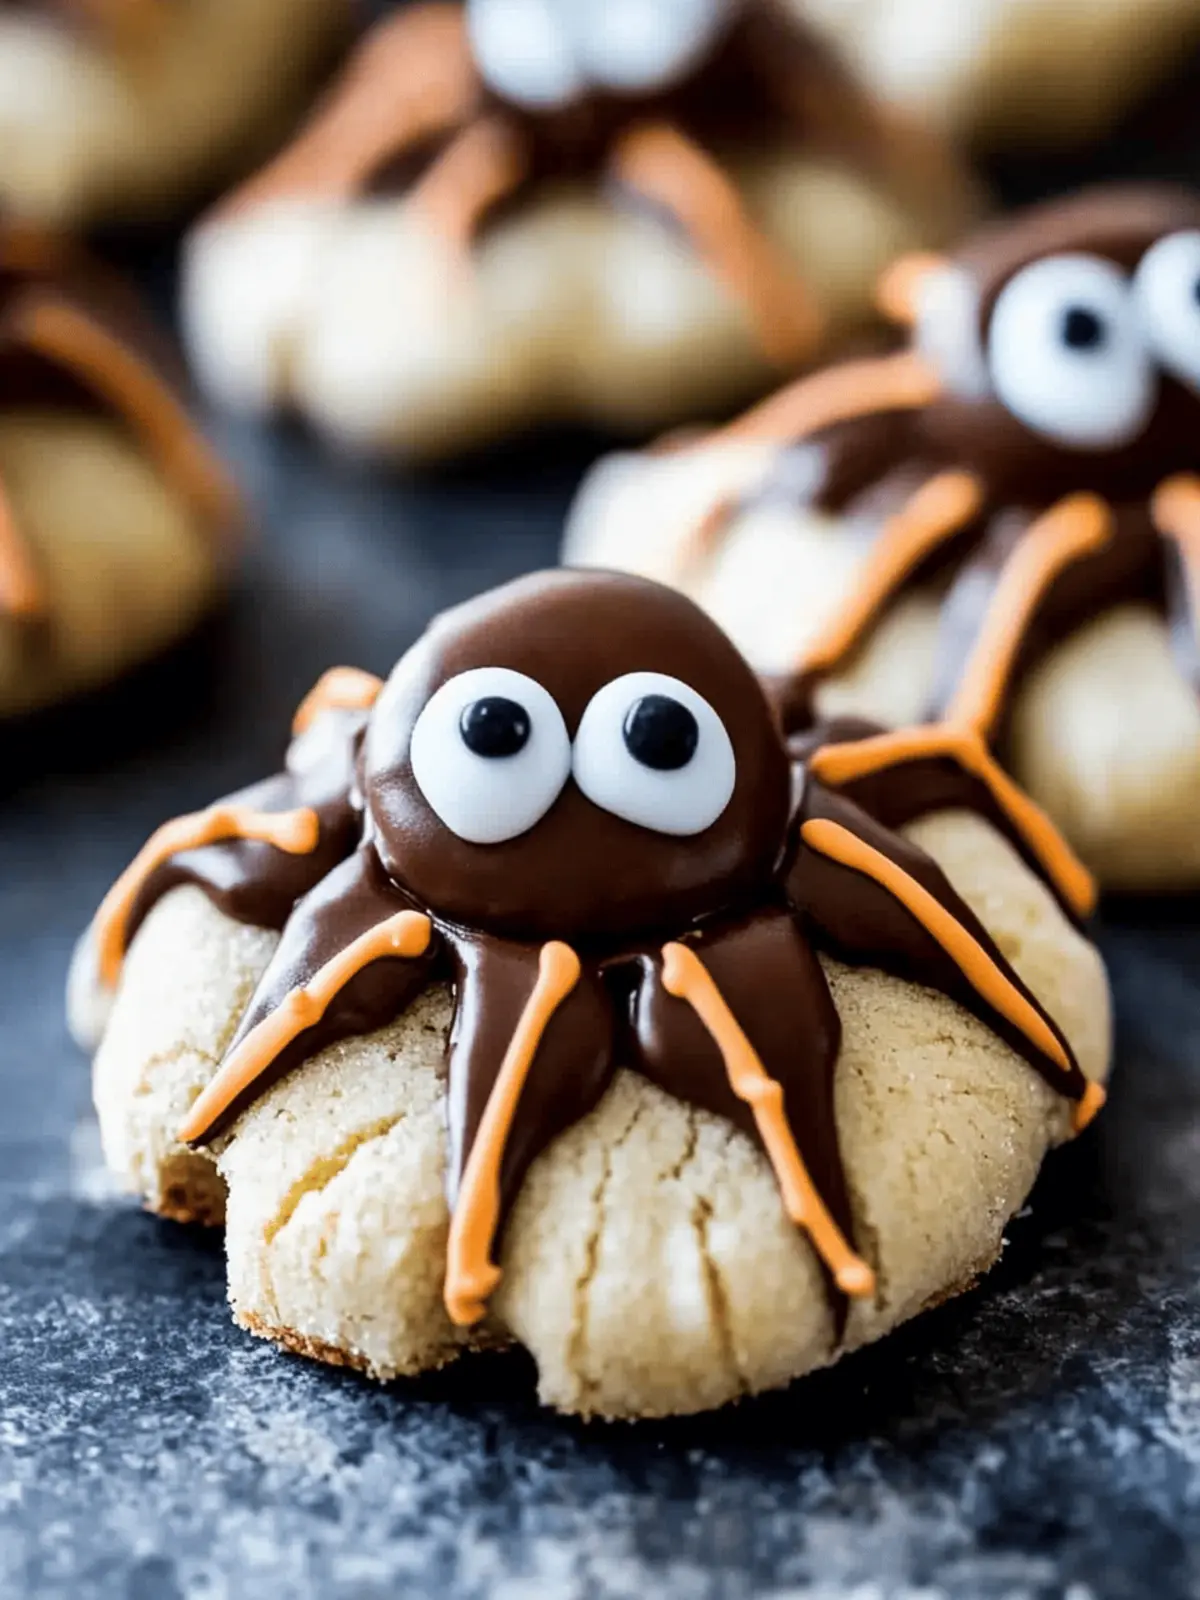
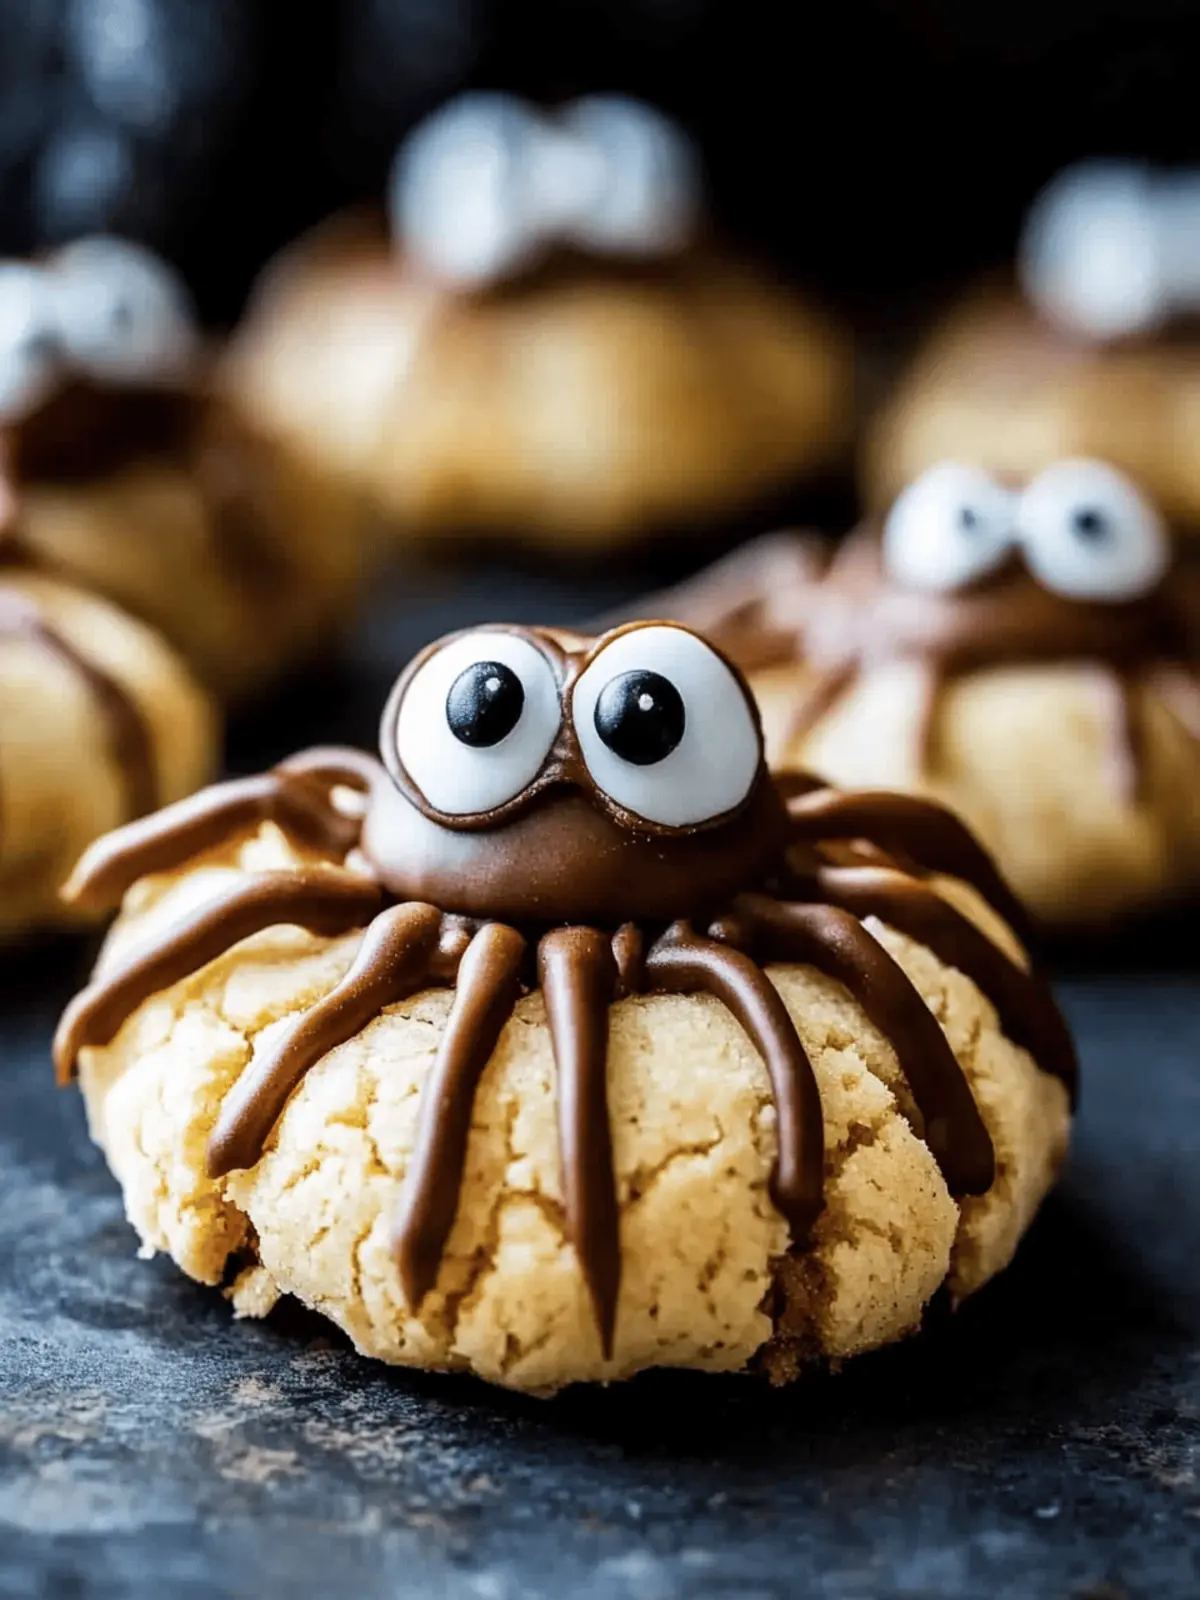
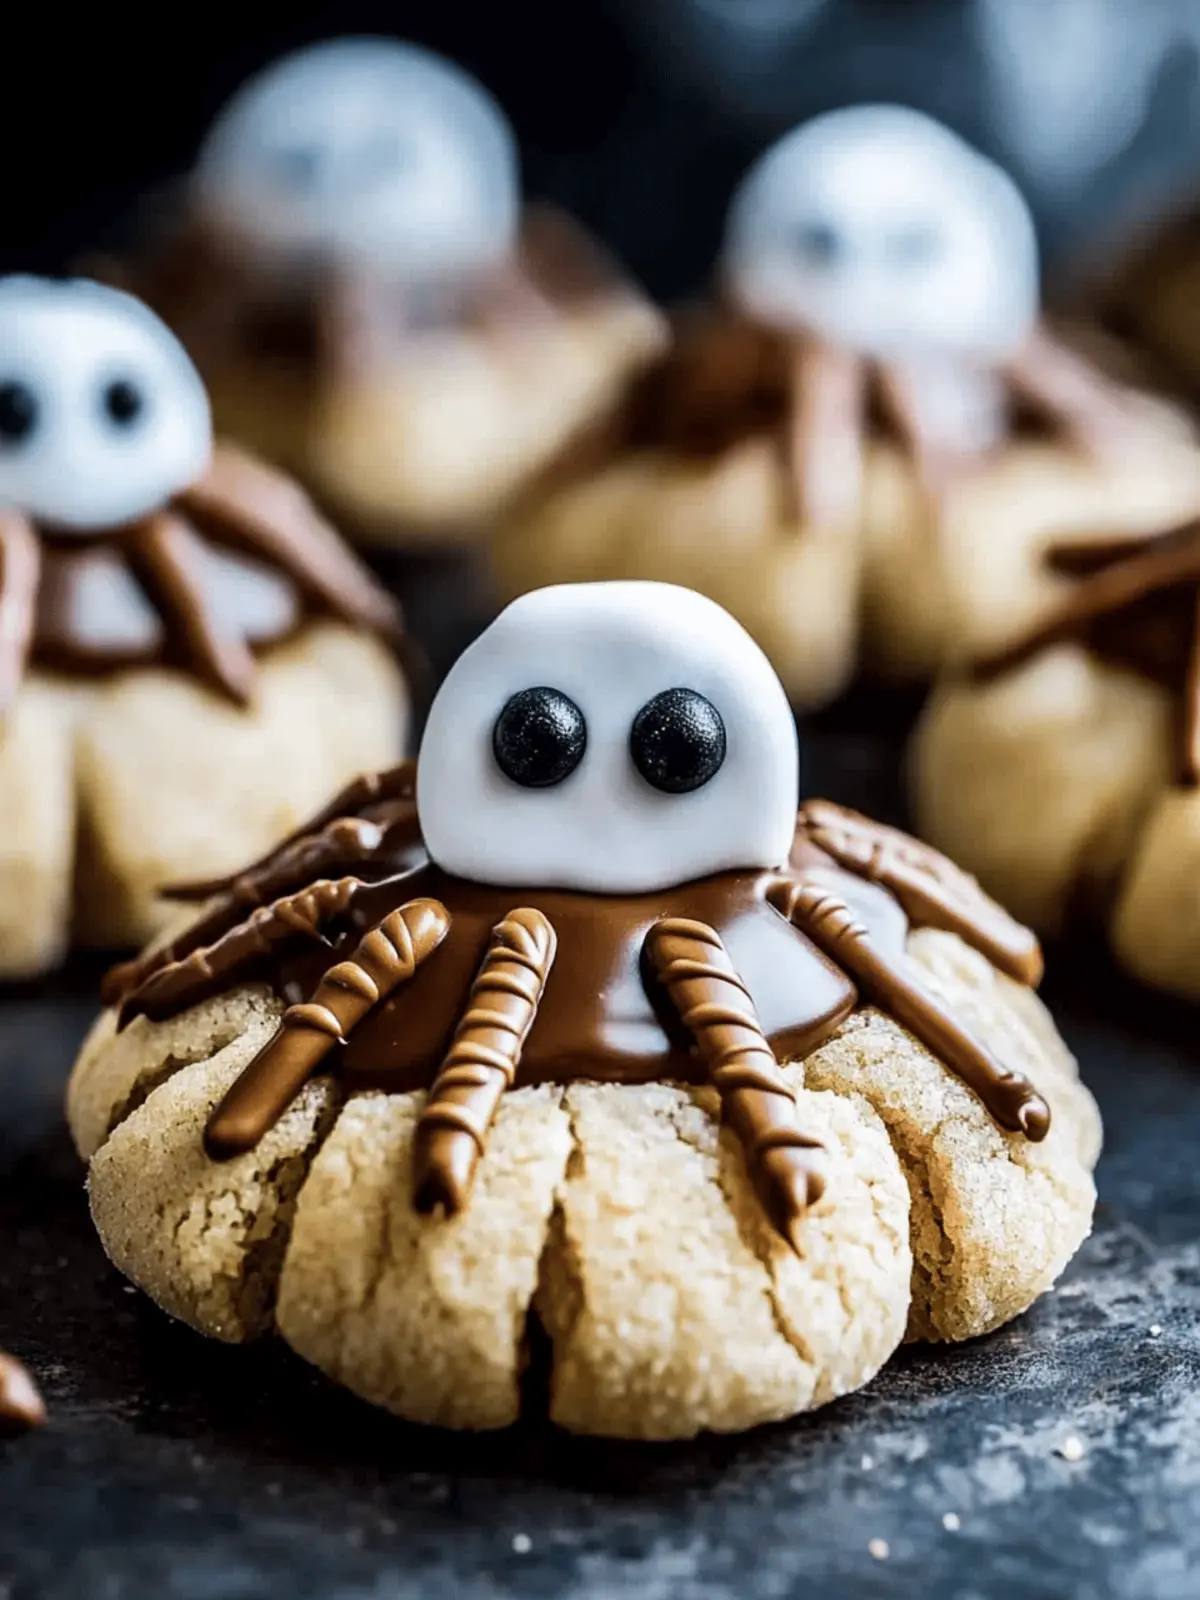
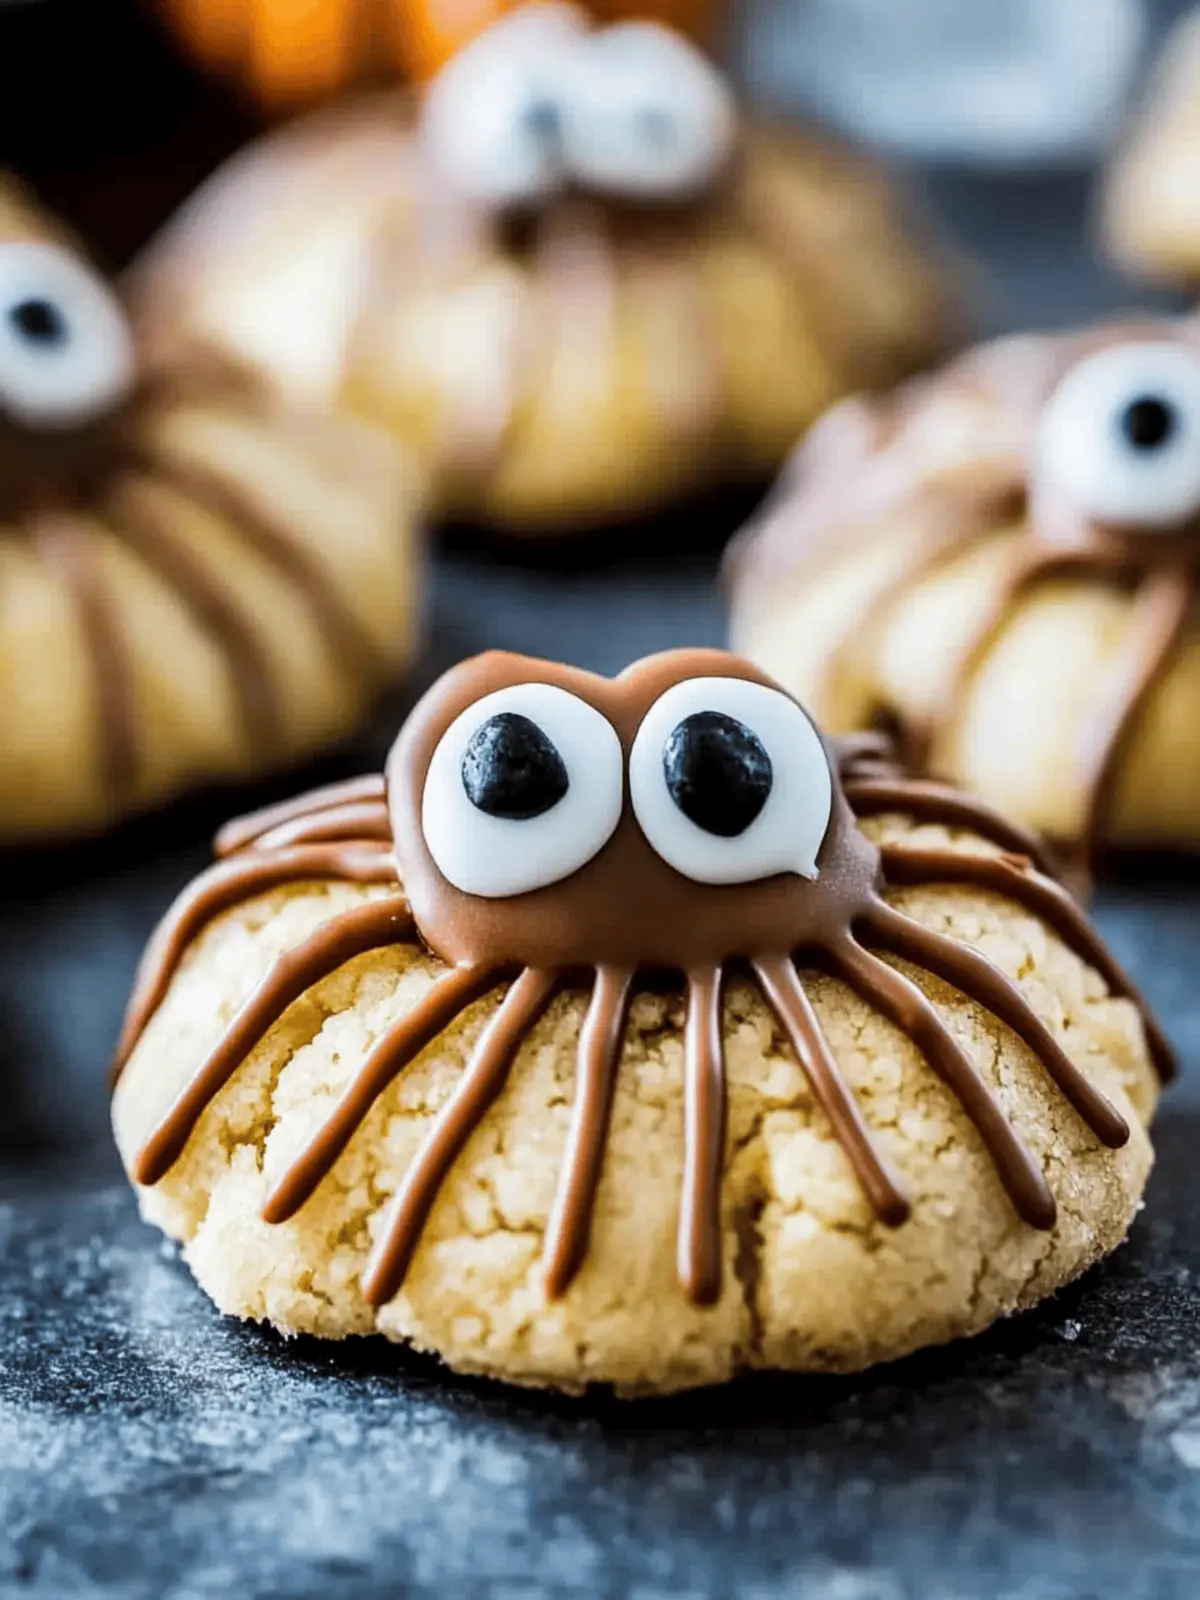
When those crisp autumn leaves start falling and Halloween creeps around the corner, I get a sweet itch to bake something both delicious and delightfully spooky. Enter my Spooky Peanut Butter Spider Cookies—a treat that’s as fun to make as it is to eat! Imagine the inviting aroma of creamy peanut butter mingling with sizzling chocolate, creating an irresistible blend that fills your kitchen.
These cookies are perfect for family gatherings, Halloween parties, or simply to satisfy that sweet tooth without resorting to the usual fast-food fare. The rich, chewy peanut butter base is complemented by a sticky marshmallow web, making each cookie a delightful blend of flavors and textures. Not only will kids love their creepy, crawly appearance, but adults will appreciate the nostalgic flavor that takes you back to childhood baking days.
So grab your ingredients and let’s create something that’s sure to scare up some smiles!
Why You’ll Love These Spooky Spider Cookies
Delightfully Fun: These cookies aren’t just treats—they’re an experience! Kids will love getting involved in decorating their spooky creations, making them a fantastic family activity.
Irresistible Flavor: The combination of rich peanut butter, chocolate, and gooey marshmallow produces an unforgettable taste that keeps you coming back for more.
Eye-Catching Presentation: With their creepy spider decorations, these cookies steal the show at any Halloween gathering or party!
Quick and Easy: These Spooky Spider Cookies are simple to make, requiring just a few straightforward steps that even novice bakers can follow without stress.
Versatile Treat: Feel free to get creative with the decoration! Use various candies or toppings to customize the spooky look of each cookie.
Perfect for Any Occasion: While they shine during Halloween, these cookies are delightful for any gathering or as fun lunchbox treats!
Spooky Spider Cookies Ingredients
For the Cookies
- Unsalted Butter – Provides richness and moisture; ensure it is softened for easy mixing.
- Light Brown Sugar – Adds sweetness and a hint of molasses flavor; can substitute with dark brown sugar for a richer taste.
- Granulated Sugar – Enhances sweetness and aids in the cookie’s texture.
- Creamy Peanut Butter – The key flavor component, providing a nutty taste and chewy texture; substituting with almond butter can cater to nut allergies.
- Eggs + Egg Yolk – Bind ingredients and help create structure.
- Vanilla Extract – Adds depth of flavor, enriching the cookie experience.
- All-Purpose Flour – The backbone of the cookie, providing structure; a gluten-free flour blend can be used for gluten-free cookies.
- Corn Starch – Helps create a softer, tender cookie.
- Baking Soda – Acts as a leavening agent, causing the cookies to expand slightly.
- Salt – Enhances flavor and balances the sweetness of the cookies.
For Coating and Decoration
- Granulated Sugar for Rolling – Adds a light crunch to the cookie surface.
- Dark Chocolate Melting Wafers – Used for securing the Reese’s and as decoration; milk chocolate can provide a sweeter alternative.
- Mini Marshmallows – Forms the spooky spider web; sticky and sweet; for ease, marshmallow fluff can be substituted but will alter the texture.
- Reese’s Miniature Peanut Butter Cups – Serve as the spider bodies; choose chilled to make them easier to handle.
- Small Candy Eyes – Add a fun, creepy charm to the cookies; can substitute with chocolate chips for a different look.
These Spooky Spider Cookies are sure to be a hit at your Halloween festivities!
How to Make Spooky Spider Cookies
-
Prepare Cookie Dough: In a stand mixer, beat the softened butter along with light brown sugar and granulated sugar until fluffy. Add creamy peanut butter, eggs, and vanilla extract, mixing until fully combined.
-
Combine Dry Ingredients: In a separate bowl, whisk together all-purpose flour, corn starch, baking soda, and salt. Gradually add this mixture to the wet ingredients, stirring until a soft dough forms.
-
Chill Dough: Wrap the dough in plastic wrap and refrigerate for 30-60 minutes. This will make it easier to handle and shape into cookies.
-
Preheat: While the dough chills, preheat your oven to 375°F (190°C) and line your cookie sheets with parchment paper to prevent sticking.
-
Shape Cookies: Roll the dough into 1.5-tablespoon balls, then coat them lightly in granulated sugar. Place the balls on the prepared cookie sheets, leaving space in between for spreading. Bake for 8-10 minutes, then gently indent the warm cookies with chilled Reese’s.
-
Make Marshmallow Webs: Microwave mini marshmallows in small batches until they puff up. Carefully stretch and pull the marshmallows over the cooled cookies to create a web-like appearance.
-
Decorate: Melt dark chocolate wafers in the microwave and use them to secure the Reese’s onto each cookie. Pipe chocolate legs onto each cookie and attach small candy eyes for a spooky touch.
-
Set and Serve: Allow the chocolate decoration to set before displaying your delightful spooky treats for everyone to enjoy.
Optional: Dust with edible glitter for an extra eerie effect!
Exact quantities are listed in the recipe card below.
Spooky Spider Cookies Variations
Feel free to unleash your creativity and tailor these spooky treats to fit your taste preferences!
-
Nut-Free: Swap creamy peanut butter with sunflower seed butter for a delicious nut-free version. These cookies will still pack a flavor punch!
-
Gluten-Free: Use a gluten-free flour blend instead of all-purpose flour for those with gluten sensitivities. Everyone can enjoy the fun!
-
Extra Chocolate: Add in chocolate chips or chunks to the cookie dough for an even more indulgent treat. More chocolate? Yes, please!
-
Flavor Boost: Incorporate a teaspoon of cinnamon or pumpkin spice into the dough for a warm, seasonal twist. Perfect for cozy autumn evenings.
-
Miniature Webs: For a different web texture, use melted white chocolate instead of marshmallows. It creates a delectable contrast while looking just as spooky!
-
Spicy Touch: Add a dash of cayenne or chili powder to the cookie dough for a surprising kick! It’s a delicious contrast to the sweet elements of this treat.
-
Decorative Toppings: Experiment with various candies or edible decorations like sprinkles or gummy worms to transform the spooky appeal. Make your Halloween cookies truly unique!
-
Different Shapes: Use cookie cutters to create spooky shapes like bats or ghosts, then decorate them as you like! The fun gets even bigger with a variety of shapes!
Tips for the Best Spooky Spider Cookies
-
Chill Ingredients: Ensure your peanut butter and butter are at room temperature for easy mixing; this prevents clumping and helps create a smooth dough.
-
Proper Measuring: Use a kitchen scale or proper measuring cups to avoid overly dense cookies; too much flour can lead to dry results.
-
Timing Matters: Watch the baking time closely; cookies should be slightly golden at the edges and still soft in the center for the perfect chewy texture.
-
Marshmallow Technique: Heat mini marshmallows in small batches to control the fluffiness; over-microwaving can cause them to harden quickly.
-
Eye on the Chocolate: Let melted chocolate cool slightly before piping; if it’s too hot, it’ll spread instead of holding its shape—especially important for the spooky spider legs.
What to Serve with Spooky Spider Cookies?
These delightful treats are perfect for any Halloween-themed gathering and create a magical atmosphere that lingers long after the last cookie is gone.
- Festive Punch: A citrusy mocktail or sparkling cider complements the sweetness of the cookies and adds a celebratory touch.
- Pumpkin Spice Latte: The warm, spiced flavors of this fall favorite create a cozy pairing that enhances the peanut butter richness.
- Chocolate Milk: Indulgent and creamy, a glass of chocolate milk makes for a nostalgic treat that adults and kids will love.
- Ghostly Fruit Skewers: Thread marshmallows and banana slices on skewers for a fresh, light contrast to the cookies’ rich texture.
- Chewy Caramel Corn: The sweetness and buttery crunch of caramel corn offer a delightful textural contrast that bites well with the cookies.
- Mini Pumpkin Pies: These delicious, individual desserts add a classic fall flavor, creating an irresistible dessert table for your Halloween festivities.
- Cinnamon-Spiced Applesauce: This warm side dish perfectly balances the richness of the cookies, making it a comforting option on chilly Halloween nights.
- Caramel Apple Dip: Pair your cookies with this fun dip made of cream cheese and caramel for a chewy dessert with a festive twist.
Make Ahead Options
These Spooky Spider Cookies are perfect for meal prep, allowing you to enjoy festive fun without the last-minute hustle! You can prepare the cookie dough up to 24 hours in advance—simply cover it with plastic wrap and refrigerate. Another fantastic option is to bake the cookies ahead of time; they can be stored at room temperature in an airtight container for up to 3 days. For best results, wait to decorate the cookies with marshmallow webs and chocolate decorations until just before serving. This way, they’ll remain just as delightful and fresh! With these make-ahead tips, you’ll be ready to impress your guests with minimal effort!
How to Store and Freeze Spooky Spider Cookies
Airtight Container: Store your Spooky Spider Cookies in an airtight container at room temperature for up to 5 days to keep them soft and chewy.
Chilling on the Go: For a longer shelf life, store cookies in the fridge for up to 2 weeks. Just make sure they are well-wrapped to prevent drying out.
Freezing: Freeze un-decorated baked cookies in freezer-safe bags for up to 3 months. Thaw at room temperature before decorating to bring back their fresh taste.
Reheating: If you prefer warm cookies, pop them in the microwave for 10-15 seconds to gently soften them before serving.
Spooky Peanut Butter Spider Cookies Recipe FAQs
How do I pick the right peanut butter for my Spooky Spider Cookies?
Absolutely! For the best results, use a creamy peanut butter that has a smooth texture without added sugars or oils. This ensures your cookie dough maintains the perfect consistency. If you have nut allergies or prefer a different option, almond butter or sunflower seed butter can make excellent substitutes.
What’s the best way to store my Spooky Spider Cookies?
I recommend storing your cookies in an airtight container at room temperature for up to 5 days. If you want to keep them longer, pop them in the fridge for up to 2 weeks—just make sure they’re well-wrapped to stay moist and chewy.
Can I freeze Spooky Spider Cookies? If so, how?
Yes! You can freeze your un-decorated baked cookies. Place them in freezer-safe bags, squeezing out any excess air, and they’ll stay fresh for up to 3 months. When you’re ready to enjoy them, thaw at room temperature and then proceed with decorating.
What if my cookies don’t spread evenly while baking?
Very! If your cookies come out uneven, it could be due to a few factors. Ensure your butter is softened correctly, as cold butter can affect spread. Also, check that your dough is chilled for the right amount of time—too cold can lead to less spread, while too warm can. Lastly, make sure to roll them into uniform sizes!
Are there any dietary considerations I should be aware of?
Yes, keep in mind that while these cookies are nut-based due to peanut butter, they can be customized to cater to allergies. For a nut-free version, try substituting with sunflower seed butter. Additionally, ensure any candies or chocolates used are free from allergens as per your needs.
How can I decorate my Spooky Spider Cookies to make them look spooky?
To create the perfect creepy look, after making your marshmallow webs, you can use melted chocolate wafers to draw spider legs on the cookies. Simply pipe the chocolate in a small nozzle to get those fine details and let them set before displaying your frightfully fun treats!

Spooky Spider Cookies That Will Thrill Your Halloween Bash
Ingredients
Equipment
Method
- In a stand mixer, beat the softened butter along with light brown sugar and granulated sugar until fluffy. Add creamy peanut butter, eggs, and vanilla extract, mixing until fully combined.
- In a separate bowl, whisk together all-purpose flour, corn starch, baking soda, and salt. Gradually add this mixture to the wet ingredients, stirring until a soft dough forms.
- Wrap the dough in plastic wrap and refrigerate for 30-60 minutes.
- While the dough chills, preheat your oven to 375°F (190°C) and line your cookie sheets with parchment paper.
- Roll the dough into 1.5-tablespoon balls, then coat them lightly in granulated sugar. Place the balls on the prepared cookie sheets.
- Bake for 8-10 minutes, then gently indent the warm cookies with chilled Reese's.
- Microwave mini marshmallows in small batches until they puff up. Carefully stretch and pull them over the cooled cookies.
- Melt dark chocolate wafers in the microwave and use them to secure the Reese's onto each cookie. Pipe chocolate legs and attach small candy eyes.
- Allow decorations to set before serving.


