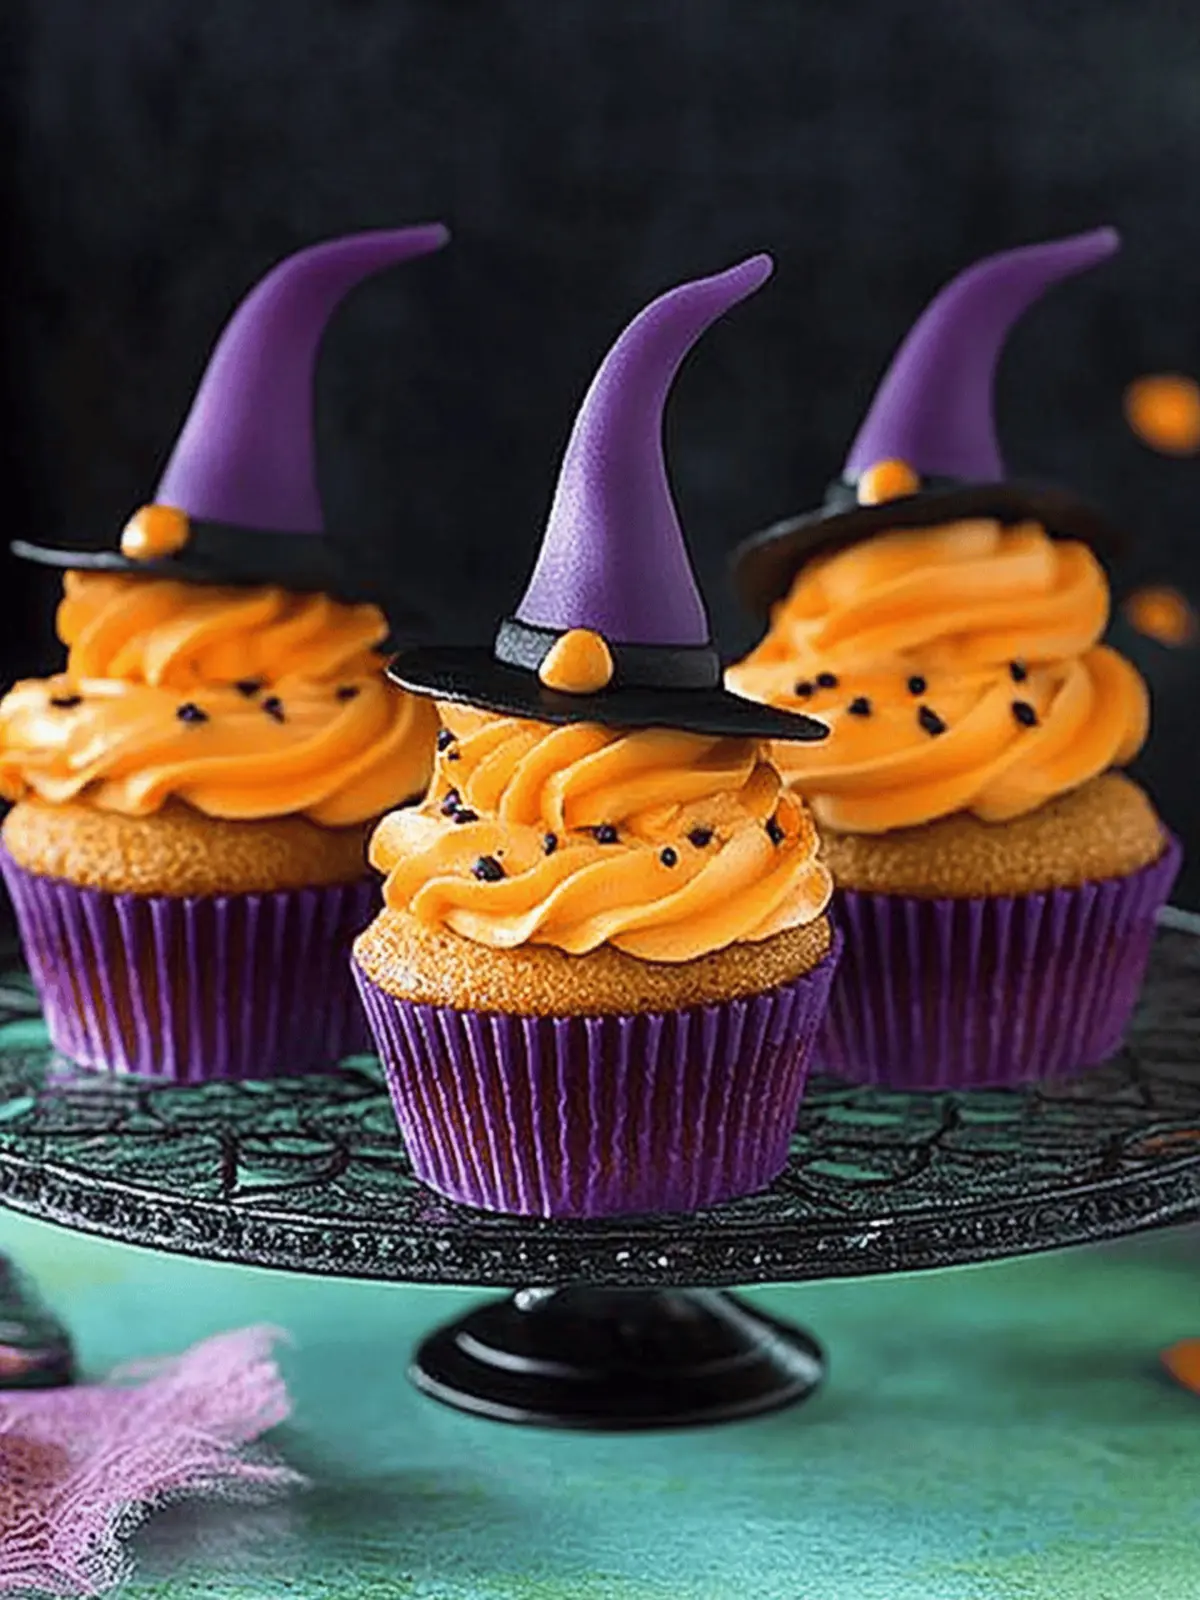
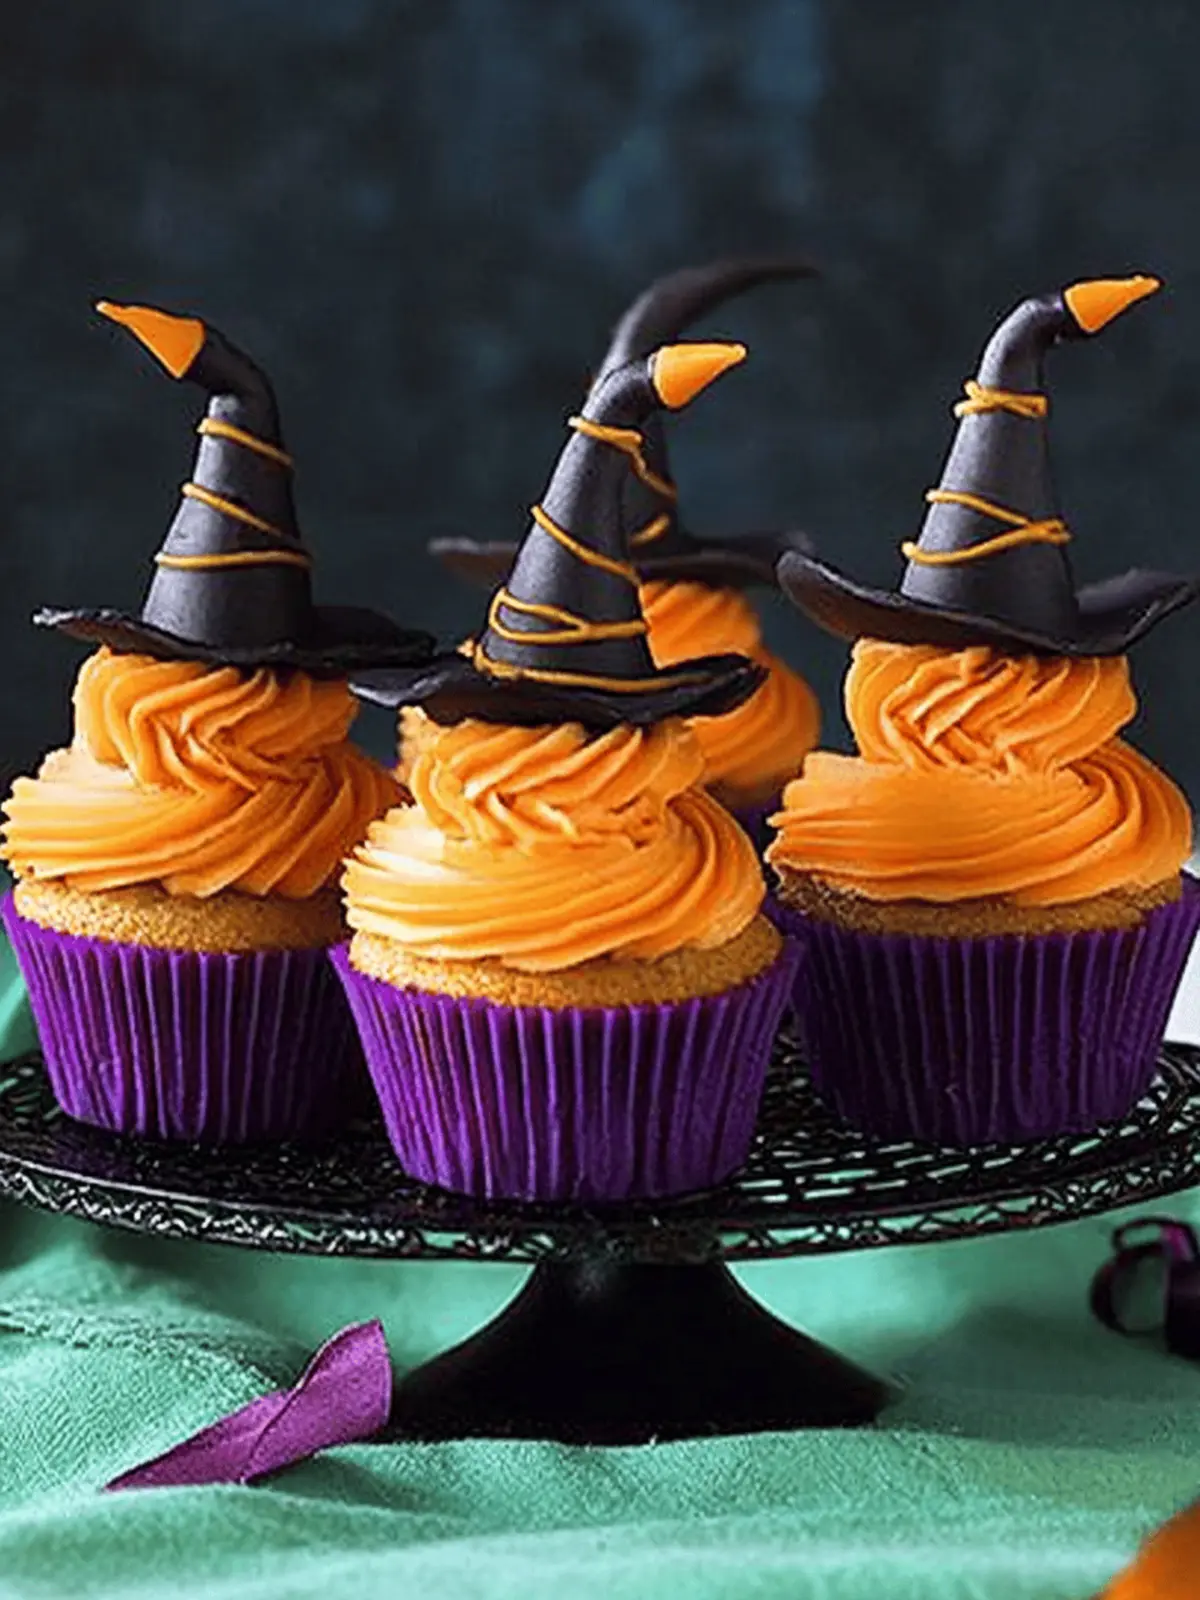
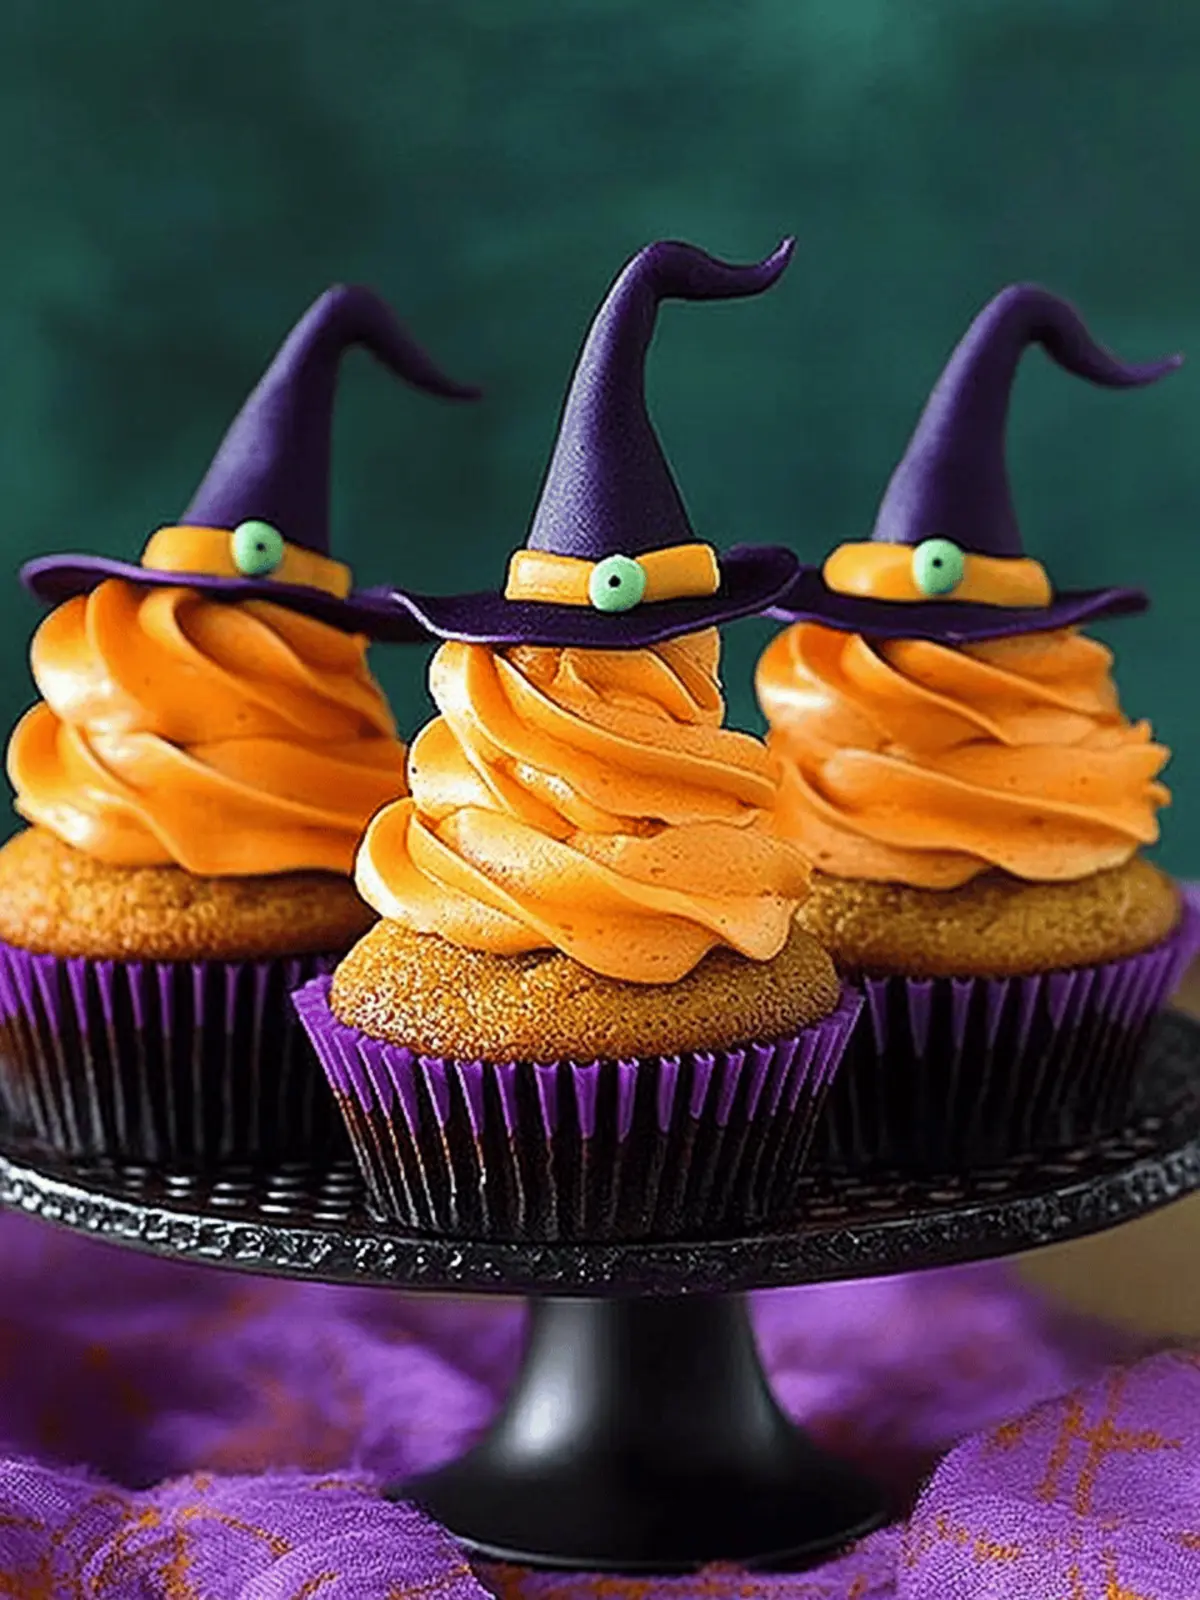
As the crisp autumn breeze swirls leaves through the air, my mind drifts to the delightful chaos that Halloween brings. Scooping out pumpkins, picking out costumes, and of course, whipping up treats that are as fun to make as they are to enjoy! Enter my Witch Hat Cupcakes — a whimsical creation that marries flavor and festivity in one captivating bite. Imagine moist chocolate cupcakes topped with adorable edible witch hats crafted from fondant; they not only look spooktacular but also serve as a hit at any Halloween gathering.
The thrill of decorating and watching friends’ faces light up as they discover these treats is just as satisfying as the delicious chocolate flavor nestled beneath that whimsical hat. Whether you’re hosting a lively costume party or just looking for a fun activity to share with the kids, these cupcakes deliver on all fronts: creativity, taste, and a sprinkle of Halloween magic. Let’s dive into the recipe and get our bake on!
Why Are Witch Hat Cupcakes a Must-Make?
Witch Hat Cupcakes are the perfect blend of fun and flavor!
Spooky Decor: The whimsical witch hats crafted from fondant add a playful touch to your Halloween spread.
Deliciously Rich: Moist chocolate cupcakes paired with sweet, simple icing create a delightful taste sensation.
Fun for All Ages: Kids will love helping shape the fondant hats, making this a memorable family activity.
Versatile Options: Swap in different cake flavors or decorations to suit your taste or occasion.
Impressive Presentation: These cupcakes are sure to impress your Halloween party guests and leave them wanting more!
Witch Hat Cupcake Ingredients
For the Cupcake Batter
• Light Soft Brown Sugar – Provides sweetness and moisture in the cupcake; substituting with granulated sugar lightens the flavor.
• Butter – Adds richness and moisture; use unsalted butter for better control of sweetness.
• Flour – Essential for structure; all-purpose flour is best, but gluten-free flour can work too.
• Eggs – Bind the mixture and provide lift; ensure they are at room temperature for optimal mixing.
• Cocoa Powder – Infuses flavor and color; stick to unsweetened cocoa for that rich chocolaty taste.
• Baking Powder – Ensures cupcakes rise; baking soda is a substitute if necessary, but adjust the quantity.
• Milk – Adds moisture for a fluffy texture; any non-dairy milk can replace it easily.
For the Fondant Witch Hats
• Icing Sugar – The cornerstone for creating fondant; provides structure and sweetness, and can be dyed with gel food color.
Optional Decorations
• Edible Glitter – Sprinkle on top for a magical shimmer; perfect to enhance your festive theme.
• Chocolate Cones – A quick alternative to fondant hats if you’re pressed for time.
With these key ingredients, your Witch Hat Cupcakes will not only be visually stunning but also delightfully delicious!
How to Make Witch Hat Cupcakes
-
Prepare Cupcake Batter: Start by creaming together the butter and light soft brown sugar in a large bowl until the mixture is light and fluffy. Add in the eggs one at a time, followed by the milk, ensuring each ingredient is well incorporated before moving on. Finally, mix in your dry ingredients: flour, cocoa powder, and baking powder until smooth.
-
Bake: Preheat your oven to 350°F (175°C) and line your cupcake tray with liners. Pour the batter evenly into each liner, filling them about two-thirds full. Bake for about 18 minutes, or until a toothpick inserted in the center comes out clean. Let them cool completely on a wire rack.
-
Make Fondant Hats: While the cupcakes are cooling, roll out your icing sugar to the desired thickness (about 1/4 inch). Use a round cutter to create circles, then shape them into whimsical hats. Attach the pieces together using a bit of edible glue or warm water to achieve a secure hold.
-
Assemble: Once your cupcakes are completely cooled, frost them with your icing of choice. Carefully position your fondant witch hats on top, securing them if necessary. Admire your spooky creations!
Optional: Drizzle with chocolate or sprinkle with edible glitter for an extra festive touch.
Exact quantities are listed in the recipe card below.
Witch Hat Cupcake Variations
Feel free to get creative and customize these cupcakes to make them truly your own!
-
Alternative Flavors: Swap the chocolate base for vanilla or red velvet for a unique twist that still captures the celebration spirit. Each flavor brings its own charm, creating a delightful surprise for guests.
-
Dairy-Free Delight: Replace regular milk with almond or oat milk and use dairy-free butter for a treat everyone can enjoy without compromising taste or texture.
-
Colorful Fondant: Use vibrant food coloring to dye your fondant in spooktacular shades of green, orange, or purple, allowing your cupcakes to shine at any Halloween party!
-
Chocolate Cone Hats: In a hurry? Substitute the fondant hats with chocolate ice cream cones; just dip them in melted chocolate and let dry before placing them on top.
-
Gluten-Free Option: Substitute all-purpose flour with a gluten-free blend, ensuring your cupcakes remain just as fluffy and tasty for those with dietary restrictions.
-
Add a Surprise Filling: Core the center of each cupcake after baking, then fill it with raspberry jam or peanut butter for a delightful surprise in each bite!
-
Spicy Kick: Mix in a pinch of cayenne or cinnamon to the batter for a surprising flavor twist that’s perfect for the season. It adds an unexpected warmth to the sweetness.
-
Frosting Variations: Instead of standard icing, try a cream cheese frosting or a chocolate ganache for an added richness that partners perfectly with your witch hat design.
Expert Tips for Witch Hat Cupcakes
• Cool Completely: Always ensure cupcakes are cool before icing; this prevents the frosting from melting and losing texture.
• Fondant Consistency: If your fondant feels too dry, knead in a little vegetable shortening until it becomes pliable for easier shaping.
• Defined Shapes: Use a sharp knife or cookie cutter to cut out fondant shapes. Well-defined pieces enhance the look of your Witch Hat Cupcakes.
• Creative Hats: Feel free to personalize your witch hats with colors or edible glitter to make your treats uniquely spooky.
• Trust Your Oven: Every oven is different; keep an eye on your cupcakes while baking. Use the toothpick trick to check doneness without overbaking.
What to Serve with Witch Hat Cupcakes?
These spooky treats will enchant your Halloween gathering and pair beautifully with a variety of festive delights.
-
Chilled Apple Cider: A refreshing, seasonal drink that complements the sweetness of the cupcakes, bringing a taste of fall.
-
Popcorn Monster Munch: This crunchy, sweet-and-salty snack keeps the energy up during Halloween festivities and is fun for kids to create.
-
Pumpkin Soup: A savory, warming dish that balances the sugary cupcakes, making for a well-rounded meal experience.
-
Spooky Fruit Platter: Adorned with ghostly pear slices and monster-faced grapes, this fresh option adds a nutritious contrast while keeping with the theme.
-
Chocolate Mousse: Rich and creamy, this dessert echoes the chocolatey goodness of the cupcakes while providing a different texture.
-
Halloween-Themed Punch: A fizzy drink with floating fruit slices, this festive punch will keep your guests refreshed and excited.
-
Candy Corn Parfait: Layered with yogurt and whipped cream, this fun dessert echoes the Halloween spirit and pairs beautifully with the cupcakes.
Each of these pairings will not only enhance your Witch Hat Cupcakes but also create a memorable Halloween spread!
Make Ahead Options
These Witch Hat Cupcakes are perfect for those busy Halloween weeks! You can bake the cupcakes up to 3 days in advance and store them in an airtight container at room temperature to maintain their moisture. The fondant hats can also be prepared ahead of time and stored in a cool, dry place for up to 24 hours. When you’re ready to serve, simply frost the cupcakes and place the fondant hats on top for a fun, festive finish. This make-ahead approach not only saves you time on party day, but it ensures your cupcakes taste just as delicious while still looking spooktacular!
How to Store and Freeze Witch Hat Cupcakes
Room Temperature: Keep your cupcakes in an airtight container at room temperature for up to 3 days to maintain their freshness and moisture.
Fridge: If using perishable frostings, store your Witch Hat Cupcakes in the refrigerator for up to 5 days. Make sure they’re well-covered to prevent drying out.
Freezer: For longer storage, freeze the un-frosted cupcakes for up to a month. Place them in a freezer-safe container or tightly wrap in plastic wrap to avoid freezer burn.
Reheating: To enjoy your frozen cupcakes, thaw them overnight in the fridge or leave at room temperature for a couple of hours. Frost after thawing for the best results!
Witch Hat Cupcakes Recipe FAQs
How do I choose the best ingredients for my cupcakes?
Absolutely! When selecting your ingredients, freshness is key. Opt for brown sugar that feels moist, not hard or lumpy. Eggs should be at room temperature for better mixing. For butter, stick with unsalted to control the sweetness better. Cocoa powder should be unsweetened and fresh for maximum flavor, while flour should be all-purpose or gluten-free if required.
What is the best way to store Witch Hat Cupcakes?
To maintain the moistness of your cupcakes, keep them in an airtight container at room temperature for up to 3 days. If you’ve decorated them with perishable frostings, pop them in the fridge where they can last for about 5 days, just be sure they’re well-covered to retain moisture.
Can I freeze Witch Hat Cupcakes?
Yes, you absolutely can freeze your cupcakes! To do so, first, ensure they are completely cooled to prevent ice crystals. Place the un-frosted cupcakes in a single layer in a freezer-safe container or wrap them tightly in plastic wrap. They can be kept for up to a month. When you’re ready to enjoy, simply thaw in the fridge overnight and frost them afterward for the best results.
What should I do if my fondant is too dry?
If your fondant feels dry and crumbly, don’t worry! Simply knead in a small amount of vegetable shortening, which should soften it and make it more pliable. If you need to re-shape or roll it out, this will help you achieve that lovely smooth finish for your Witch Hat Cupcakes.
Are there any dietary considerations I need to keep in mind?
Very much so! If you’re accommodating allergies, be sure to check the labels on your ingredients. For those with gluten sensitivities, swapping standard all-purpose flour for a gluten-free blend is a wonderful option. Also, consider using dairy-free milk alternatives if someone is lactose intolerant. Always make sure that any edible decorations are allergy-free as well as suitable for dietary restrictions.
What if I don’t have fondant for the hats?
No problem at all! If you’re short on time or fondant, you can use chocolate cones as a quick alternative for the witch hats. Simply melt chocolate chip and pour it into cone-shaped molds or simply buy pre-made sugar cones from the store. They make for an equally fun and delicious topping for your Witch Hat Cupcakes!
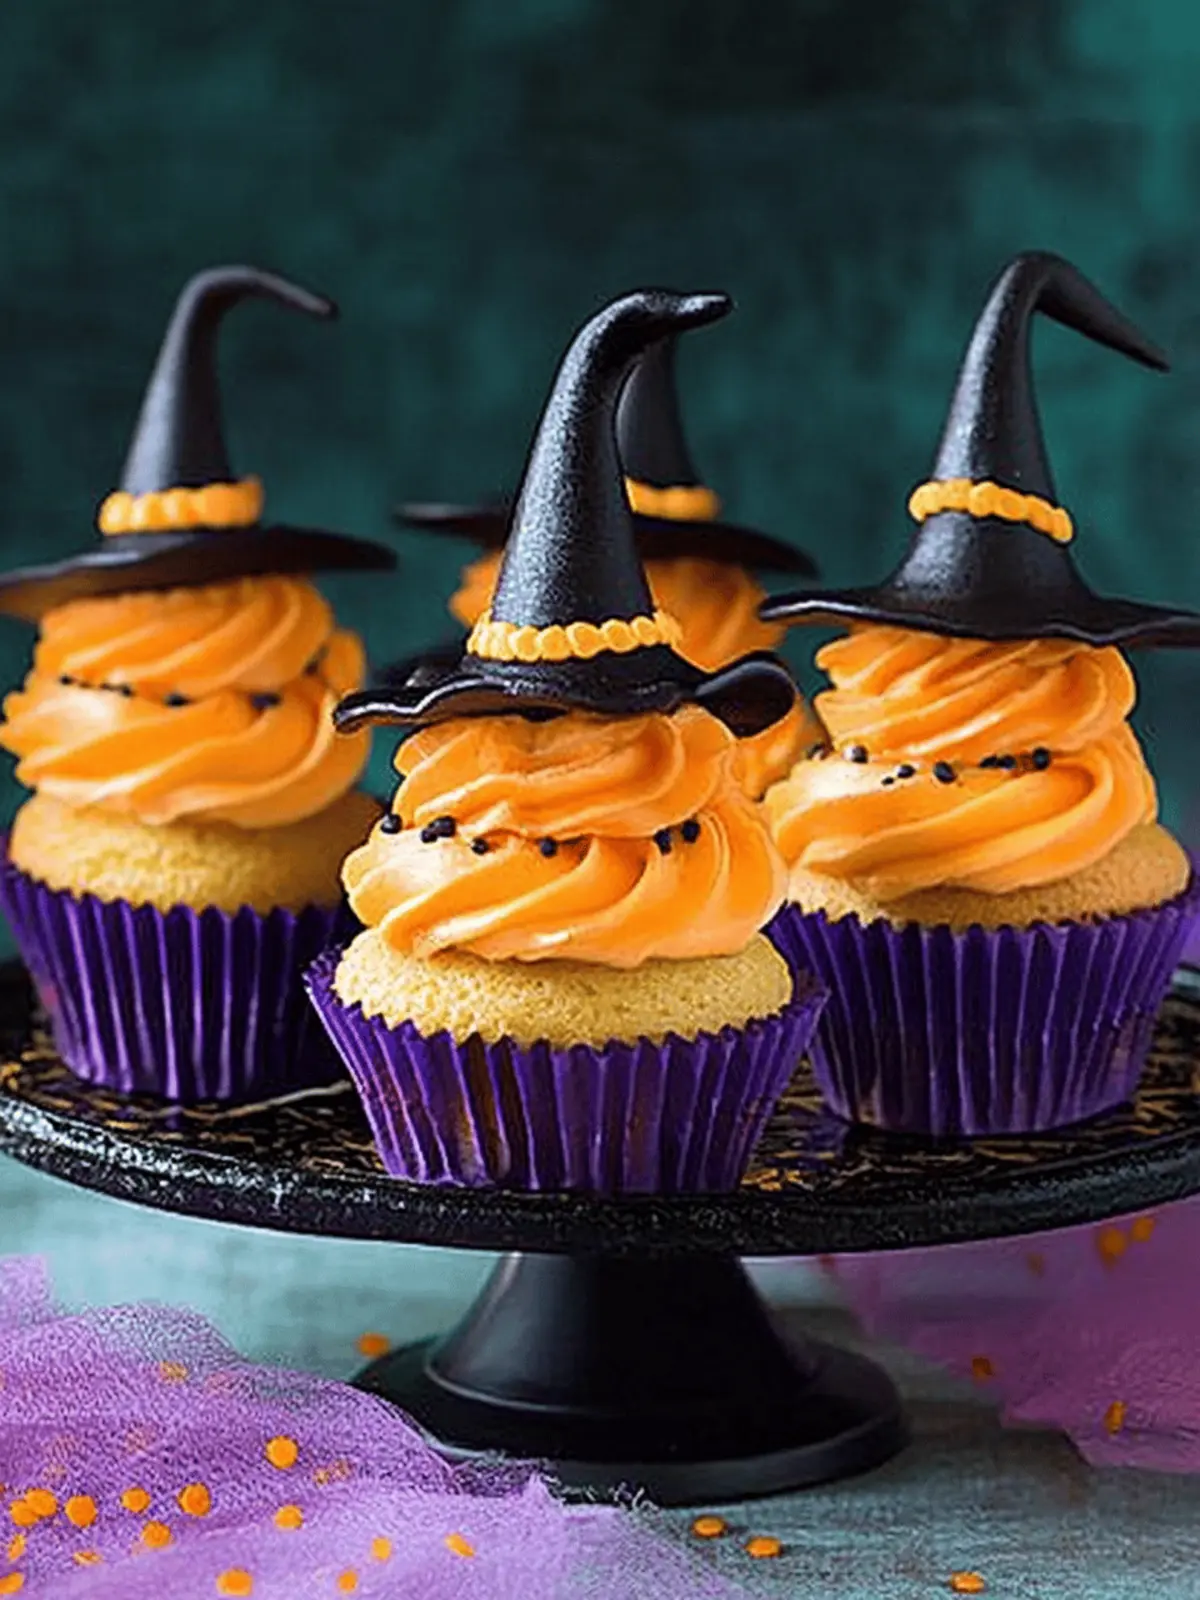
Witch Hat Cupcakes - Spook Up Your Halloween Party Treats
Ingredients
Equipment
Method
- Cream together the butter and light soft brown sugar in a large bowl until light and fluffy. Add in eggs one at a time, followed by milk, ensuring each ingredient is well incorporated.
- Mix in dry ingredients: flour, cocoa powder, and baking powder until smooth.
- Preheat oven to 350°F (175°C) and line cupcake tray with liners. Pour batter into liners, filling about two-thirds full. Bake for about 18 minutes, or until a toothpick comes out clean.
- Let cupcakes cool completely on a wire rack.
- Roll out icing sugar to desired thickness (about 1/4 inch). Use a round cutter to create circles, then shape them into whimsical hats.
- Attach pieces together using a bit of edible glue or warm water.
- Once cupcakes are cooled, frost them with icing of choice. Carefully position fondant witch hats on top.
- Optional: Drizzle with chocolate or sprinkle with edible glitter for an extra festive touch.

