
There’s a certain joy that comes from creating something delightful in your own kitchen—especially when it’s as luscious as homemade chocolate ice cream. Imagine the sweet, rich scent of chocolate lingering in the air, a promise of indulgence that has you sneaking tastes straight from the whisk. This isn’t just any ice cream; it’s the best homemade chocolate ice cream you’ll ever experience. It’s a world away from store-bought options, packed with premium ingredients that elevate each scoop to pure heaven.
A recent evening spent with friends prompted me to whip up this creamy treat. Every bite brought smiles and happy murmurs around the table, bringing back the magic of summer days spent enjoying ice cream cones. With a silky texture and deep chocolate flavor, this dessert is both a crowd-pleaser and a chance to escape the mundane fast food routine.
What makes it even better? You don’t need a fancy ice cream shop to achieve the perfect consistency and taste. With just a little time and love, you’ll embark on a delightful homemade adventure that unites family and friends over something truly special. Grab your mixing bowls and let’s dive into this delicious recipe!
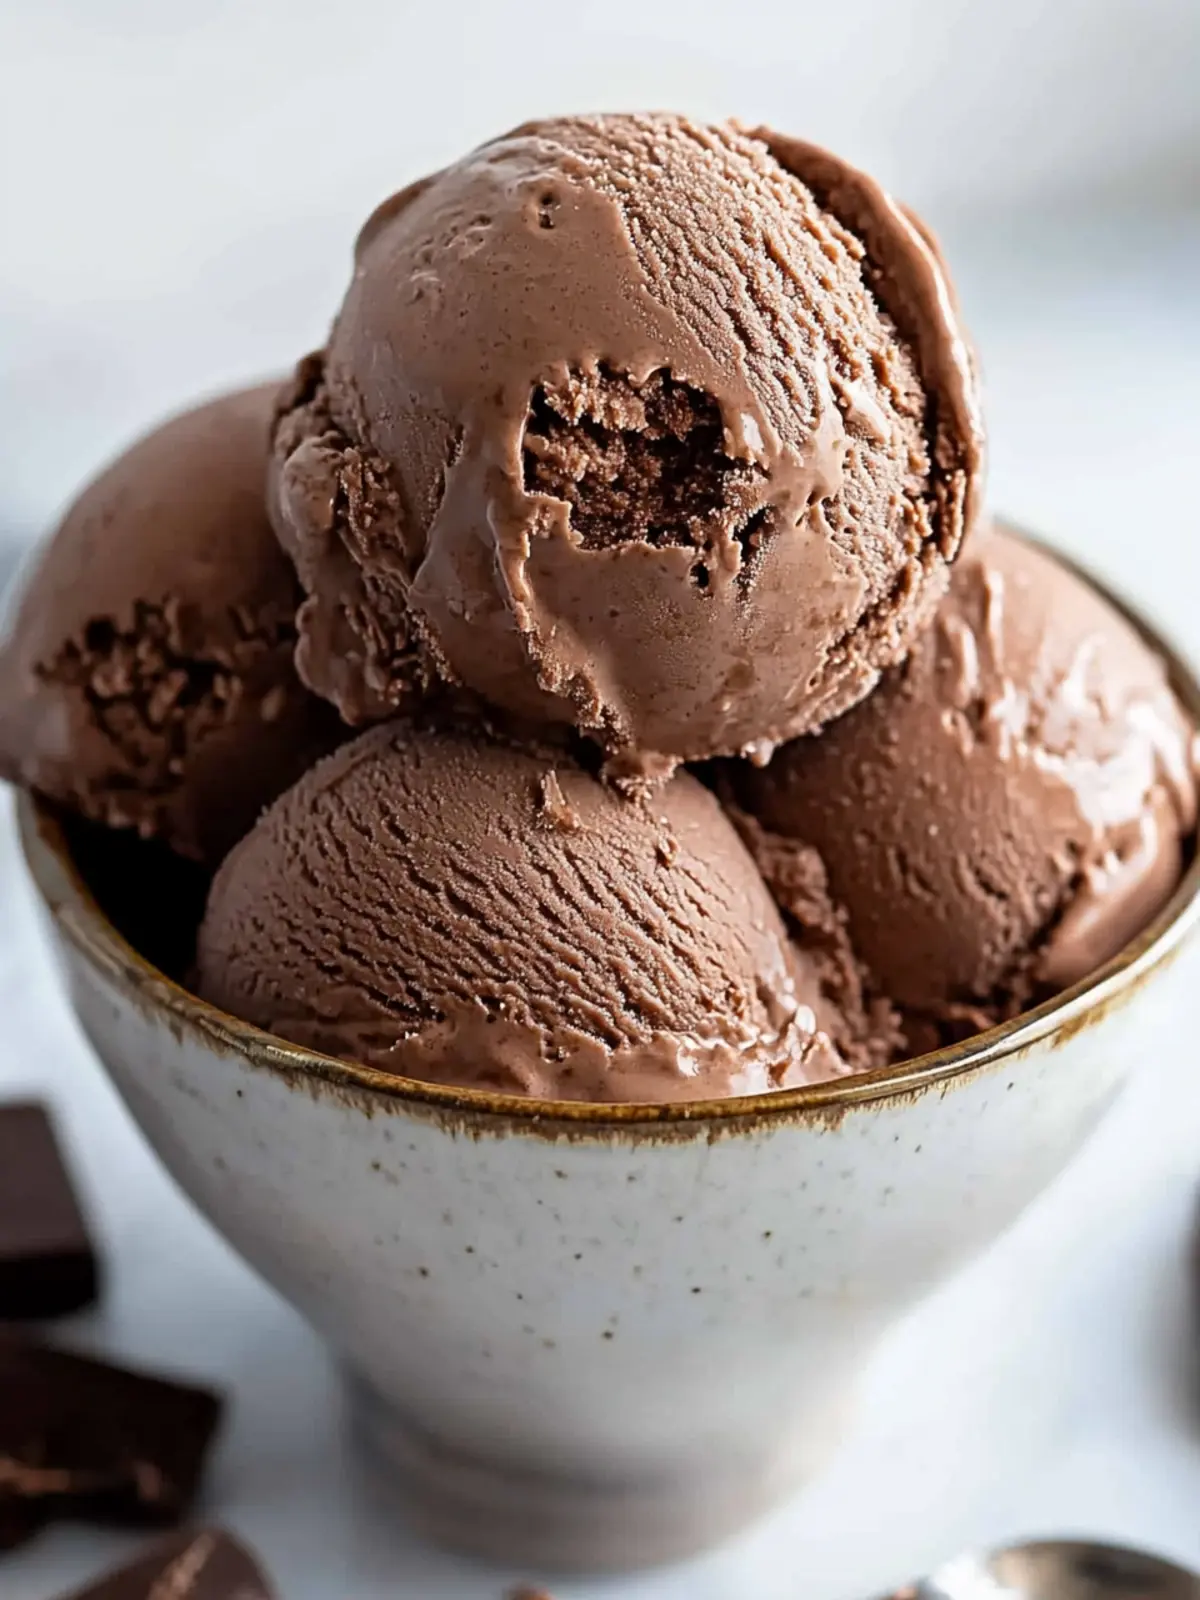
Why is Best Homemade Chocolate Ice Cream So Special?
Irresistible Taste: This recipe elevates homemade ice cream to new heights with its rich chocolate flavor, making it a treat that rivals any gourmet shop.
Easy Process: You don’t need to be a culinary expert! The steps are simple and straightforward, perfect for home chefs of all skill levels.
Creamy Texture: Whipping together heavy cream and semisweet chocolate leads to a luscious texture that melts in your mouth.
Versatile Delight: Enjoy it on its own, or use it as a luxurious topping for pies and cakes. The possibilities are endless!
Memory Maker: This homemade ice cream is perfect for gatherings, sparking nostalgia and joy with every scoop, inviting everyone to share memories over dessert.
Time-Honored Tradition: Making ice cream from scratch is a timeless skill—experience the satisfaction that comes with it. For more delightful dessert ideas, check out our other fantastic recipes!
Best Homemade Chocolate Ice Cream Ingredients
• Create the magic of the best homemade chocolate ice cream with these simple, yet indulgent ingredients!
For the Ice Cream Base
- Heavy cream – 2 cups, divided for a silky, rich texture.
- Unsweetened cocoa powder – ¼ cup for that deep chocolate flavor.
- Semisweet chocolate – 6 ounces, chopped, enhances the chocolate intensity.
- Whole milk – 1 ½ cups, balances the richness and gives a creamy consistency.
- Granulated sugar – ¾ cup, to sweeten and complement the chocolate.
- Sea salt – ⅛ tsp, enhances flavors and rounds out the sweetness.
- Egg yolks – 3 large, beaten, add creaminess and a custard-like base.
- Pure vanilla extract – ½ tsp, for a hint of warmth and depth.
For the Optional Toppings
- Chocolate shavings – for a decadent garnish.
- Whipped cream – a classic and airy complement to your ice cream.
- Chopped nuts – add crunch and a nutty flavor contrast.
With these ingredients in hand, you’ll be well on your way to crafting the best homemade chocolate ice cream that’s sure to satisfy every sweet tooth!
How to Make Best Homemade Chocolate Ice Cream
-
Whisk Together the first cup of heavy cream and cocoa powder in a saucepan. Bring the mixture to a gentle boil, then reduce heat and let it simmer for about 30 seconds while whisking constantly. This helps meld the flavors.
-
Remove from Heat and add the chopped semisweet chocolate. Whisk until the chocolate is completely melted and smooth. Then, stir in the remaining cup of heavy cream until fully combined.
-
Strain the Mixture into a large bowl by placing a fine mesh strainer over it. This step ensures your ice cream base is silky and free of any lumps. Set aside while preparing the custard.
-
Whisk the Egg Yolks vigorously in a small bowl until they are well combined and slightly frothy. This helps to aerate them for a creamier texture.
-
Heat the Milk Mixture by whisking together the whole milk, granulated sugar, and sea salt in a saucepan over medium heat. Heat until just slightly warm but not boiling.
-
Combine Mixtures by gradually adding ½ cup of the warm milk mixture to the beaten egg yolks while whisking continuously. Then, pour the egg yolk mixture back into the saucepan, whisking as you add it to avoid scrambling the eggs.
-
Cook the Custard over medium heat, stirring constantly with a spatula. Keep cooking until the mixture thickens enough to coat the spatula lightly, resembling a custard consistency.
-
Strain Again by pouring the thickened custard through the metal strainer into the bowl containing your chocolate mixture. Stir until thoroughly combined, and be sure to discard any residue left in the strainer.
-
Add Vanilla by pouring in the pure vanilla extract and giving the mixture a gentle stir. This enhances the overall flavor with a beautiful warmth.
-
Chill the Mixture by covering the bowl with a lid or plastic wrap. Refrigerate for at least 6 hours or overnight to ensure it’s properly cooled.
-
Churn the Ice Cream by pouring the chilled mixture into an ice cream maker. Churn according to the manufacturer’s instructions until it’s thick and frozen, typically around 30-40 minutes.
-
Transfer to Container and place your ice cream into an airtight container. Freeze for a minimum of 6 hours to achieve that perfect scoopable texture.
-
Serve and Enjoy! Scoop your rich chocolate ice cream into bowls and indulge in a delightful moment of homemade bliss!
Optional: Top with chocolate shavings for an extra indulgent touch.
Exact quantities are listed in the recipe card below.
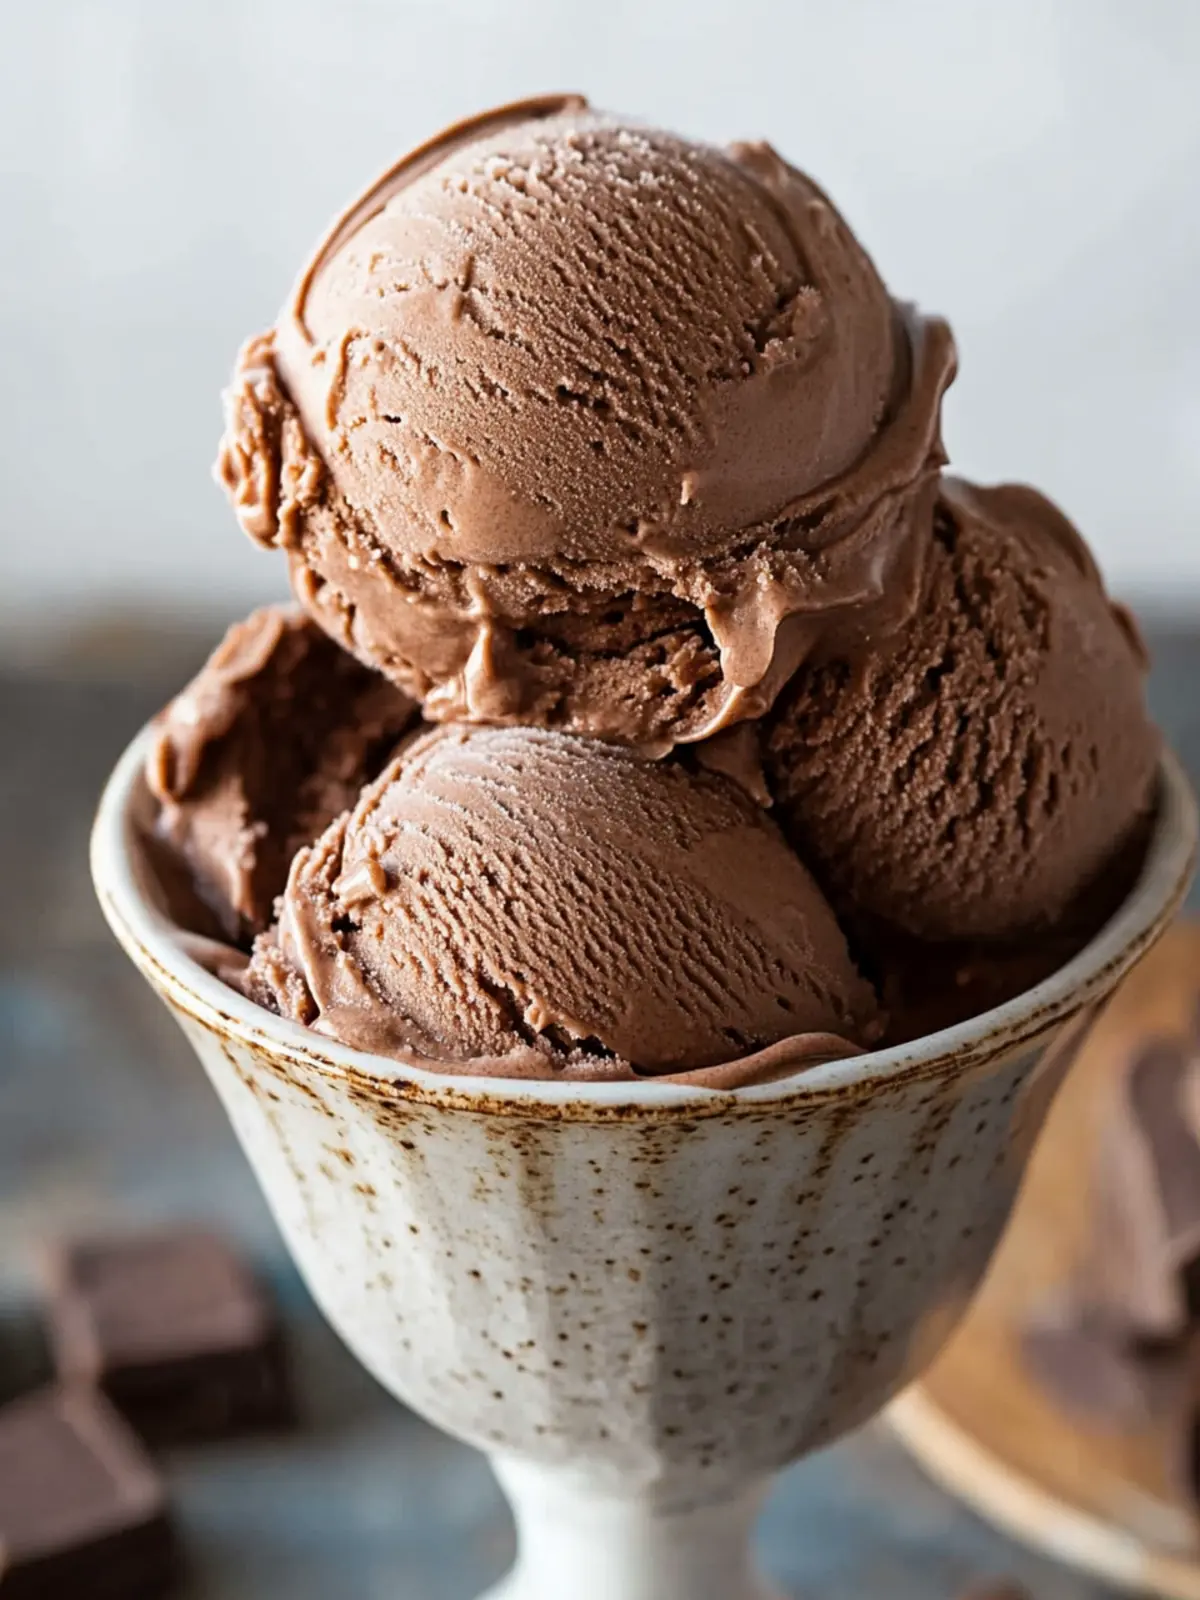
What to Serve with Best Homemade Chocolate Ice Cream?
Savor the perfect treat with companions that enhance your chocolate indulgence.
-
Fresh Berries: Their tartness cuts through the richness, offering a refreshing contrast. Strawberries or raspberries bring vibrant color to your dessert plate.
-
Chocolate Brownies: Pairing this ice cream with fudgy brownies creates a decadent chocolate overload. Each bite is a warm and cold interplay of pure delight.
-
Warm Waffles: Serve with a fluffy waffle drizzled in maple syrup for a delightful breakfast-for-dessert vibe. The textures and flavors blend beautifully, making it fun for everyone!
-
Creamy Whipped Cream: A dollop of whipped cream adds a lovely lightness and allows the rich chocolate to shine even brighter. Plus, who can resist that airy touch?
-
Peanut Butter Drizzle: A drizzle of creamy peanut butter on top provides a savory contrast. This flavor combination creates a nostalgic taste, evoking memories of childhood treats.
-
Coffee or Espresso: The deep, bold flavors of coffee enhance the chocolate experience. A simple cup of your favorite brew by the side elevates the dessert beautifully.
-
Chocolate Shavings: For an extra touch of elegance, finish with chocolate shavings. They not only add visual appeal but also an additional layer of rich flavor.
-
Toasted Nuts: Tossing on some toasted almonds or hazelnuts adds not just crunch but a delightful nuttiness that beautifully complements the chocolate.
-
Mint Leaves Garnish: A few fresh mint leaves offer a refreshing pop of flavor and color, perfect for a bright finish to your treat.
Storage Tips for Best Homemade Chocolate Ice Cream
Fridge: Store any leftovers in an airtight container in the fridge for up to 3 days. However, homemade ice cream is best enjoyed fresh, so use this only for short-term storage.
Freezer: For longer storage, keep your chocolate ice cream in the freezer. Ensure it’s in an airtight container and can be frozen for up to 2 months without losing flavor or texture.
Reheating: If your ice cream becomes too hard, let it sit at room temperature for about 5-10 minutes before scooping. This will make serving easier and bring back some creaminess to your best homemade chocolate ice cream.
Serving: For an even smoother scoop experience, consider transferring the ice cream to the fridge 15 minutes before serving. Enjoy!
Make Ahead Options
These Best Homemade Chocolate Ice Cream is perfect for busy home cooks looking to indulge without the last-minute fuss! You can prepare the ice cream base up to 24 hours in advance by completing the first nine steps, allowing it to chill overnight in the refrigerator. To maintain its luscious texture, ensure the mixture is covered tightly to prevent any absorption of odors. When you’re ready to serve, simply churn the chilled mixture in your ice cream maker according to the manufacturer’s instructions. After churning, transfer it to an airtight container and freeze for an additional 6 hours for the perfect scoopability. You’ll have a show-stopping dessert ready to impress with minimal effort!
Expert Tips for Best Homemade Chocolate Ice Cream
-
Quality Ingredients: Use high-quality chocolate and cocoa powder. This greatly enhances the taste of your best homemade chocolate ice cream.
-
Temperature Control: Ensure the milk mixture is warm, not hot, when combining with egg yolks. This prevents scrambling and ensures a smooth custard.
-
Chill Time Matters: Don’t rush the chilling process; letting the mixture cool for a full 6 hours (or overnight) results in a creamier texture.
-
Strain Twice: Straining both the chocolate mixture and the custard eliminates any lumps and leads to a silky smooth ice cream.
-
Ice Cream Maker Use: Follow your ice cream maker’s instructions carefully for the best results. Over-churning can lead to a grainy texture.
Best Homemade Chocolate Ice Cream Variations
Let your creativity flow and personalize your ice cream experience with these delightful variations!
-
Dairy-Free: Substitute coconut milk and coconut cream for a luscious, dairy-free treat that maintains a creamy texture.
-
Mint Chocolate: Add ½ tsp of peppermint extract for a refreshing twist that pairs beautifully with chocolate flavors. The subtle mint will remind you of your favorite treats!
-
Spicy Kick: Mix in a pinch of cayenne pepper or chili powder to awaken your taste buds with a surprising heat in every scoop. It’s a daring addition that adds depth to the chocolate!
-
Nutty Surprise: Incorporate ¼ cup of crushed nuts, like almonds or hazelnuts, for a delightful crunch. The added texture makes each bite a satisfying experience.
-
Fruity Fusion: Swirl in raspberry or strawberry puree just before freezing to create a fruity ribbon throughout your chocolate base. This adds a vibrant twist that’s both visually appealing and delicious.
-
Coffee Lover’s Delight: Dissolve 1-2 tablespoons of instant coffee granules in the warm milk mixture for a delightful mocha flavor. The richness of coffee enhances the chocolate, creating an irresistible treat!
-
Dark Chocolate: Use dark chocolate or bittersweet chocolate instead of semisweet for an even richer, more intense chocolate experience. This variation will indulge the deepest chocolate cravings!
-
Cookie Crumble: Fold in crushed chocolate cookies or brownies into the churned ice cream for a fun, texture-filled surprise. Each scoop becomes a delightful adventure with cookie bits throughout!
Let these variations inspire your next ice cream creation and make every batch uniquely yours!
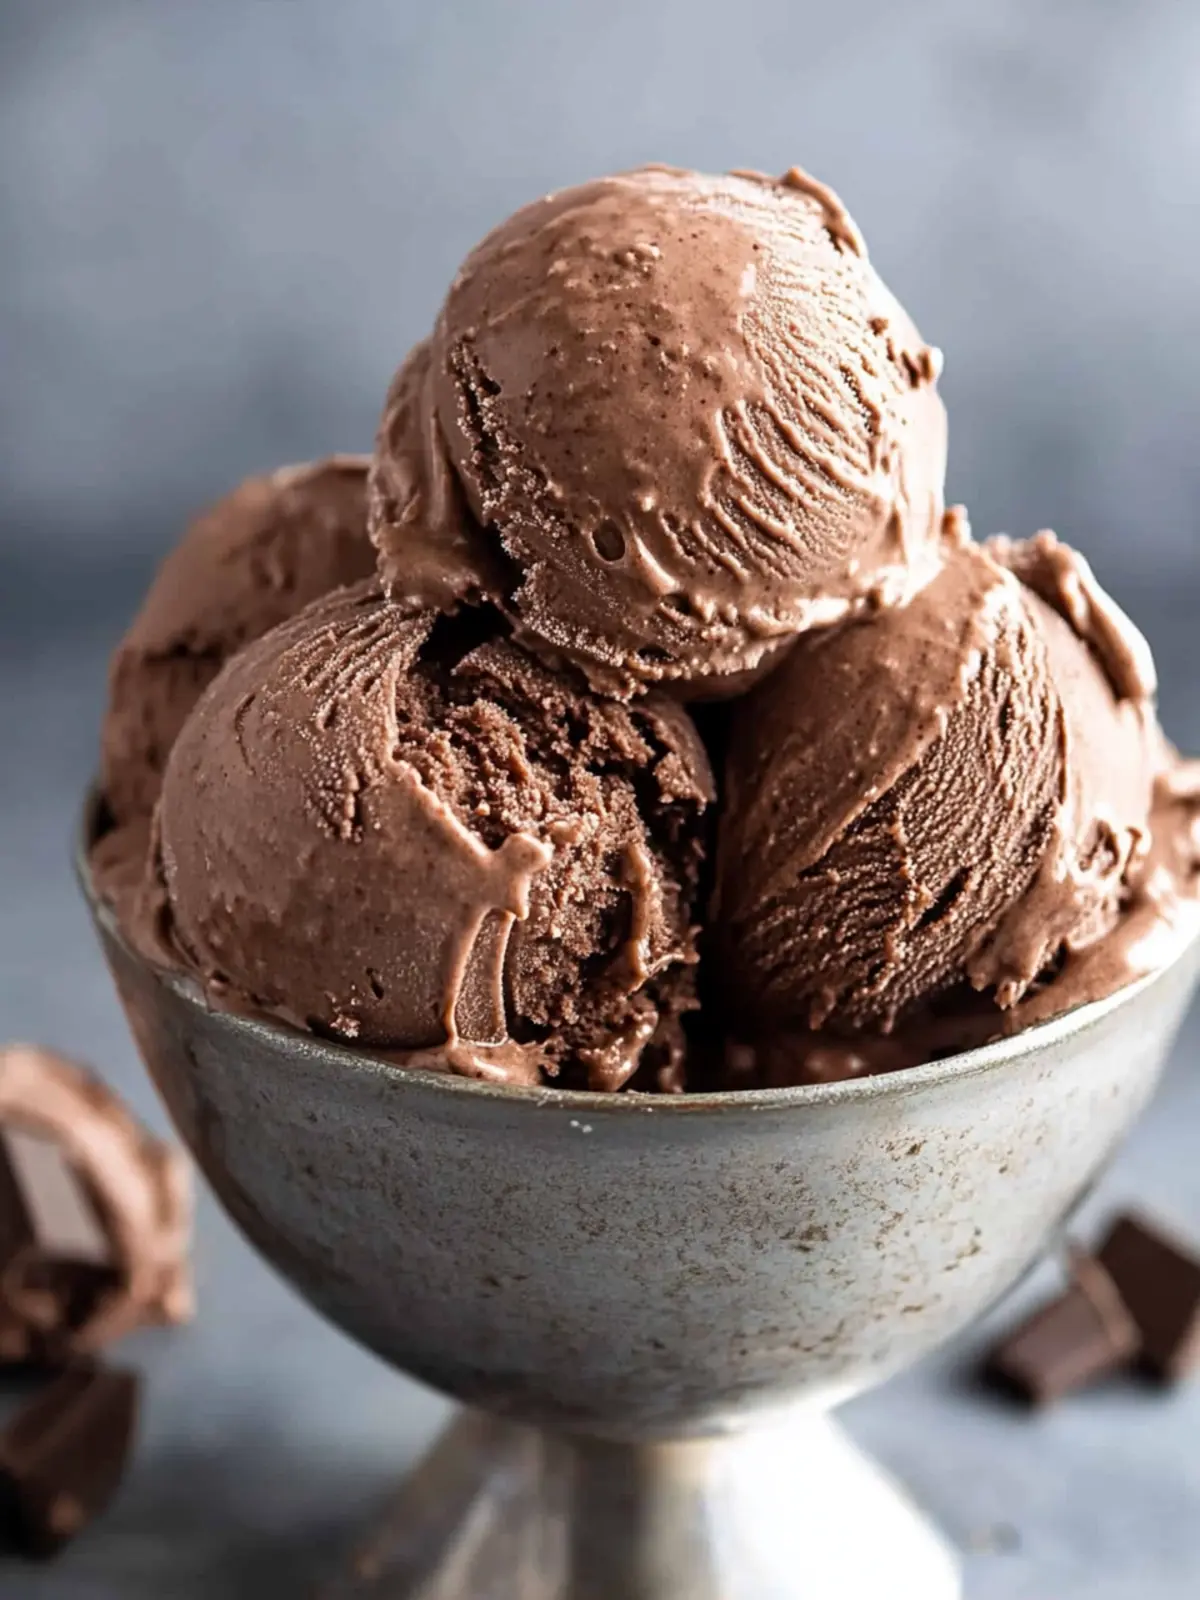
Best Homemade Chocolate Ice Cream Recipe FAQs
What kind of chocolate should I use for the best flavor?
Absolutely! I recommend using high-quality semisweet chocolate for a rich, decadent flavor. Look for chocolate that contains at least 60% cocoa for the best results. If you prefer a darker flavor, you can opt for dark chocolate, but be mindful that it will slightly alter the sweetness.
How long can I keep Homemade Chocolate Ice Cream in the freezer?
You can store your best homemade chocolate ice cream in the freezer for up to 2 months! Just make sure it’s in an airtight container to prevent freezer burn. For optimal flavor and texture, try to consume it within the first month.
Can I freeze the ice cream mixture before churning?
Very! If you need to prepare ahead of time, refrigerate the mixture as directed, then freeze it just until firm (not solid) before churning. This will make it easier to churn into ice cream without any lumps.
What if my ice cream is too hard after freezing?
No worries at all! If you find your ice cream is too hard to scoop, simply let it sit at room temperature for about 5-10 minutes. This will soften it just enough to allow for easier scooping and restore some of that creamy texture.
Can I make this recipe egg-free?
Certainly! If you’re looking for an egg-free version, you can substitute the egg yolks with a tablespoon of cornstarch mixed with water to thicken the custard. Simply whisk it in along with the milk and sugar and cook until thickened. This will help create a creamy texture without the eggs.
How do I know when the custard is thick enough?
Great question! To tell if your custard is ready, dip your spatula into the mixture and run your finger along its surface. If the line holds and the coating is thick enough to lightly coat the spatula, you’re good to go! This usually takes about 10-12 minutes of constant stirring over medium heat.
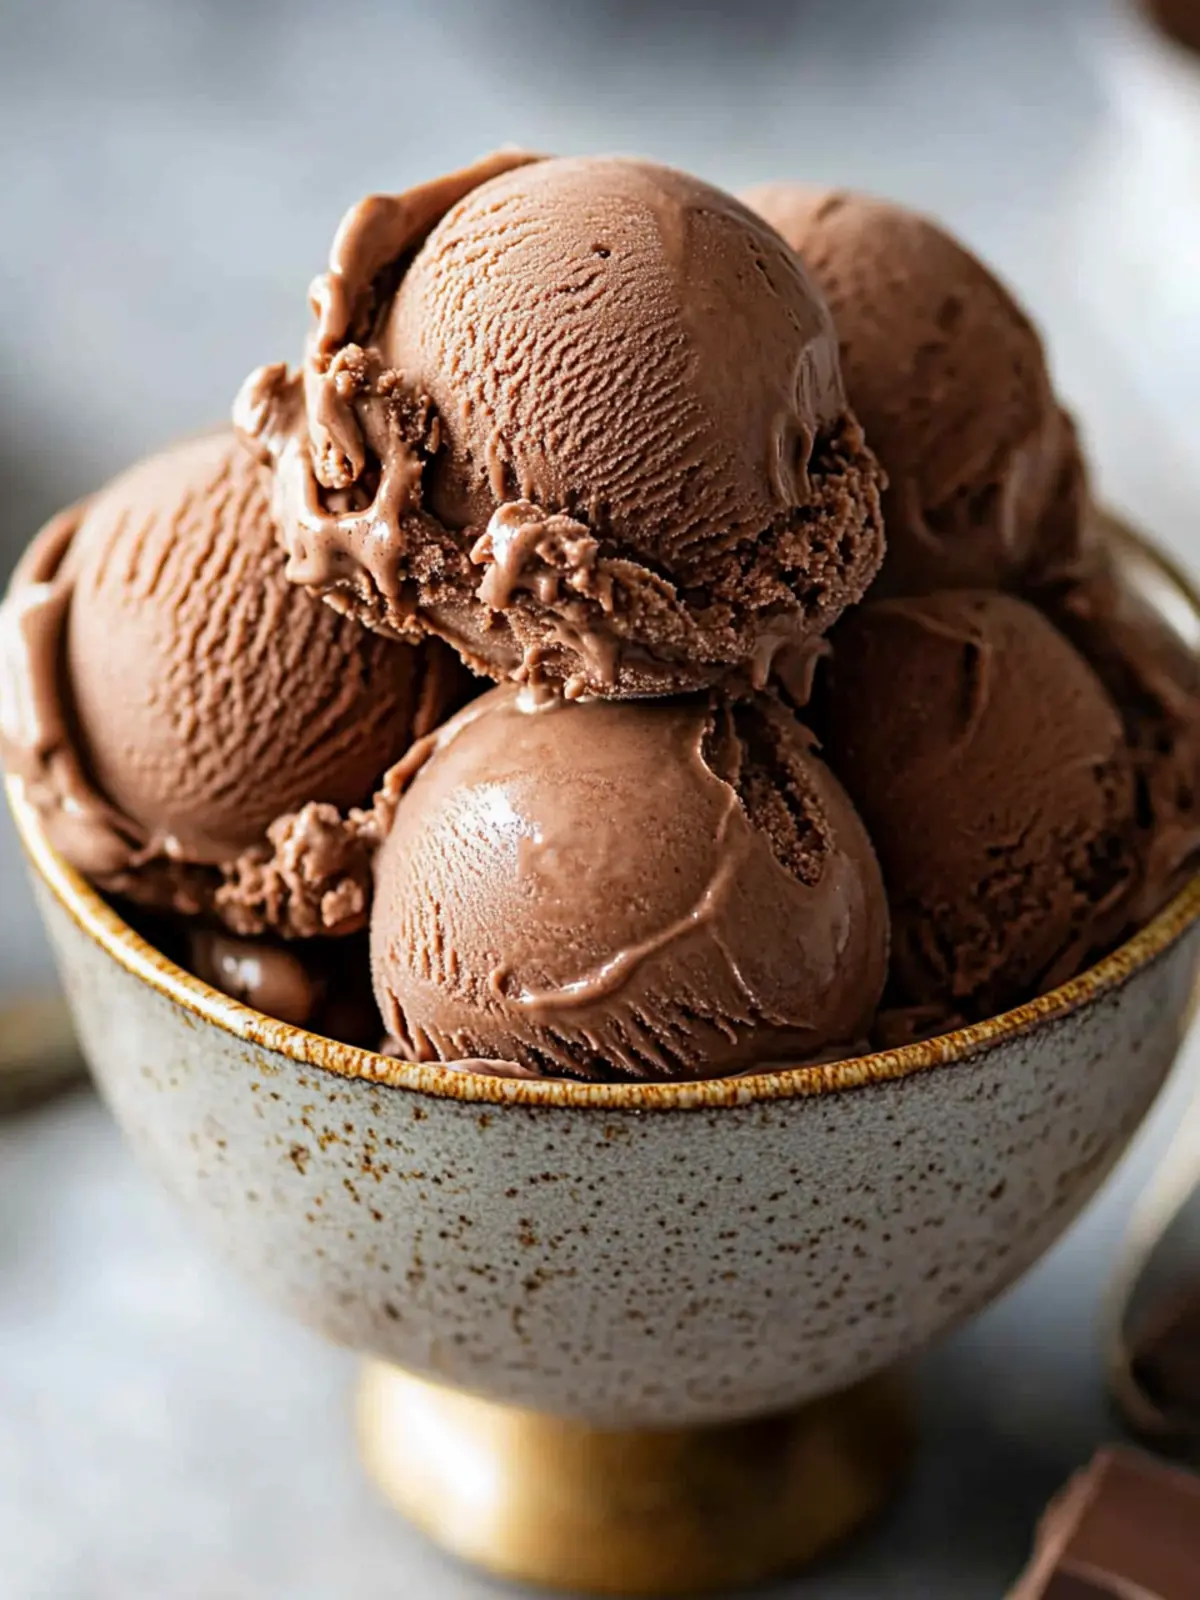
Indulge in the Best Homemade Chocolate Ice Cream Ever
Ingredients
Equipment
Method
- Whisk Together the first cup of heavy cream and cocoa powder in a saucepan. Bring to a gentle boil, then reduce heat and let simmer for 30 seconds while whisking constantly.
- Remove from Heat and add the chopped semisweet chocolate. Whisk until melted and smooth, then stir in the remaining cup of heavy cream.
- Strain the Mixture into a large bowl using a fine mesh strainer to ensure a silky texture.
- Whisk the Egg Yolks in a small bowl until well combined and frothy.
- Heat the Milk Mixture in a saucepan, whisk together whole milk, granulated sugar, and sea salt over medium heat.
- Combine Mixtures by adding 1/2 cup of the warm milk mixture to the beaten egg yolks while whisking continuously.
- Pour the egg yolk mixture back into the saucepan, whisking as you add it.
- Cook the Custard over medium heat, stirring constantly until thickened.
- Strain Again by pouring the custard through a metal strainer into the chocolate mixture and stir until combined.
- Add Vanilla extract and stir gently.
- Chill the Mixture by covering with a lid or plastic wrap. Refrigerate for at least 6 hours or overnight.
- Churn the Ice Cream in an ice cream maker according to the manufacturer's instructions.
- Transfer to an airtight container and freeze for a minimum of 6 hours.
- Serve and Enjoy your chocolate ice cream, optionally topped with chocolate shavings.