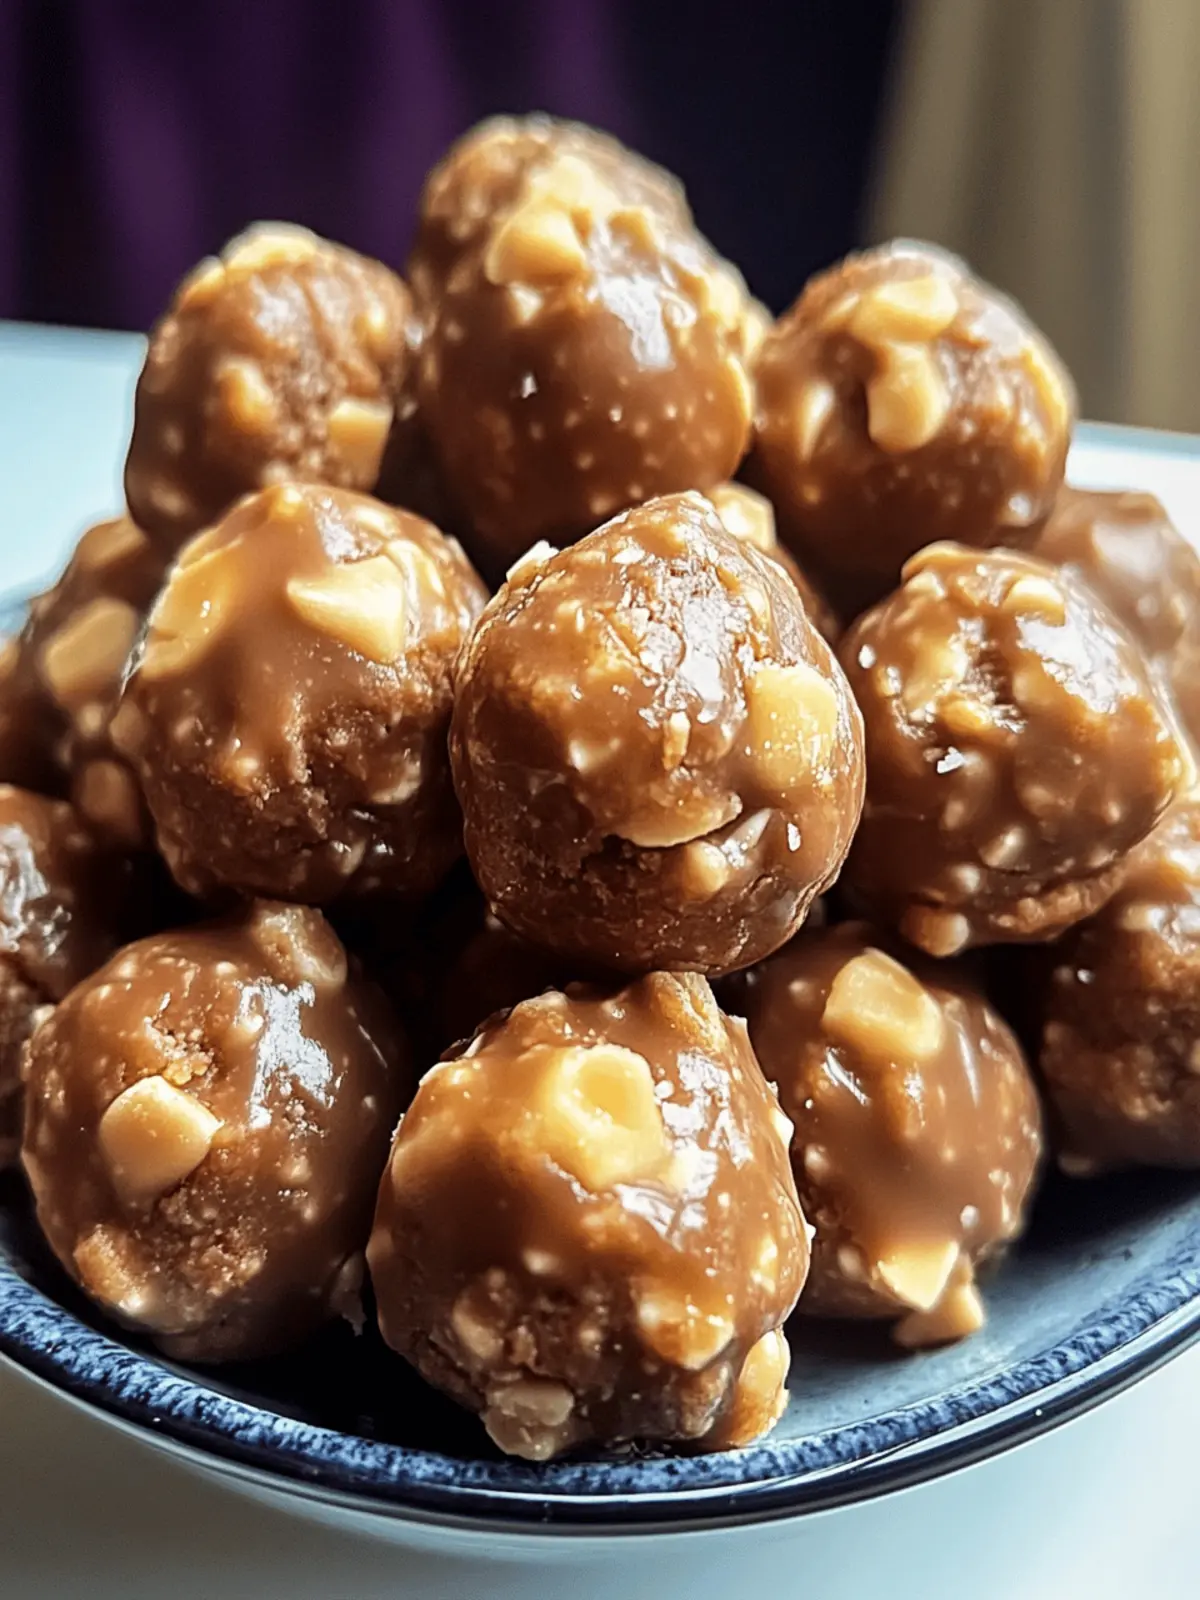
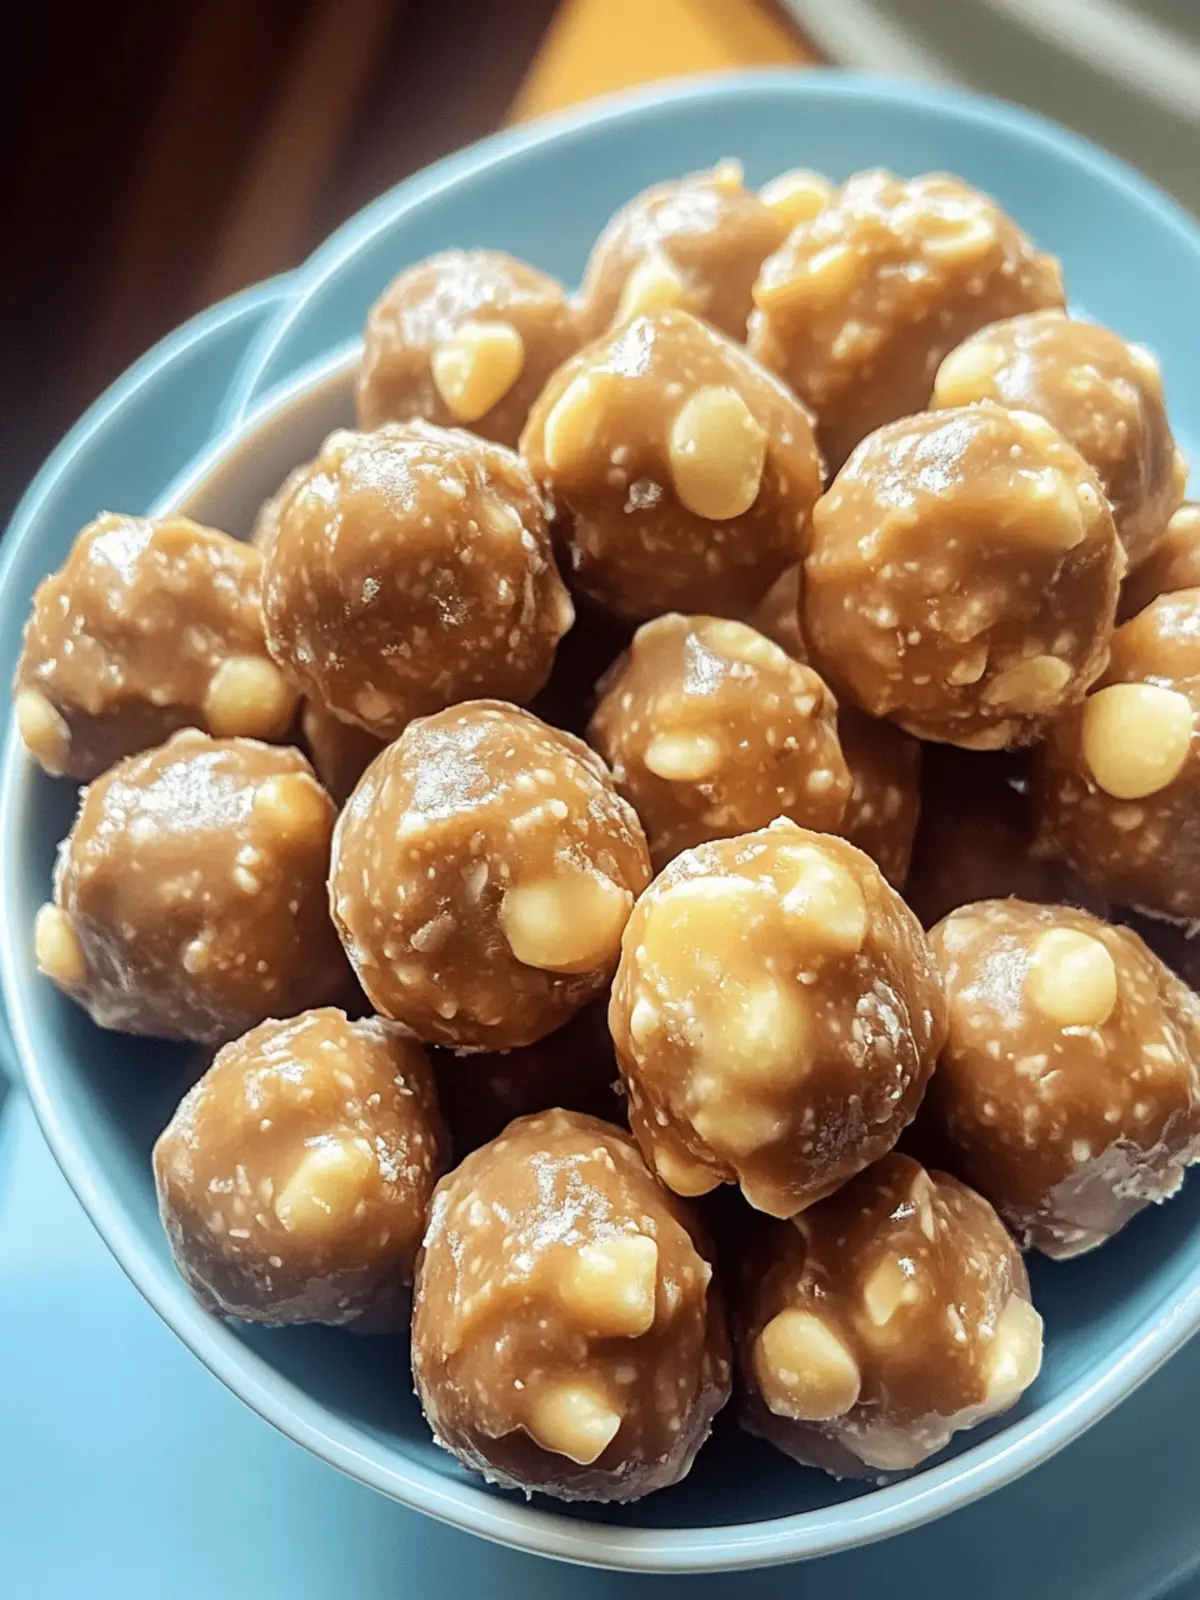
There’s something wonderfully nostalgic about the combination of peanut butter and chocolate, a duo that has delighted taste buds for generations. When I first encountered no-bake Butterfinger Balls at a friend’s gathering, I was captivated by the satisfying crunch of crushed Butterfinger bars mingling with creamy peanut butter and graham crackers. Little did I know, these indulgent bites would quickly become a staple in my own kitchen.
Imagine the joy of creating a dessert that not only boasts a decadent flavor but is also a breeze to whip up. These Butterfinger Balls are perfect for any occasion—from casual family movie nights to lively parties where you want to impress guests without spending hours in the kitchen. Plus, you can easily customize them to suit different palates, making them a versatile treat for everyone to enjoy. Let’s dive into this simple yet decadent recipe that’s bound to satisfy your sweet tooth and bring smiles to your table!
Why are Butterfinger Balls a must-try?
Simplicity at its Best: These no-bake delights come together with minimal effort, making them perfect for novice chefs and busy home cooks alike.
Irresistible Flavor: The creamy peanut butter paired with the crunchy Butterfinger bars creates a taste explosion that’s hard to resist!
Customizable Fun: Easily swap out Butterfinger for other candies or add seasonal spices to make these treats your own.
Perfect for Any Occasion: Whether it’s a family gathering, birthday party, or just because, these treats will impress everyone.
Quick Satisfaction: With a chill time of just 30 minutes, you can satisfy your sweet cravings in no time.
Get ready to delight your taste buds with this easy and delicious recipe!
Butterfinger Balls Ingredients
For the Dough
• Softened Butter – Adds richness and moisture; ensure it’s at room temperature for easy incorporation.
• Vanilla Extract – Enhances flavor and aroma; use pure vanilla for best results.
• Powdered Sugar – Sweetens the mixture and binds the ingredients; sift it to avoid lumps.
• Peanut Butter – Acts as the primary flavoring; avoid natural varieties to prevent excessive oiliness.
• Graham Cracker Crumbs – Adds texture and structure; can be substituted with crushed biscuits if desired.
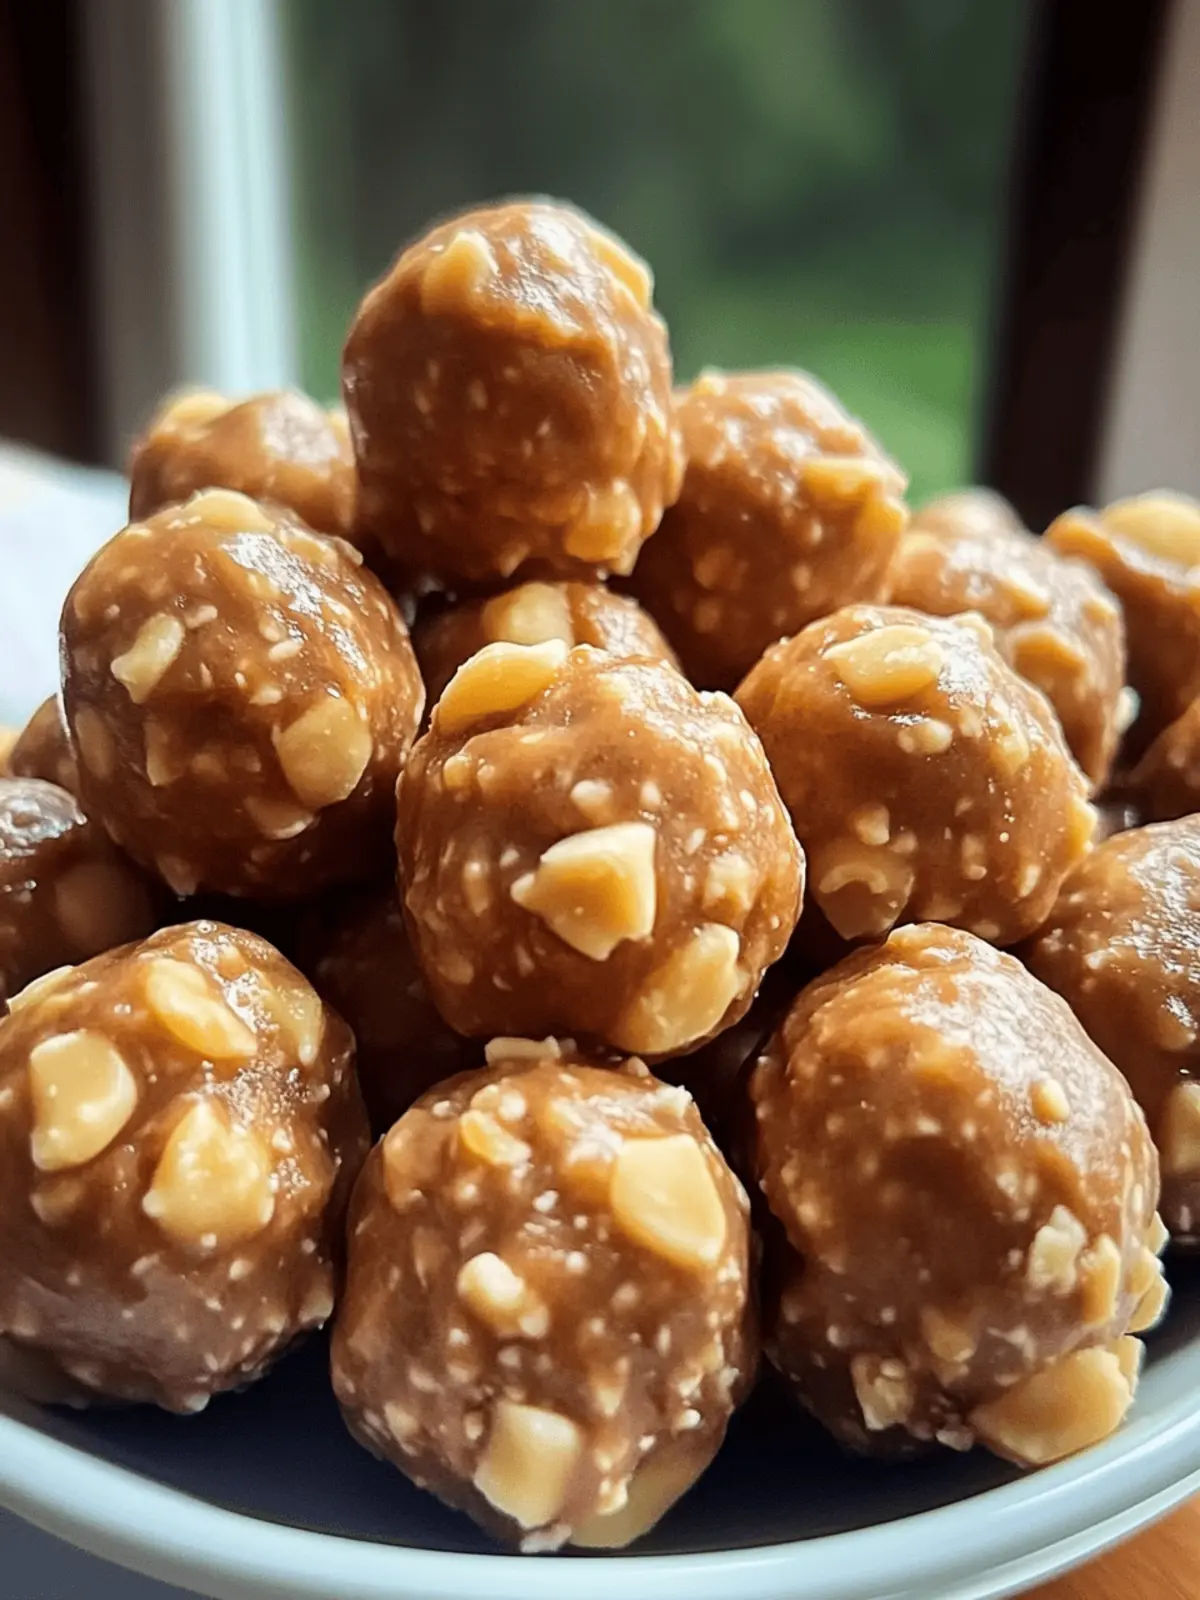
• Crushed Butterfinger Bars – Introduces a delightful crunch and signature flavor; feel free to replace with other candies for variety.
For the Coating
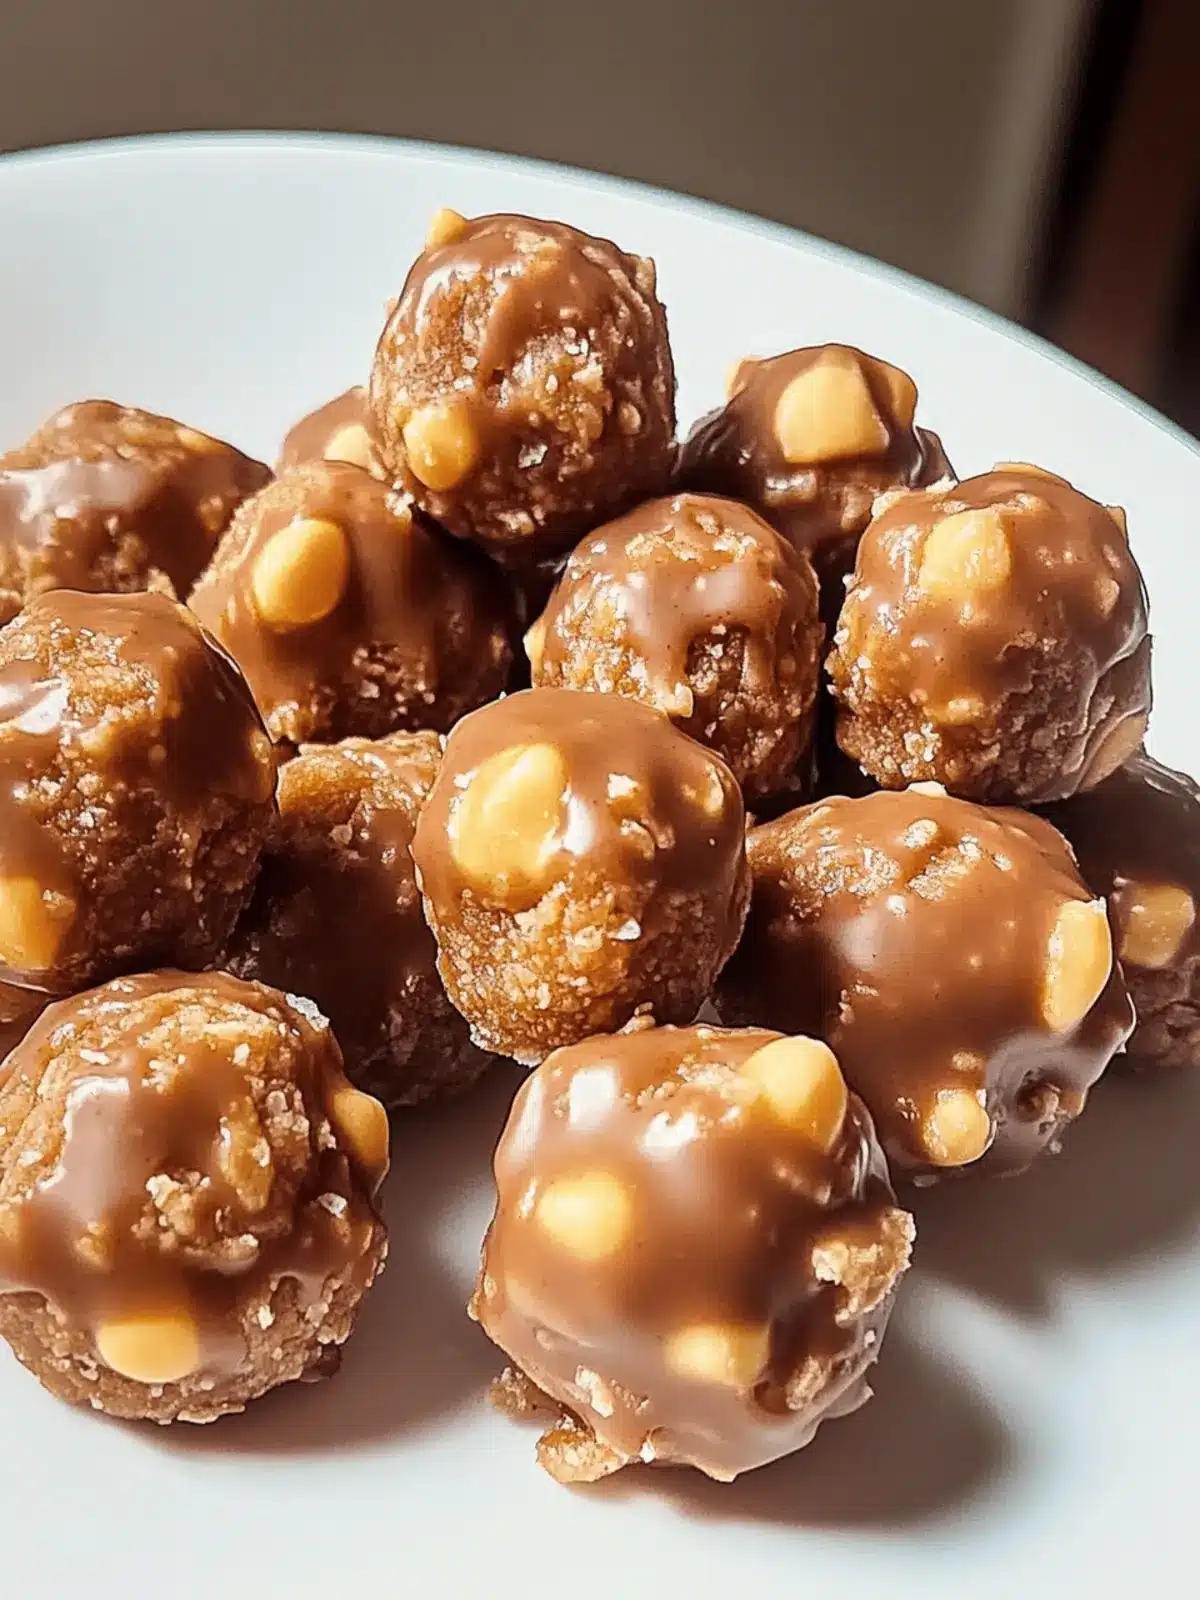
• Chocolate Bark or Chocolate Chips – Provides a decadent chocolate coating; temper for a glossy finish, or use chocolate bark for simplicity.
Optional Garnishes
• Additional Crushed Butterfinger Bars – Sprinkle on top for extra crunch and flavor.
• Festive Sprinkles – Add a pop of color for celebratory occasions.
• Coarse Sea Salt – A touch enhances the sweet and savory combination beautifully.
How to Make Butterfinger Balls
-
Prepare the Dough: In a mixing bowl, combine softened butter and peanut butter; blend until creamy and smooth. This will be the delightful base of your Butterfinger Balls.
-
Add Flavoring: Gently mix in the vanilla extract until fully incorporated. The warm aroma of vanilla will elevate your treat, making it all the more tempting!
-
Incorporate Sweetness: Gradually add sifted powdered sugar while mixing at low speed. Scrape the sides of the bowl occasionally to ensure an even blend, creating a luscious texture.
-
Add Crunch: Carefully fold in the graham cracker crumbs and crushed Butterfinger bars until evenly distributed. This step introduces that iconic crunch we love!
-
Form Balls: Using a scoop, take 1 to 1½ tablespoons of the dough and roll it into balls. Place them on a parchment-lined cookie sheet, creating a tempting lineup of treat shapes.
-
Chill: Pop the cookie sheet into the freezer and chill the balls for about 30 minutes, or until they feel firm. This step is key for achieving the perfect bite!
-
Melt Chocolate: In a microwave, heat the chocolate in intervals, stirring every 30 seconds until shiny and smooth. Alternatively, use a double boiler for precise melting.
-
Coat the Balls: Once chilled, dip each ball into the melted chocolate, making sure they are fully covered, then place them back on the parchment paper.
-
Garnish: If desired, sprinkle with additional crushed Butterfinger bars or festive sprinkles before the chocolate sets completely. Let your creativity shine!
Optional: Drizzle with melted white chocolate for an added touch of elegance.
Exact quantities are listed in the recipe card below.
How to Store and Freeze Butterfinger Balls
Fridge: Keep your Butterfinger Balls in an airtight container in the fridge for up to 1 week. This will maintain their freshness and flavor.
Freezer: For longer storage, freeze the balls in a single layer on a parchment-lined tray before transferring them to an airtight container. They can last for up to 5-6 months.
Reheating: When ready to enjoy, thaw the frozen Butterfinger Balls in the fridge overnight before serving. Avoid microwaving to retain their texture.
Layering: If storing multiple layers, place wax paper between them to prevent sticking and keep those delightful chocolate coatings intact.
Butterfinger Balls Variations
Customize your Butterfinger Balls for a fun twist on this classic treat!
- Candy Swap: Replace Butterfinger bars with Snickers or Reese’s for different flavor profiles that are equally delicious.
- Nutty Addition: Incorporate finely chopped pecans or walnuts to add crunchy texture and enhance the nutty flavor of the peanut butter.
- Seasonal Spice: Mix in a teaspoon of cinnamon or nutmeg for a warm, inviting twist that’s perfect for cozy gatherings.
- Dairy-Free Delight: Use coconut oil mixed with dairy-free chocolate chips to make these treats vegan-friendly without losing that lovely chocolate coating.
- Fruity Flavor: Stir in dried cranberries or raisins for a burst of sweetness and chewiness with each bite, giving a new dimension to your dessert.
- Decadent Drizzle: After coating with chocolate, drizzle some melted white chocolate on top for an elegant finish that impresses and enhances flavor.
- Texture Twist: Swap graham cracker crumbs with crushed pretzels for a sweet and salty balance in your Butterfinger Balls.
- Kick of Heat: Add a pinch of cayenne pepper to the chocolate for a surprising heat that intensifies the sweetness and makes each bite unforgettable.
What to Serve with Butterfinger Balls?
Creating delightful pairings can elevate your no-bake Butterfinger Balls into an unforgettable dessert experience. Imagine the sweet aroma wafting through your kitchen as you present a beautiful spread.
- Rich Vanilla Ice Cream: A scoop of creamy vanilla complements the chocolate and peanut butter perfectly, creating a delightful temperature contrast.
- Fresh Strawberries: Their bright acidity cuts through the richness of the chocolate, balancing the indulgent flavors beautifully.
- Espresso or Coffee: The bold, bitter notes of coffee pair wonderfully with the sweet, creamy treat, enhancing its flavors.
- Milkshake: A chilled milkshake can round out your dessert table; try a chocolate or peanut butter shake to echo the flavors of the Butterfinger Balls.
- Chocolate Drizzle: Elevate presentation and flavor by drizzling chocolate sauce over each ball—this adds an extra touch of decadence!
- Whipped Cream: Light and airy, whipped cream serves as a delightful contrast in both texture and taste, making each bite even more enjoyable.
Serve your Butterfinger Balls alongside these delicious options for a full and satisfying dessert experience that everyone will love!
Make Ahead Options
These Butterfinger Balls are a fantastic treat to prepare in advance, saving you time on the day of your event! You can mix the dough and form the balls up to 24 hours ahead of time; simply place them on a parchment-lined tray and refrigerate until you’re ready to coat them. If you need even more flexibility, the formed balls can be frozen for up to 3 months. Just be sure to layer them with wax paper to prevent sticking. When it’s time to serve, dip the chilled or thawed balls in melted chocolate, garnish as desired, and let the chocolate set. This way, you’ll have delicious homemade Butterfinger Balls ready to impress guests with minimal last-minute effort!
Expert Tips for Butterfinger Balls
-
Get the Right Texture: Use room temperature butter for a smooth mix. Cold butter can make it difficult to achieve the perfect creamy consistency.
-
Sifting is Key: Always sift your powdered sugar before mixing; this prevents lumps that can ruin the smooth texture of your Butterfinger Balls.
-
Mind the Chocolate: If using chocolate chips, make sure to stir thoroughly while melting to avoid scorching. Tempered chocolate gives a lovely sheen, but chocolate bark is easier for beginners.
-
Chill Well: Don’t skimp on the chilling time! Properly chilled balls will hold their shape and provide a delightful contrast to the melted chocolate coating.
-
Experiment with Variations: Feel free to swap Butterfinger for your favorite candy bars, or add ingredients like dried fruit or nuts for a unique spin on these classic Butterfinger Balls.
-
Storage Tips: Keep these treats in an airtight container in the fridge for up to a week or freeze for up to 5-6 months to enjoy later!
Butterfinger Balls Recipe FAQs
What is the best way to select ripe ingredients for Butterfinger Balls?
Absolutely! When selecting ingredients, especially peanut butter and butter, choose brands that are not all-natural for the best texture. Conventional peanut butter holds the right consistency without becoming too oily, which is crucial for your treats. For butter, make sure it’s softened to room temperature; this ensures a creamy blend that binds perfectly with the other ingredients.
How should I store my Butterfinger Balls?
For optimal freshness, store your Butterfinger Balls in an airtight container in the fridge. They can last for up to a week this way, remaining deliciously soft and flavorful. If you have leftovers, don’t worry! You can also keep them in the freezer, where they will maintain their quality for up to 5-6 months. Make sure to layer them between sheets of wax paper if you stack them to prevent sticking.
Can I freeze Butterfinger Balls for later?
Yes! Freezing is a great option for these treats. Start by placing the formed balls on a parchment-lined tray and freeze them for about 30 minutes until firm. After that, transfer them to an airtight container. This method not only preserves their texture but makes them incredibly easy to enjoy later—simply thaw in the fridge overnight when you’re ready to indulge!
What should I do if my Butterfinger Balls are too sticky?
No worries! If your dough feels too sticky to handle, it may be due to the consistency of your peanut butter or butter. To troubleshoot, try chilling the mixture in the fridge for about 15-20 minutes. This should firm it up enough for you to easily scoop and roll into balls. Additionally, dusting your hands with powdered sugar or graham cracker crumbs can help minimize stickiness while rolling.
Can I make Butterfinger Balls nut-free?
Absolutely! If you or your guests have nut allergies, consider using sunflower seed butter or a similar nut-free spread in place of peanut butter. These alternatives will still give you that creamy texture and delightful sweet flavor. Just double-check the allergen labels of any other ingredients to ensure they are nut-free as well!
Are Butterfinger Balls safe for my pets?
It’s best to keep Butterfinger Balls away from pets. Chocolate and certain nuts can be harmful to dogs and some other animals. If you’re looking for a pet-friendly treat, you can create a separate batch using ingredients like oats and pumpkin to pamper your furry friends instead!

Create Irresistible Butterfinger Balls: No-Bake Delight!
Ingredients
Equipment
Method
- In a mixing bowl, combine softened butter and peanut butter; blend until creamy and smooth.
- Gently mix in the vanilla extract until fully incorporated.
- Gradually add sifted powdered sugar while mixing at low speed, scraping the sides of the bowl occasionally.
- Carefully fold in the graham cracker crumbs and crushed Butterfinger bars until evenly distributed.
- Using a scoop, take 1 to 1½ tablespoons of the dough and roll it into balls. Place them on a parchment-lined cookie sheet.
- Pop the cookie sheet into the freezer and chill the balls for about 30 minutes.
- In a microwave, heat the chocolate in intervals, stirring every 30 seconds until shiny and smooth.
- Once chilled, dip each ball into the melted chocolate, making sure they are fully covered.
- If desired, sprinkle with additional crushed Butterfinger bars or festive sprinkles before the chocolate sets.


