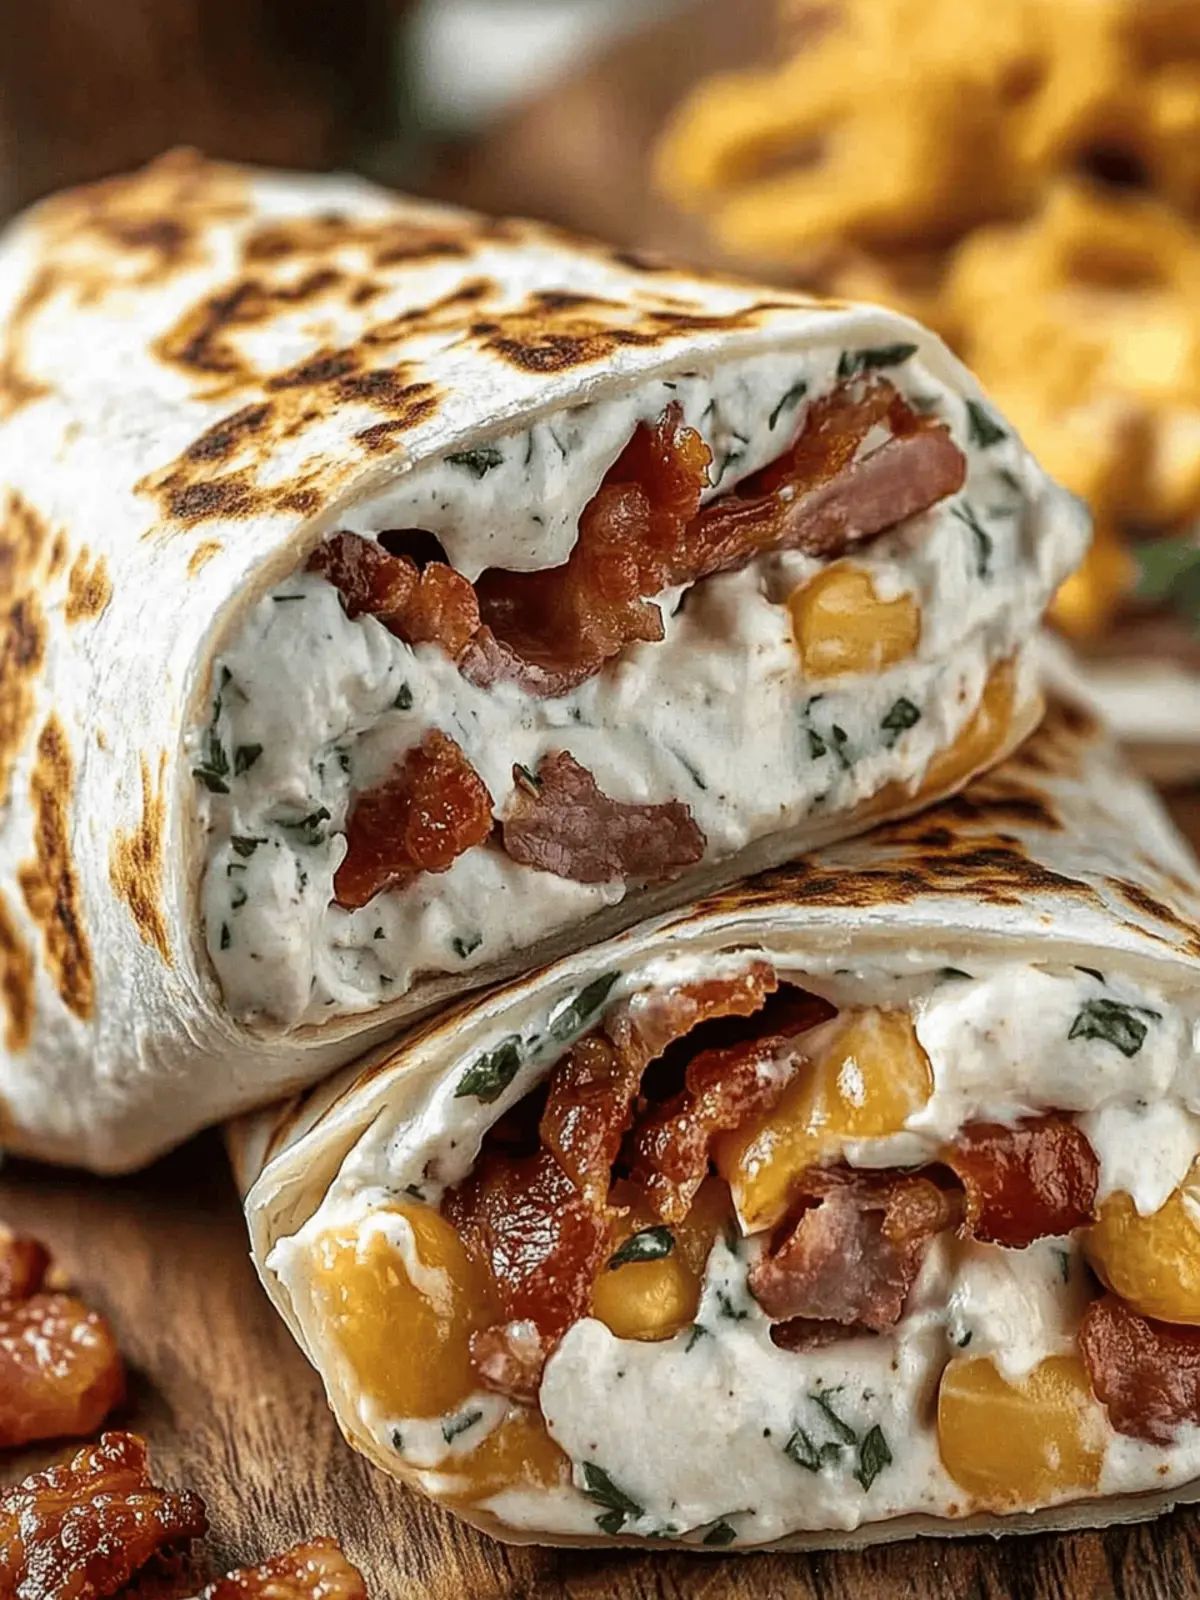
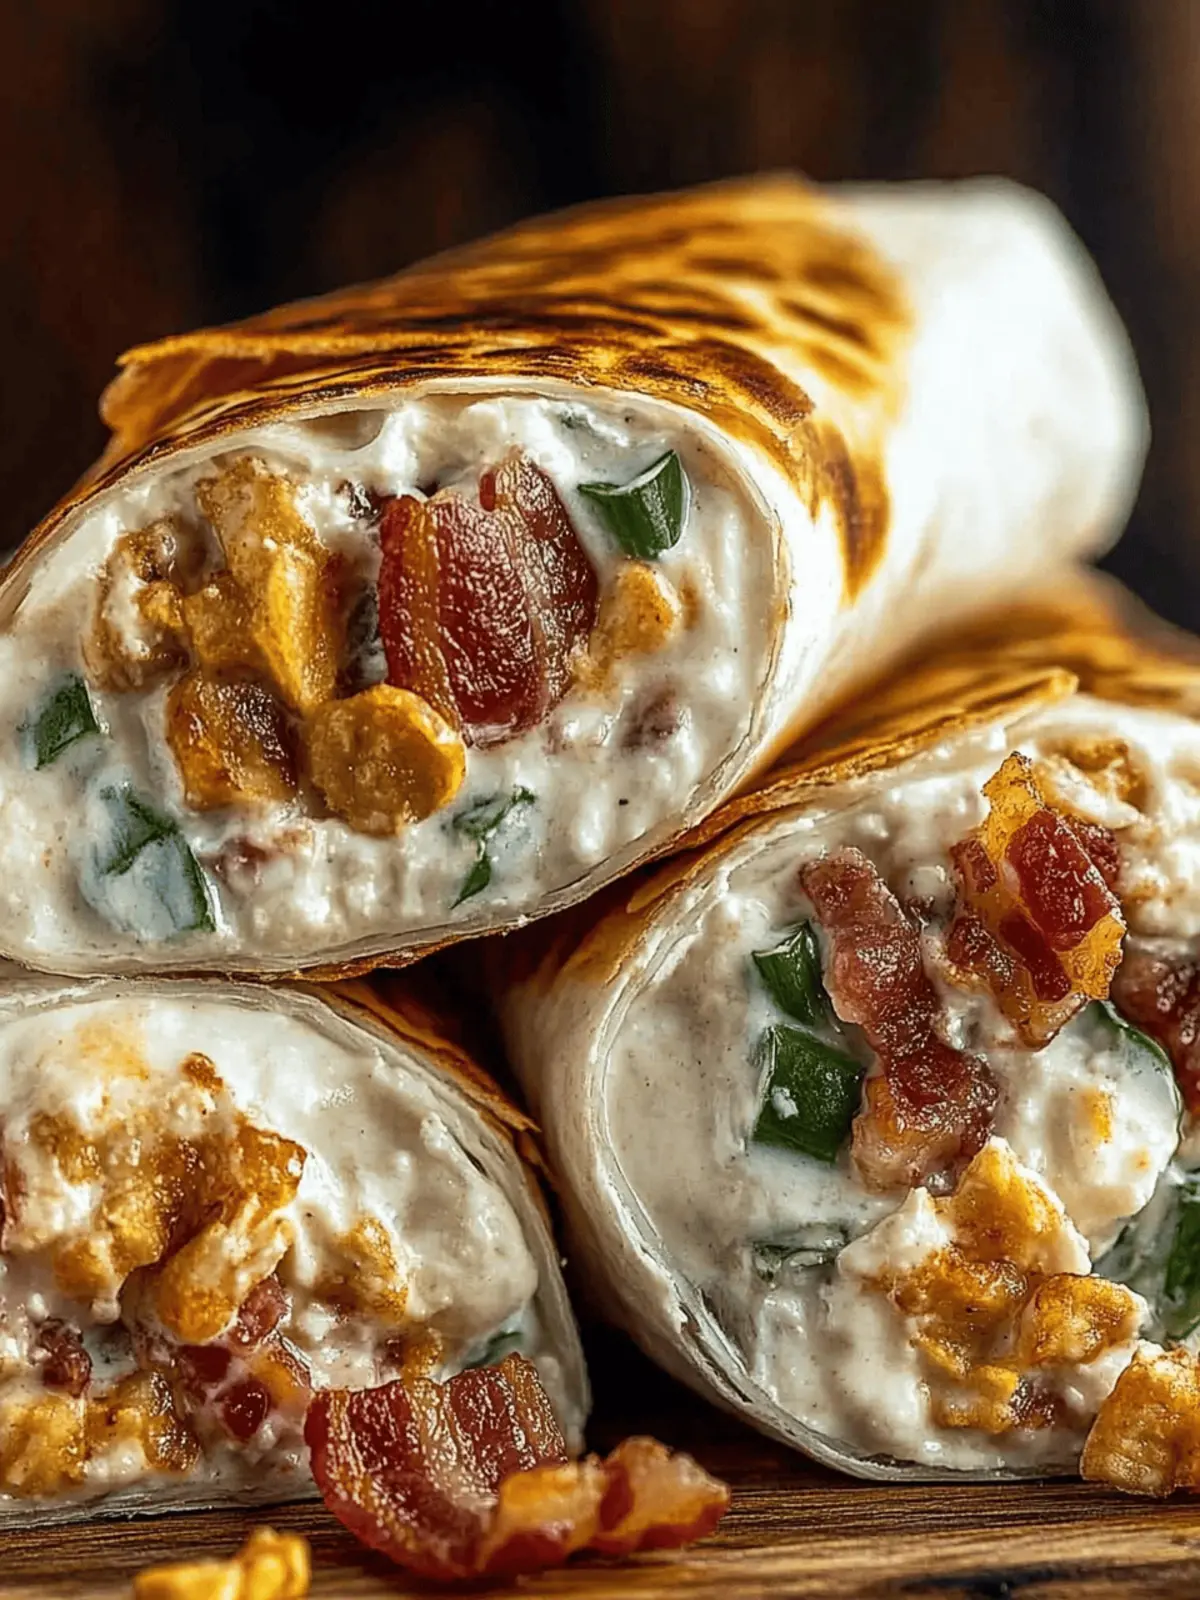
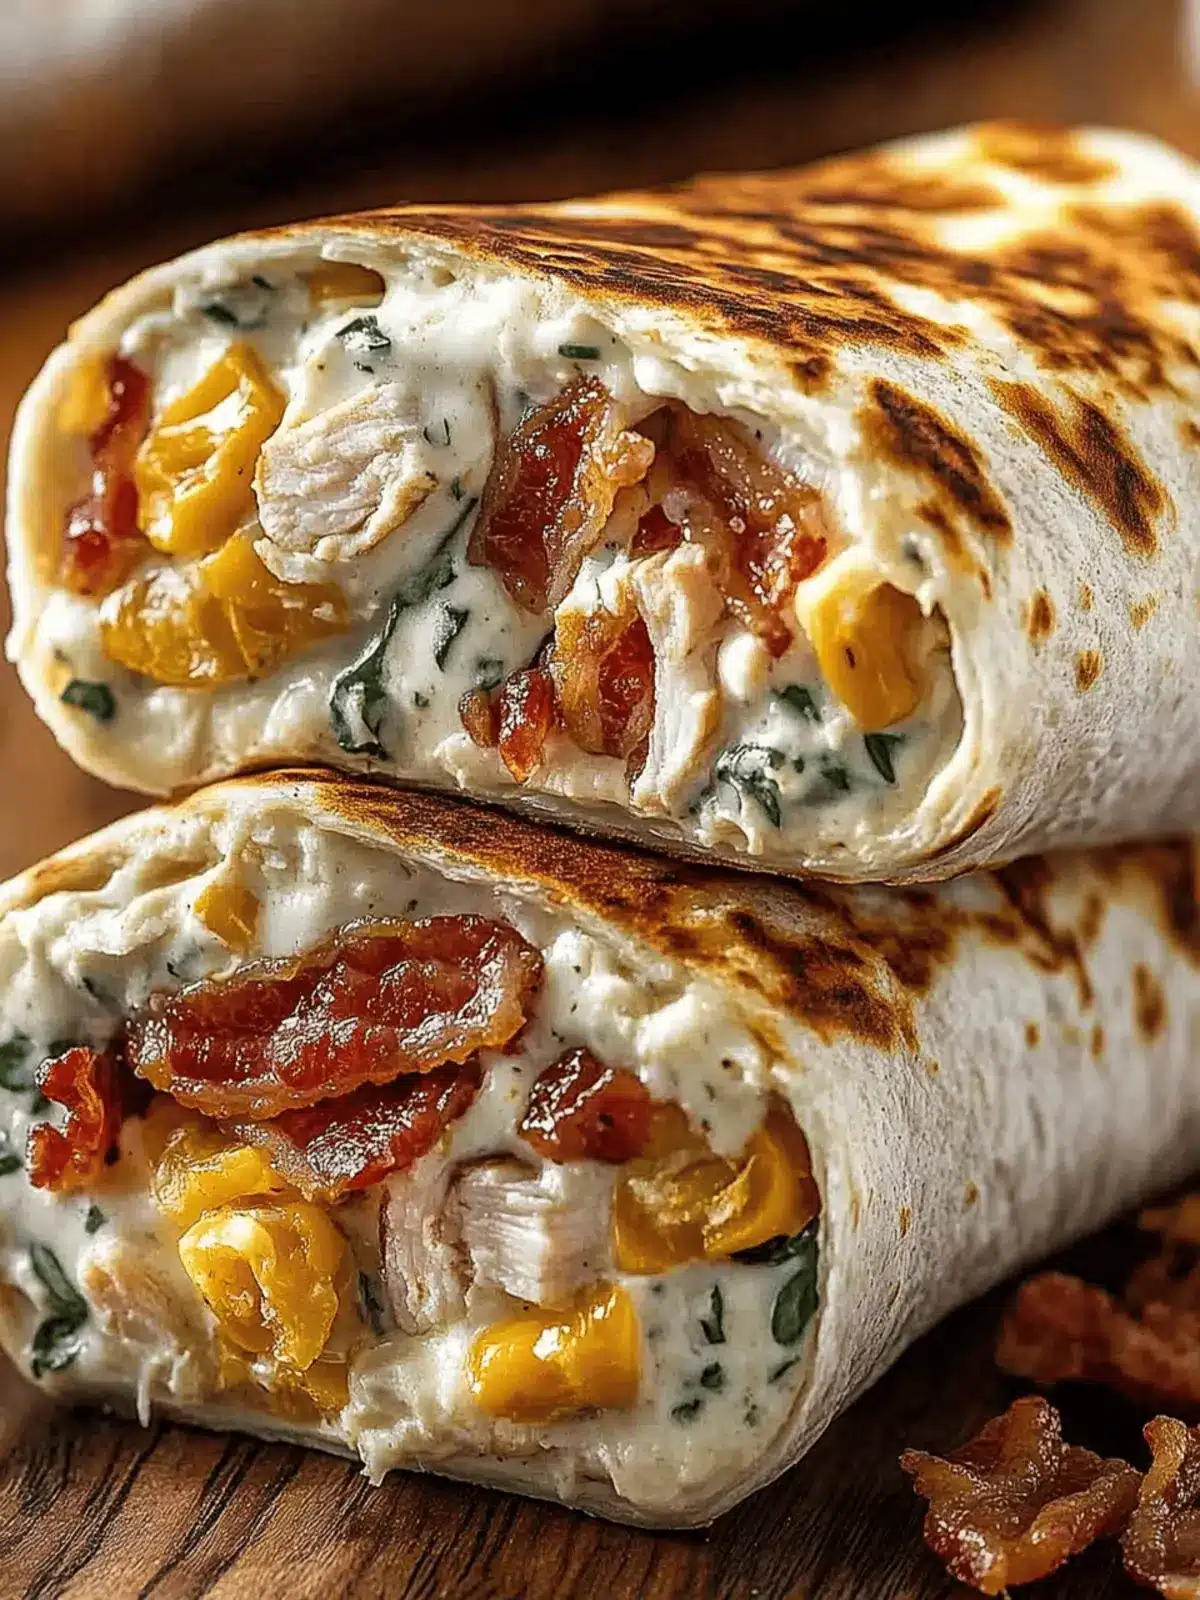
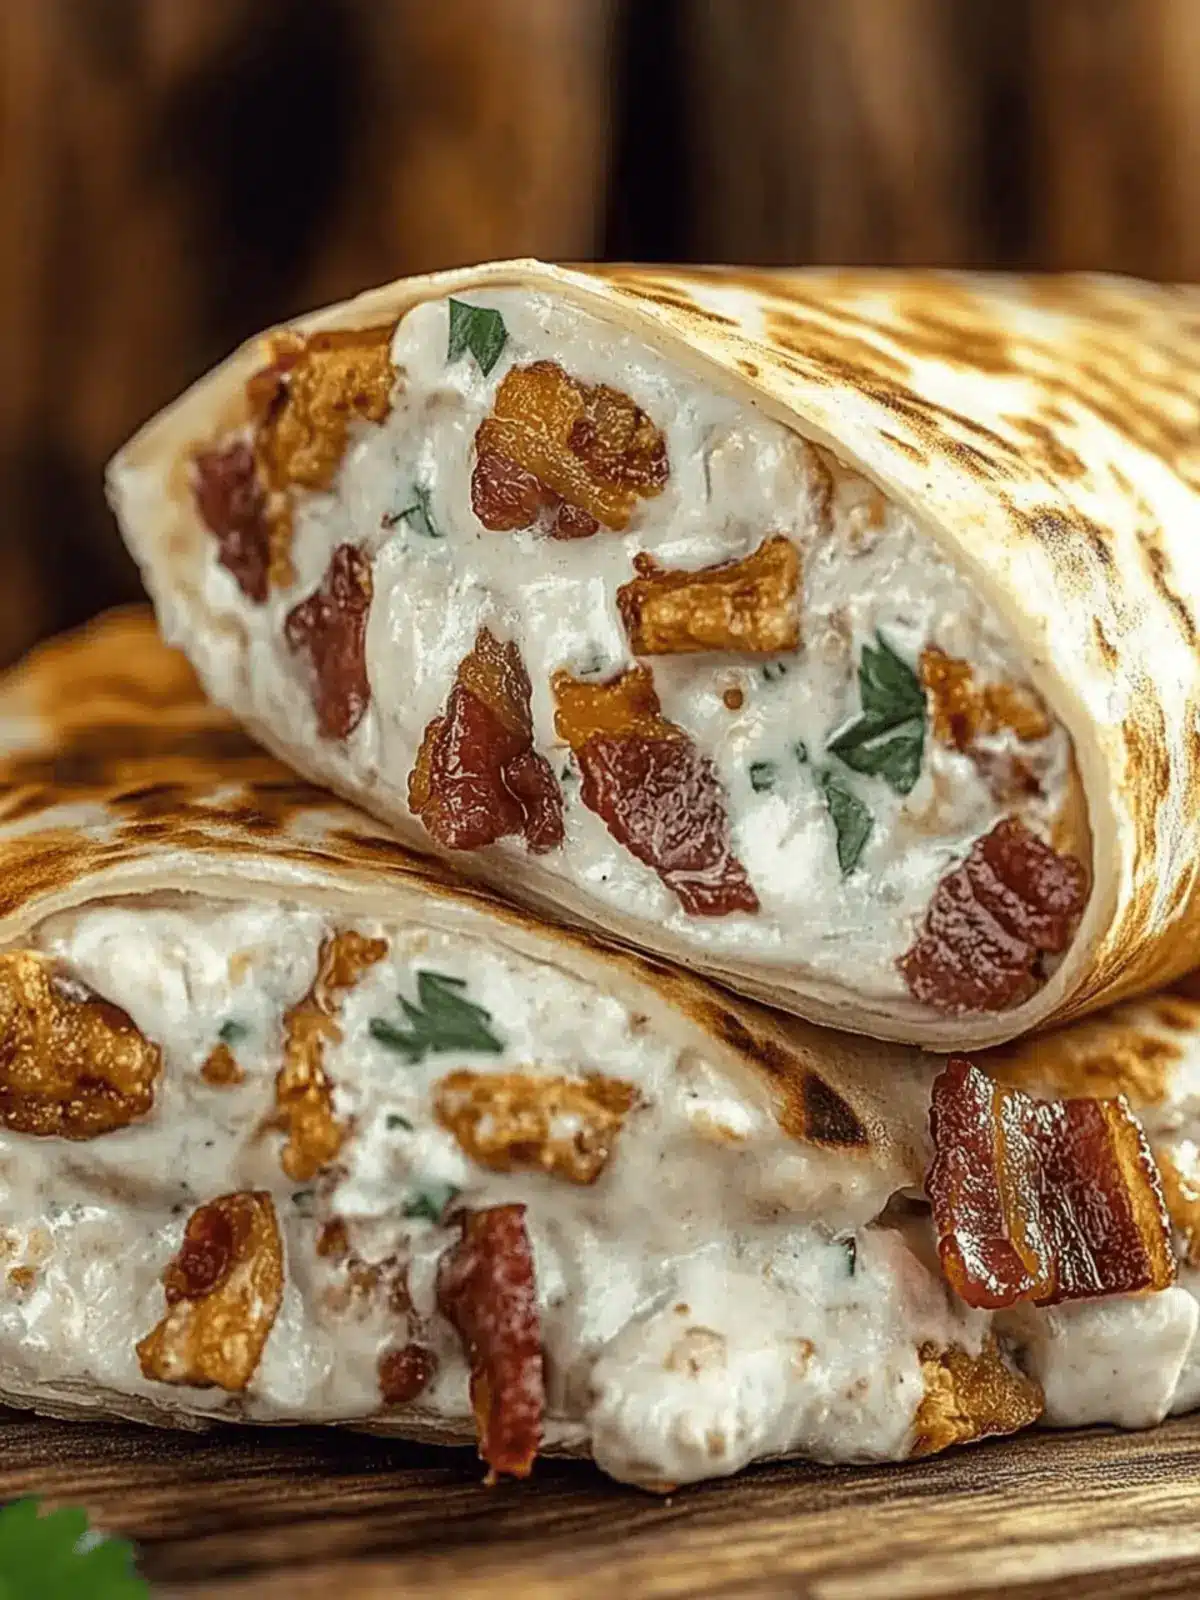
As the sun sets and the aroma of sizzling bacon fills the kitchen, a wave of nostalgia sweeps over me. These Crunchy Bacon Chicken Wraps have become our family’s go-to comfort food, transforming busy nights into memorable culinary moments. I first crafted this recipe during a hectic week when takeout just wasn’t an option, and the results were nothing short of delightful—a crispy exterior wrapped around tender chicken and a rich, cheesy garlic sauce. With every bite, you’ll experience a medley of flavors that are not only satisfying but quick to prepare, making them perfect for family dinners or casual gatherings with friends. Plus, the versatility of the ingredients means you can easily customize these wraps to your liking. So let’s dive in and discover how to create this hit at your next meal!
Why Love This Crunchy Bacon Ranch Wrap?
Deliciously simple: The Crunchy Bacon Ranch Wrap comes together in just about 30 minutes, making it perfect for busy weeknights or last-minute gatherings.
Flavor explosion: With crispy bacon, melted cheese, and a tangy ranch sauce, each bite is a delightful combination that satisfies all taste buds.
Family-friendly: Everyone will love these wraps—kids and adults alike! It’s a comforting dish that encourages happy mealtime chatter.
Versatile and customizable: Swap out ingredients like chicken for turkey or mix up the cheese for an exciting twist on a classic.
Make-ahead convenience: Prepare the filling in advance, and store it separately for quick assembly when hunger strikes.
Crunchy Bacon Ranch Wrap Ingredients
For the Filling
• Cooked Bacon Pieces – Adds smoky flavor and crunch; for a lighter option, use turkey bacon.
• Shredded Chicken – Provides the main protein; rotisserie chicken is a convenient swap.
• Grated Cheddar Cheese – Contributes stretchiness and flavor; try mozzarella or Monterey Jack for a twist.
• Ranch Sauce – Adds tanginess and moisture; Greek yogurt ranch can be used for a healthier alternative.
• Garlic Cloves – Infuses the dish with aromatic flavor; substitute with garlic powder if necessary.
• Diced Green Onions – Offers freshness and a bit of crunch; switch to chives for a milder taste.
For the Cheese Sauce
• Butter – Provides richness and forms the roux for the sauce; olive oil works as a healthy substitute.
• Plain Flour – Acts as a thickening agent for the cheese sauce; use cornstarch for a gluten-free option.
• Rich Cream – Creates a creamy texture; substitute with half-and-half for a lighter version.
• Milk – Balances the richness; choose almond or oat milk for dairy-free options.
For the Wrap
• Large Flour Wraps – Encases the filling; use whole wheat or gluten-free tortillas to match dietary needs.
• Salt, Parsley, and Pepper – Elevate the overall flavor; adjust seasoning to fit your taste preferences.
This hearty Crunchy Bacon Ranch Wrap is not just a meal; it’s an experience waiting to be enjoyed!
How to Make Crunchy Bacon Ranch Wraps
-
Melt Butter: In a pan, melt 2 tablespoons of butter over medium heat. Stir in 3 minced garlic cloves and sauté for about 1 minute until fragrant and golden.
-
Add Flour: Sprinkle in 2 tablespoons of plain flour. Cook for another minute, stirring continuously to avoid lumps.
-
Whisk in Cream and Milk: Gradually whisk in 1 cup of rich cream and 1/2 cup of milk. Keep stirring until the mixture thickens, which should take about 3-4 minutes.
-
Incorporate Flavors: Add 1 cup of grated cheddar cheese, 1/4 cup of ranch sauce, 1/2 cup of cooked bacon pieces, and your preferred seasonings. Blend until smooth and creamy.
-
Combine Chicken: Gently fold in 2 cups of shredded chicken into the cheesy blend until it’s all evenly coated and deliciously mixed.
-
Prepare the Wraps: Spoon the cheesy filling onto large flour wraps, fold them in half, then roll tightly to encase the scrumptious mixture.
-
Toast the Wraps: Heat a nonstick skillet over medium heat and place the wraps seam-side down. Toast for 2-3 minutes on each side until golden and crispy.
-
Slice and Serve: Cut the wraps in half and serve warm, optionally accompanied by extra ranch for dipping.
Optional: Garnish with fresh parsley for extra color and flavor!
Exact quantities are listed in the recipe card below.
Make Ahead Options
These Crunchy Bacon Ranch Wraps are a fantastic choice for meal prep! You can prepare the cheesy filling up to 3 days in advance; simply store it in an airtight container in the refrigerator to maintain its creamy texture. Additionally, you can chop the bacon and shred the chicken in advance, making assembly a breeze when you’re ready to eat. To keep the wraps crisp, it’s best to wrap and refrigerate the tortillas separately from the filling. When you’re set to serve, just combine the filling with the tortillas and toast them in a skillet for a few minutes until golden. This way, you’ll enjoy a delightful, freshly made meal—even on the busiest of nights!
How to Store and Freeze Crunchy Bacon Ranch Wraps
Fridge: Store leftover wraps in an airtight container for up to 3 days. Wrap them in foil to maintain freshness and prevent drying out.
Freezer: For longer storage, freeze unbaked wraps. Place them in a single layer on a baking sheet to freeze, then transfer to a freezer-safe bag. They can be stored for up to 2 months.
Reheating: To reheat, toast frozen or thawed wraps in a nonstick skillet over medium heat for 5-7 minutes on each side. This will help achieve that perfect crunch while keeping the filling warm.
Assemble Fresh: If making ahead, keep the filling and wraps separate until you’re ready to enjoy your delicious Crunchy Bacon Ranch Wraps to prevent sogginess.
Crunchy Bacon Ranch Wrap Variations
Explore exciting twists and enhancements for your Crunchy Bacon Ranch Wrap to make it uniquely yours!
-
Turkey Swap: Use shredded turkey instead of chicken for a lighter protein option. Perfect for post-holiday meals!
-
Spicy Cheese: Opt for pepper jack cheese to bring a zesty kick to your wraps. A little heat never hurt anyone!
-
Vegetarian Delight: Replace chicken and bacon with sautéed veggies like bell peppers and mushrooms for a delicious plant-based alternative. Enjoy the savory, earthy flavors!
-
Herb-Infused Ranch: Mix fresh herbs like dill or cilantro into ranch dressing for an added layer of freshness. It brightens every bite wonderfully!
-
Creamy Avocado: Add slices of ripe avocado inside the wrap for added creaminess and a dose of healthy fats. It’s like a flavor explosion in your mouth!
-
Sweet Heat: Drizzle some honey or hot honey inside for a sweet and spicy contrast that complements the savory filling beautifully. You’ll be amazed at the balance of flavors!
-
Crunch Factor: Toss in some crushed tortilla chips or fried onions for extra crunch. This gives a delightful texture contrast with each bite.
-
Non-Dairy: Use cashew cream or coconut milk for a dairy-free cheese sauce. You’ll still achieve that rich, creamy satisfaction without the milk!
What to Serve with Crunchy Bacon Chicken Wraps?
Elevate your meal experience with delightful side dishes that perfectly complement these savory, crispy wraps.
- Crunchy Carrot Sticks: Fresh and crisp, they add a refreshing crunch that balances the rich flavors of the wraps.
- Celery Sticks with Ranch Dip: The coolness of celery paired with creamy ranch creates a satisfying contrast. Perfect for dipping!
- Classic Tomato Soup: A warm, comforting bowl enhances the wrap’s crispy texture, making for a nostalgic pairing.
- Simple Green Salad: Fresh greens topped with a light vinaigrette add brightness, helping to cut through the richness.
- Garlic Bread: A cozy classic, the buttery texture complements the savory filling while adding an extra layer of flavor.
- Baked Sweet Potato Fries: Sweet, crispy, and slightly salty, these fries provide a delightful twist alongside the wraps.
- Fizzy Lemonade: Bright and refreshing, this drink brings a zing to your meal, cleansing the palate perfectly.
- Chilled Beer: A light lager or pale ale pairs beautifully, balancing the richness of the crispy bacon and cheese.
- Chocolate Chip Cookies: Finish off your meal with a sweet treat, as warm cookies bring joy to any family gathering!
- Fruit Salad: A medley of seasonal fruits adds a light, sweet note, making for a refreshing finale to the feast.
Expert Tips for Crunchy Bacon Ranch Wraps
-
Cool the Filling: Allow the cheesy filling to cool slightly before assembling the wraps to prevent them from becoming soggy.
-
Seal for Crunch: Toast the seam side last after rolling your wraps to lock in that delightful crispiness you want in a Crunchy Bacon Ranch Wrap.
-
Reheat Wisely: When reheating leftovers, opt for a dry skillet or toaster oven instead of a microwave. This keeps the wraps crispy rather than chewy.
-
Prep Ahead: If making ahead, store the filling separately from the wraps. This way, you maintain the textures and flavors without any sogginess.
-
Experiment with Cheese: Don’t hesitate to mix up the cheese! Incorporating different types can enhance flavor and create an exciting twist on your wraps.
Crunchy Bacon Ranch Wrap Recipe FAQs
How do I choose ripe ingredients for the Crunchy Bacon Ranch Wrap?
Absolutely! For the best flavor, choose crispy bacon that’s freshly cooked, ensuring it has a nice golden color without burnt edges. For the shredded chicken, using rotisserie chicken is convenient, but if cooking fresh chicken, ensure it’s fully cooked and tender. Choose ripe garlic cloves which should be firm and plump for the best aromatic flavor.
How do I store leftover Crunchy Bacon Ranch Wraps?
Very! Store any leftover wraps in an airtight container in the fridge for up to 3 days. Wrapping them in foil helps maintain their moisture and prevents drying out. I often add a paper towel inside the container to absorb excess moisture—it’s a little trick that keeps the wraps fresher longer!
Can I freeze Crunchy Bacon Ranch Wraps?
Absolutely! For optimal storage, before baking, place the assembled wraps on a baking sheet in a single layer and freeze until firm, then transfer them to a freezer-safe bag. They’ll last up to 2 months. When you’re ready to indulge, toast them straight from the freezer in a nonstick skillet for that perfect crunch! Just heat on medium for about 5-7 minutes on each side until heated through.
What can I do if my wraps get soggy?
If you find your wraps have turned soggy, don’t worry! The key is to let the cheesy filling cool a bit before assembling the wraps, as this prevents moisture build-up. If you’ve already assembled them, you can revive the crunch by reheating them in a dry nonstick skillet over medium heat, just like you would when cooking them fresh.
Are there any dietary considerations I should keep in mind for the Crunchy Bacon Ranch Wrap?
Very! If you’re looking for a healthier or allergy-friendly version, you can use turkey bacon instead of regular for a lower-fat option and substitute the cream with almond milk or a dairy-free alternative. Also, if you’re managing any allergies, always ensure the ranch dressing is free from any allergens you might have, and consider using gluten-free tortillas to accommodate those with gluten sensitivities.
Can pets safely eat some of the ingredients from the Crunchy Bacon Ranch Wrap?
While your furry friends might be tempted by the delicious smell, it’s best to stick to pet-safe treats for them. Ingredients like garlic and certain sauces can be harmful to pets, so please keep your wraps out of reach! If you’re looking to give your pet a little treat, consider plain cooked chicken instead.

Crunchy Bacon Ranch Wraps That Will Wow Your Taste Buds
Ingredients
Equipment
Method
- Melt Butter: In a pan, melt 2 tablespoons of butter over medium heat. Stir in 3 minced garlic cloves and sauté for about 1 minute until fragrant and golden.
- Add Flour: Sprinkle in 2 tablespoons of plain flour. Cook for another minute, stirring continuously to avoid lumps.
- Whisk in Cream and Milk: Gradually whisk in 1 cup of rich cream and 1/2 cup of milk. Keep stirring until the mixture thickens, which should take about 3-4 minutes.
- Incorporate Flavors: Add 1 cup of grated cheddar cheese, 1/4 cup of ranch sauce, 1/2 cup of cooked bacon pieces, and your preferred seasonings. Blend until smooth and creamy.
- Combine Chicken: Gently fold in 2 cups of shredded chicken into the cheesy blend until it’s all evenly coated and deliciously mixed.
- Prepare the Wraps: Spoon the cheesy filling onto large flour wraps, fold them in half, then roll tightly to encase the scrumptious mixture.
- Toast the Wraps: Heat a nonstick skillet over medium heat and place the wraps seam-side down. Toast for 2-3 minutes on each side until golden and crispy.
- Slice and Serve: Cut the wraps in half and serve warm, optionally accompanied by extra ranch for dipping.


