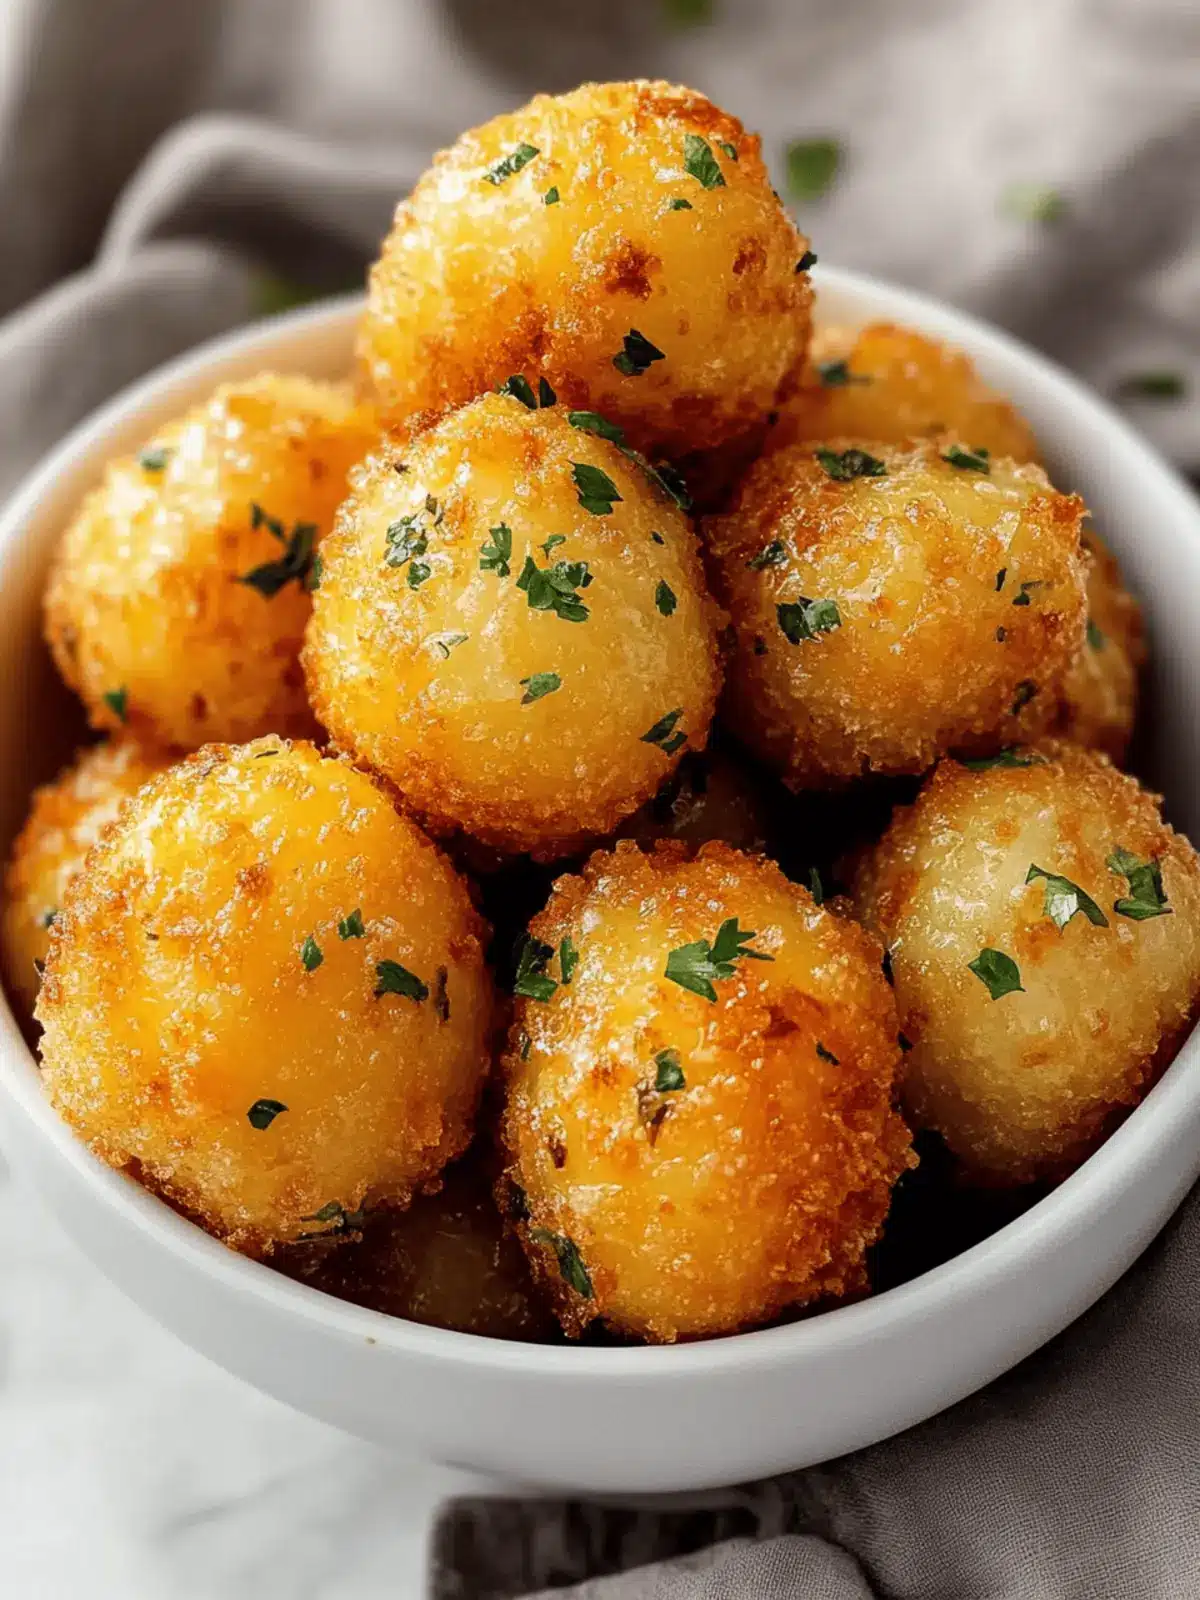
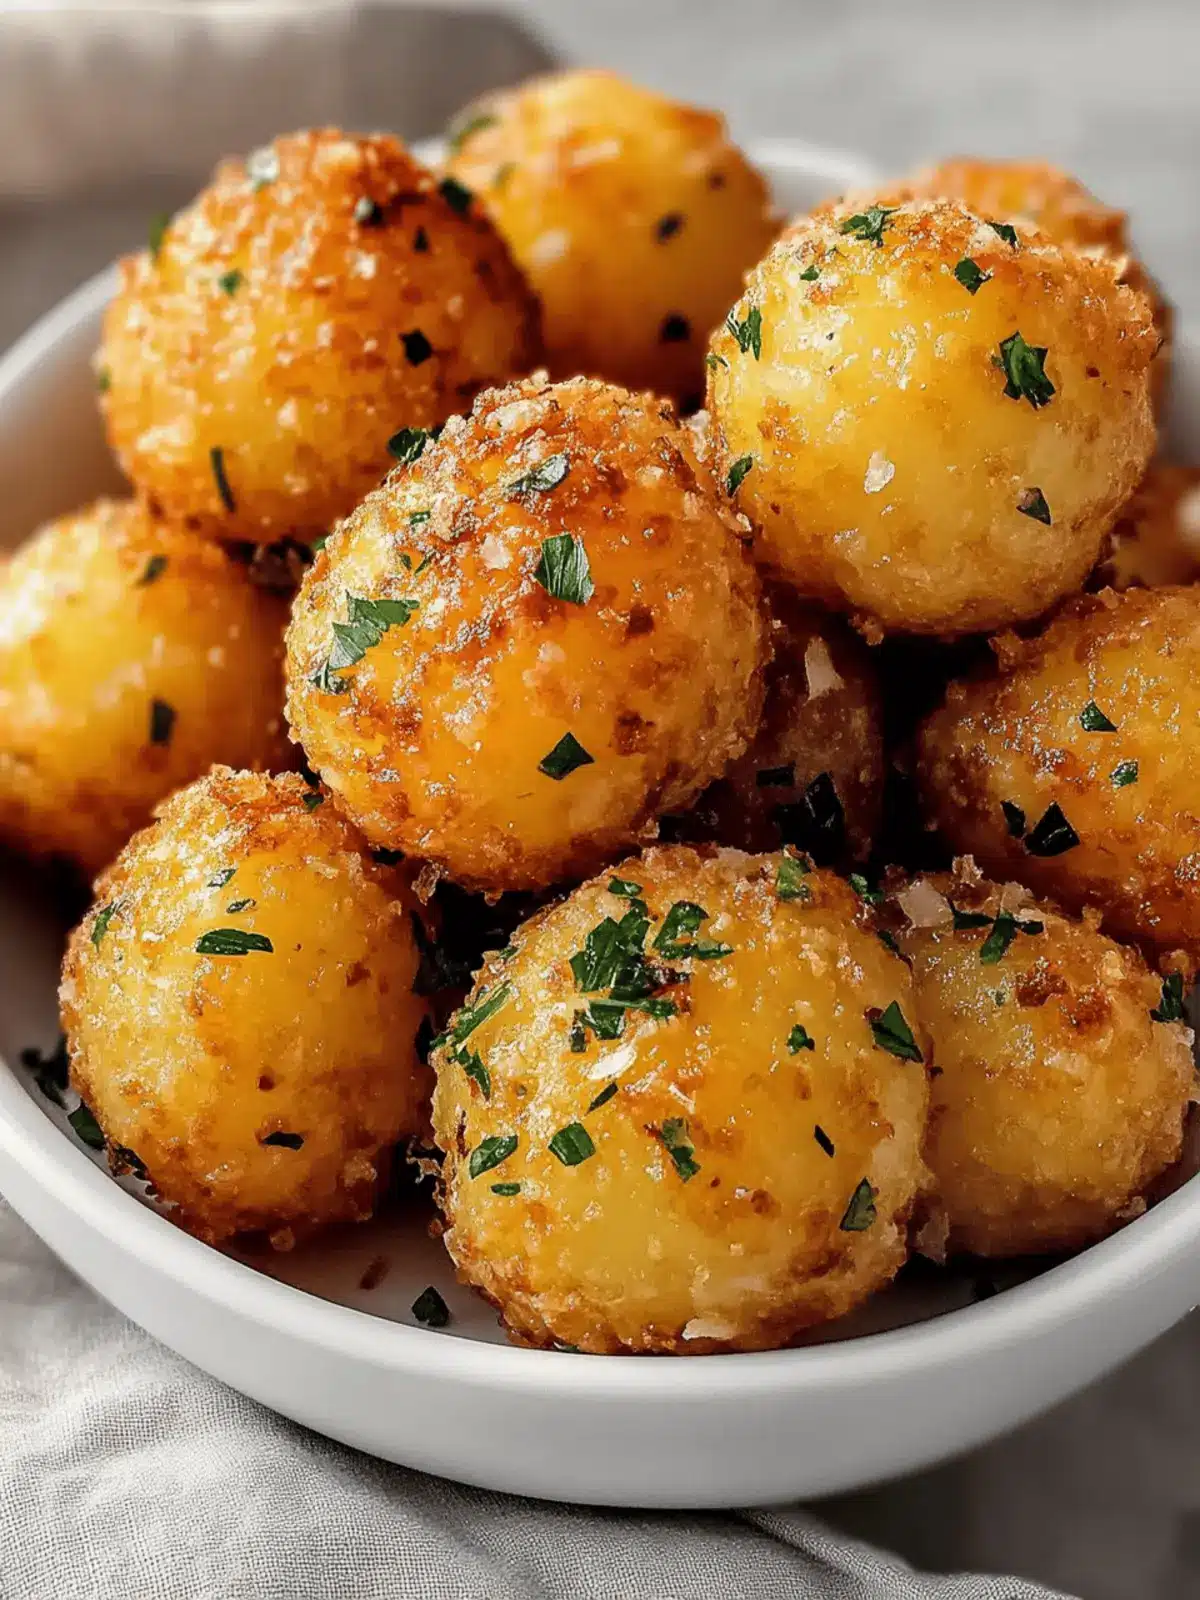
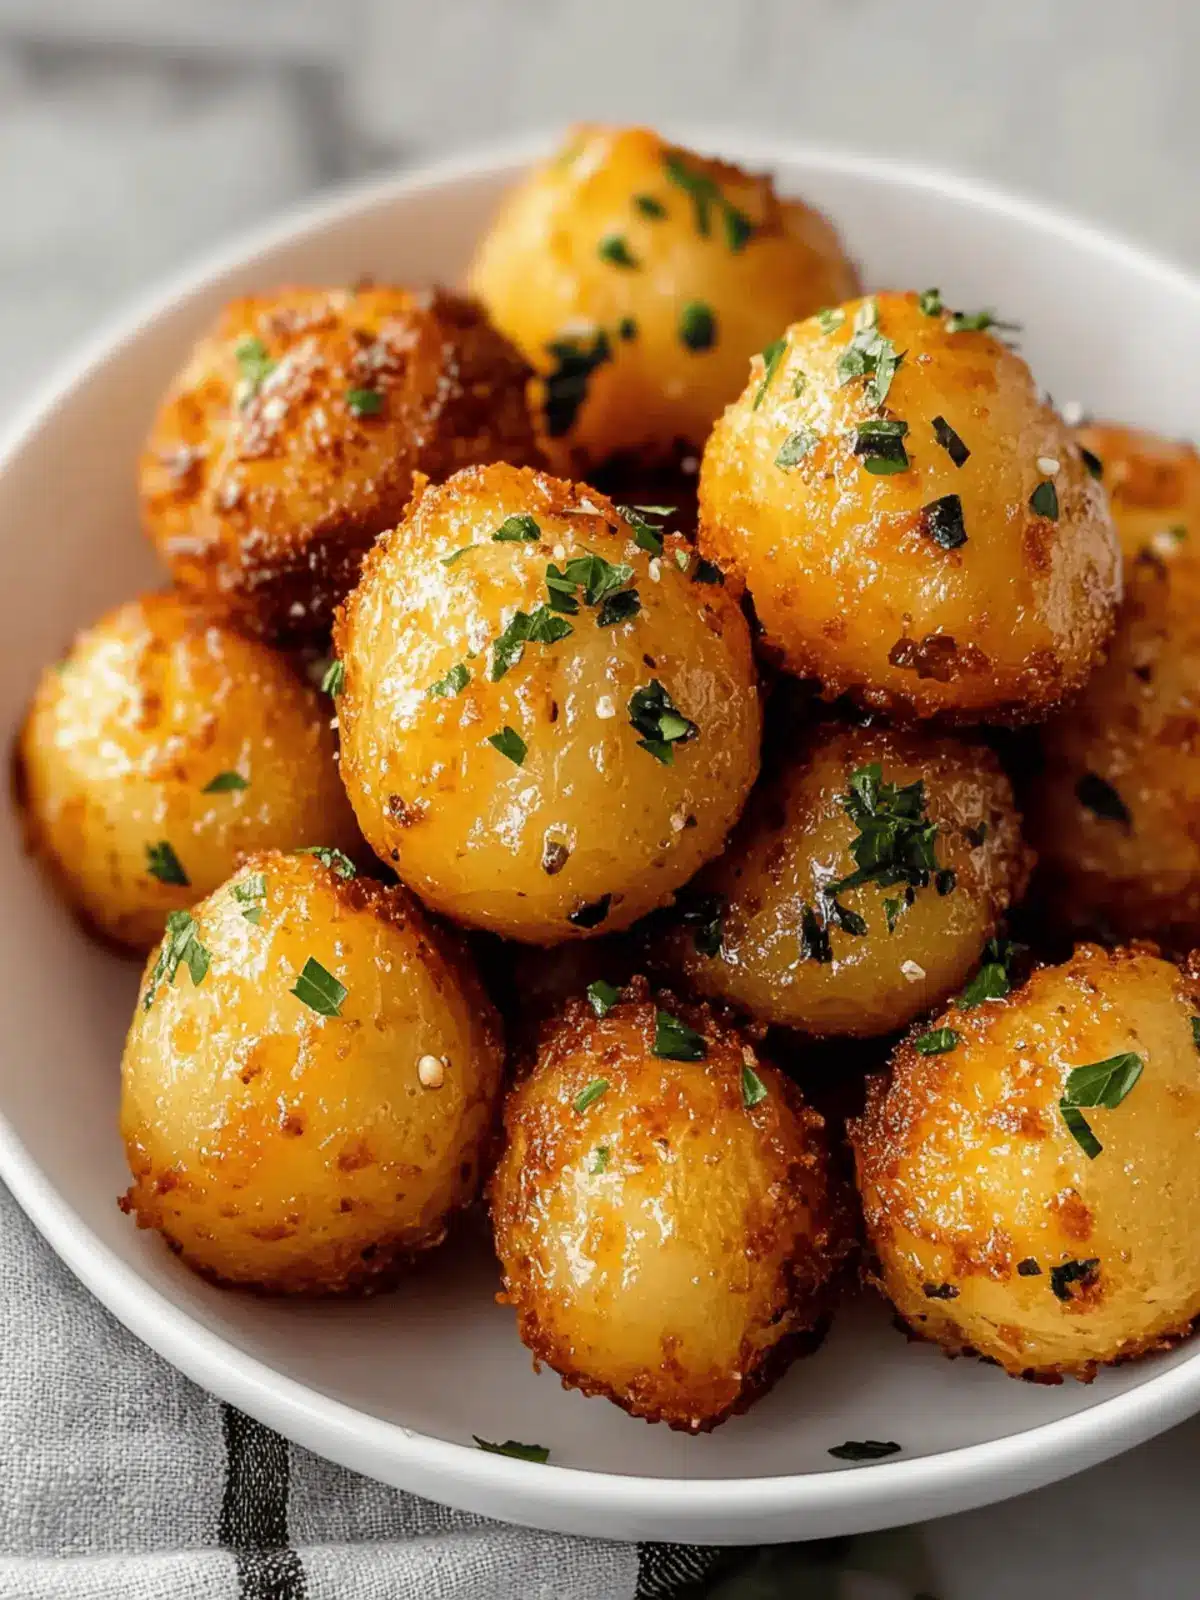
There’s nothing quite like the satisfying crunch of a perfectly cooked snack that bursts with flavor, and these Garlic Potato Pops definitely deliver! Picture this: you’re gathered with friends for game night, and the savory aroma of garlic wafts through the air, drawing everyone in. These little gems, infused with sharp cheddar and Parmesan, aren’t just another appetizer; they embody cozy moments and shared laughter.
Whether you’re looking to impress guests with something innovative or simply want to elevate your at-home snack game, these gluten-free delights are irresistibly versatile. From an easy air fryer method that keeps things light to a classic oven-baking option for that golden crisp, cooking them is a breeze. Dive into this recipe, and you’ll find a delightful blend of textures that transforms simple mashed potatoes into a crowd-pleaser! Why settle for fast food when you can whip up something so memorable in your own kitchen?
Why are Garlic Potato Pops so irresistible?
Crunchy texture: The golden exterior offers the perfect crunch while hiding a fluffy, tender center.
Flavor explosion: Infused with rich garlic and bold cheese, each bite is a scrumptious delight.
Effortless cooking: Choose your method—air fry for a quick, healthier snack or bake for that classic crunch.
Customizable: Enhance with your favorite spices or ingredients, like bacon bits or different cheeses, to suit any palate.
Party-friendly: These gluten-free snacks are a huge hit at gatherings, making them a go-to for entertaining.
Whip up some Garlic Potato Pops today for a taste that leaves fast food in the dust!
Garlic Potato Pops Ingredients
For the Potato Mixture
• Cold Mashed Potatoes – Provides the base and structure of the pops; you can use either store-bought or homemade.
• Garlic (finely minced) – Adds rich, aromatic flavor; fresh garlic yields the best taste for these Garlic Potato Pops.
• Shredded Sharp Cheddar Cheese – Contributes creaminess and bold flavor; substitute with any preferred cheese for variations.
• Grated Parmesan Cheese – Enhances flavor and crispiness; can be replaced with Pecorino Romano for a different profile.
• Large Egg (beaten) – Acts as a binder to hold the mixture together; replace with a flax egg for a vegan option.
• Cornstarch – Helps improve texture and creates a crispy coating; arrowroot or potato starch can be used as alternatives.
• Kosher Salt – Essential for flavor enhancement; adjust to taste if using table salt due to strength differences.
• Ground Black Pepper – Adds a hint of heat; white pepper can be used for a milder flavor.
• Chopped Fresh Parsley – Provides fresh, herby notes; other fresh herbs like chives or thyme can be substituted.
For Coating and Crisping
• Gluten-Free Panko Breadcrumbs – Creates the desired crispy coating; regular panko can be used if gluten is not a concern.
• Olive Oil – Adds flavor and assists in crisping; can swap for avocado oil if preferred.
How to Make Garlic Potato Pops
-
Preheat the oven to 425°F. Prepare a baking sheet by lining it with parchment paper and drizzling 1 tablespoon of olive oil on top. This will create a non-stick surface for your pops.
-
Mix the ingredients by combining cold mashed potatoes, minced garlic, shredded cheddar, grated Parmesan, beaten egg, cornstarch, salt, pepper, and chopped parsley in a mixing bowl. Blend until smooth and well combined.
-
Shape the mixture into 1-tablespoon balls. Gently roll each ball in gluten-free breadcrumbs until fully coated to ensure that delightful crispy texture.
-
Arrange the coated balls on the baking sheet, leaving space between each to allow for even cooking. Drizzle the remaining olive oil over them for extra crispiness.
-
Bake them in the oven for 15-18 minutes, turning the pops halfway through. Look for a golden color and a crispy exterior; allow them to rest for 5 minutes before serving.
-
For the Air Fryer Option: Preheat your air fryer to 400°F and cook the potato pops for 10-12 minutes, shaking the basket halfway through for even cooking.
Optional: Serve with ranch dressing, marinara, or garlic aioli for extra flavor!
Exact quantities are listed in the recipe card below.
Make Ahead Options
These Garlic Potato Pops are perfect for meal prep enthusiasts! You can prepare the potato mixture and form the pops up to 24 hours in advance, which saves time on busy days. Simply follow the recipe instructions until you’ve shaped the balls, then coat them in gluten-free breadcrumbs. Arrange them on a baking sheet and refrigerate on a covered platter. When you’re ready to bake, there’s no need to thaw; preheat your oven and bake as directed, ensuring that they turn out just as deliciously crispy. For longer storage, freeze the shaped, unbaked pops and transfer them to a bag for up to 3 months. Reheat directly from the freezer, adding a few extra minutes to the cooking time for that perfect crisp!
What to Serve with Garlic Potato Pops?
Elevate your gathering with delicious accompaniments that bring out the best in these savory snacks.
-
Creamy Ranch Dip: Offers a cool, herby contrast that balances the crispy, cheesy bites perfectly.
-
Zesty Marinara Sauce: A tangy tomato dip that enhances the garlic flavor while adding a delightful splash.
-
Garlic Aioli: Adds a rich and creamy component that intensifies the garlic experience in each pop.
-
Fresh Garden Salad: A refreshing side with crisp greens and vibrant veggies helps lighten up the meal.
-
Roasted Vegetables: Their caramelized flavors and tender textures provide a delightful balance to the crunchy potato pops.
-
Crisp White Wine: A chilled glass complements the flavors beautifully, making the bites feel extra sophisticated.
-
Sparkling Water with Lemon: Refreshing and light, it cleanses the palate, allowing you to savor each pop fully.
Imagine a table filled with these pairings, inviting laughter and joy around your home.
Garlic Potato Pops Variations
Customize your Garlic Potato Pops to suit your taste and dietary needs with these delightful alternatives!
- Cheese Swap: Substitute sharp cheddar with mozzarella for a milder, gooey texture that melts beautifully.
- Spicy Kick: Add minced jalapeños or a sprinkle of cayenne pepper for a zesty heat that will ignite your taste buds.
- Bacon Lovers: Incorporate crispy bacon bits into the potato mixture for an irresistible, savory crunch that everyone will adore.
- Herb Infusion: Experiment with fresh herbs like dill or rosemary to enhance the aromatic profile and add a burst of flavor.
- Vegan Option: Replace the egg with a flax egg (1 tablespoon flaxseed meal mixed with 2.5 tablespoons water) and use nutritional yeast for that cheesy flavor.
- Vegetable Boost: Fold in cooked spinach or kale for an extra nutrient punch and a pop of color that brightens each bite.
- Sweet Potato Pops: Substitute regular potatoes with mashed sweet potatoes for a naturally sweeter taste and vibrant hue.
- Panko Variation: Use crushed cornflakes instead of gluten-free panko for a uniquely crispy outer layer that’s sure to impress.
How to Store and Freeze Garlic Potato Pops
- Room Temperature: Store any leftover Garlic Potato Pops at room temperature for up to 2 hours. However, they’re best refrigerated if not consumed right away.
- Fridge: Keep the pops in an airtight container for up to 3 days. This’ll maintain their flavor and texture for your next craving!
- Freezer: Freeze the unsauced pops in an airtight container for up to 3 months. Thaw in the fridge before reheating for the best results.
- Reheating: Reheat in an air fryer at 350°F for about 3-4 minutes or in the oven at 375°F for 10-12 minutes until they are heated through and crispy again.
Expert Tips for Garlic Potato Pops
-
Use Cold Potatoes: Ensure the mashed potatoes are cold for easier handling and a better texture in your Garlic Potato Pops.
-
Avoid Overcrowding: Don’t overcrowd the baking sheet or air fryer basket; this allows the pops to cook evenly and become perfectly crisp.
-
Make Ahead: Form and bread the pops ahead of time! Refrigerate them for up to 24 hours, or freeze until firm for ease later.
-
Even Rolling: When rolling the mixture into balls, keep them uniform in size, ensuring they cook evenly and everyone gets to enjoy the perfect crispy bite.
-
Watch Your Bake Time: Ovens can vary; keep an eye on your pops towards the end of baking to achieve that golden, crispy exterior.
Garlic Potato Pops Recipe FAQs
How do I choose the best potatoes for making Garlic Potato Pops?
Absolutely! For the fluffiest texture, use starchy potatoes like Russets or Yukon Golds. These varieties yield great results when mashed. Avoid waxy potatoes, as they can lead to a denser texture in your pops.
How should I store leftover Garlic Potato Pops?
Keep leftover Garlic Potato Pops in an airtight container in the fridge for up to 3 days. This way, they maintain their flavor and stay delicious! Reheat them in an air fryer at 350°F for about 3-4 minutes to bring back that crispy goodness.
Can I freeze Garlic Potato Pops? If so, how?
Yes, you can freeze Garlic Potato Pops! To do this, prepare and bread them without cooking. Place the pops in a single layer on a baking sheet and freeze until firm, then transfer them to an airtight container or freezer bag. They can be frozen for up to 3 months. When you’re ready, thaw them in the fridge and cook as directed.
My Garlic Potato Pops are falling apart; why?
Very important! If your pops are falling apart, it could be due to overly warm mashed potatoes or not enough binder. Ensure your mashed potatoes are cold, and check that you have added enough beaten egg or cornstarch to hold them together. If the mixture seems too loose, a little extra cornstarch can help to bind it.
Are Garlic Potato Pops safe for people with gluten allergies?
Yes, these Garlic Potato Pops are gluten-free if you use gluten-free panko breadcrumbs. Always double-check the labels on your ingredients, especially the Worcestershire sauce and any optional seasonings. For added safety, you can also prepare them in a separate space if cross-contamination is a concern.
Can I make Garlic Potato Pops ahead of time?
Absolutely! You can form and bread the pops ahead of time. Store them in the fridge for up to 24 hours before baking them. If you’d like to prepare further in advance, consider freezing them as mentioned earlier. When you’re ready to enjoy these tasty snacks, simply bake or air fry!
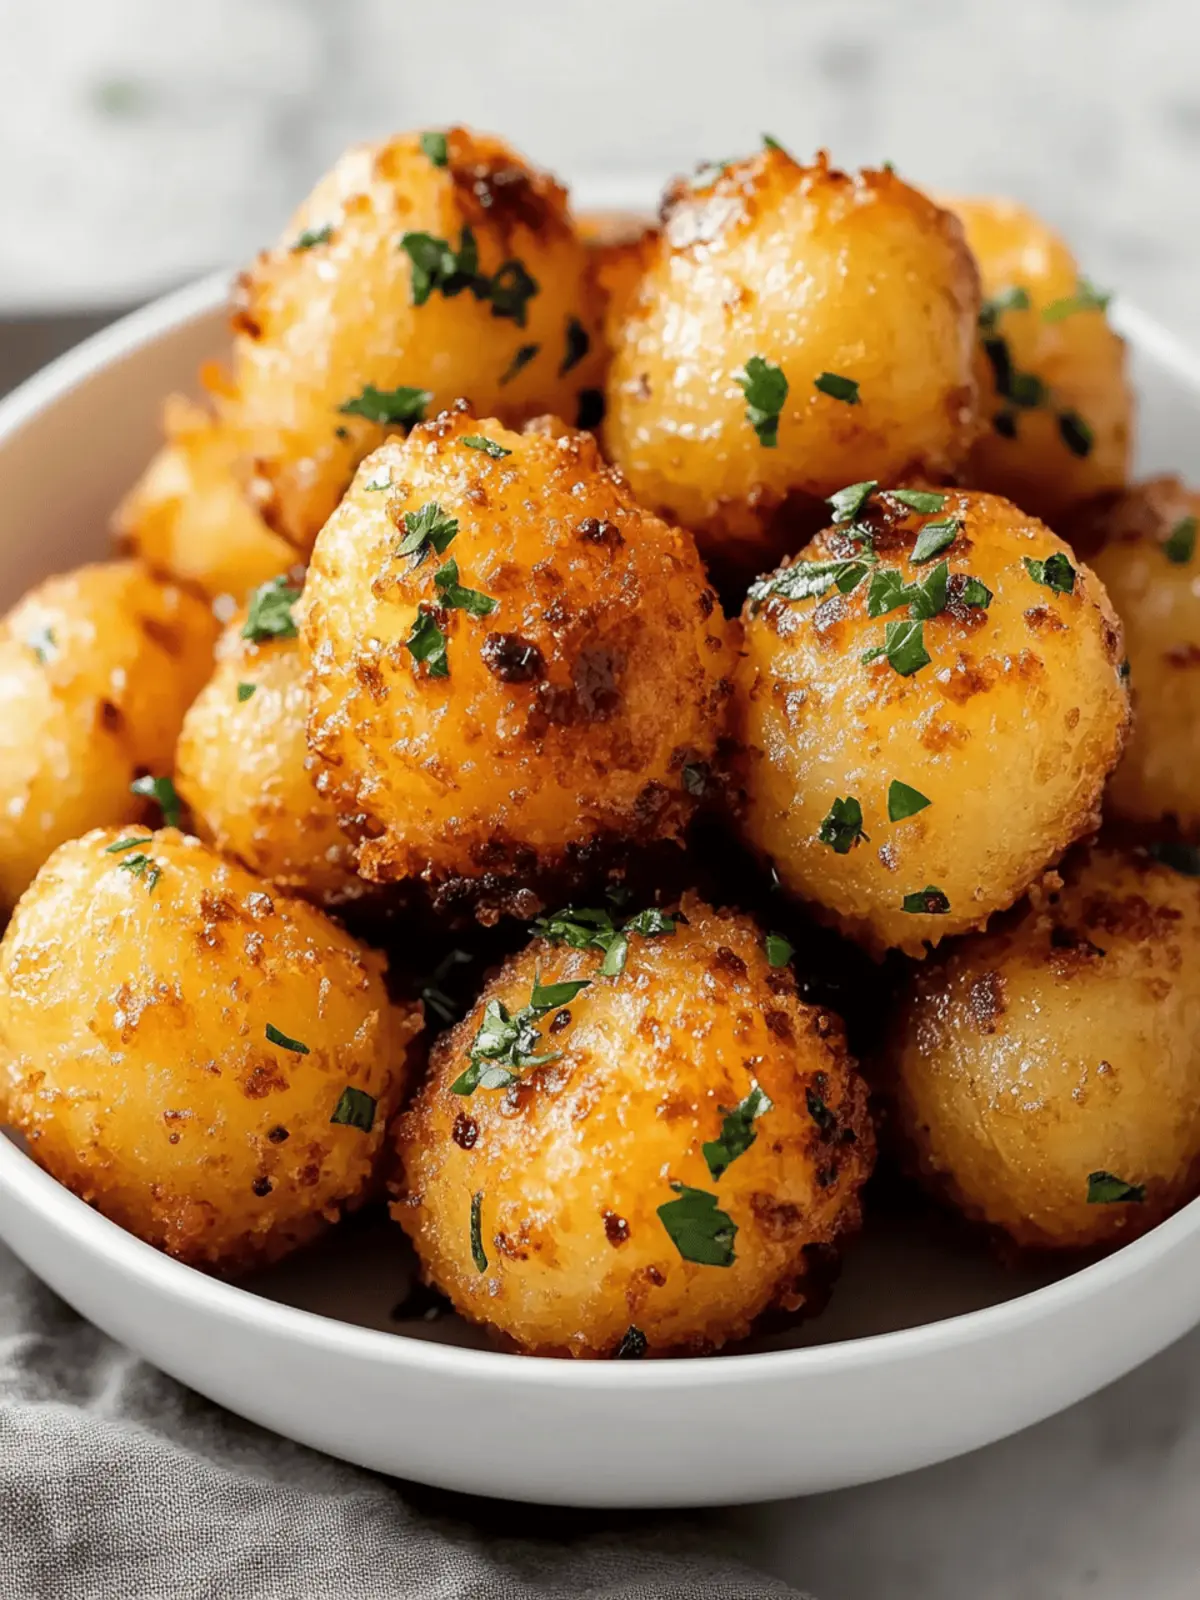
Garlic Potato Pops: Crispy, Gluten-Free Snack Perfection
Ingredients
Equipment
Method
- Preheat the oven to 425°F. Prepare a baking sheet by lining it with parchment paper and drizzling 1 tablespoon of olive oil on top.
- Mix the ingredients by combining cold mashed potatoes, minced garlic, shredded cheddar, grated Parmesan, beaten egg, cornstarch, salt, pepper, and chopped parsley in a mixing bowl. Blend until smooth and well combined.
- Shape the mixture into 1-tablespoon balls. Gently roll each ball in gluten-free breadcrumbs until fully coated.
- Arrange the coated balls on the baking sheet, leaving space between each. Drizzle remaining olive oil over them.
- Bake for 15-18 minutes, turning halfway through. Look for golden color and crispy exterior; let rest for 5 minutes before serving.
- For the Air Fryer Option: Preheat air fryer to 400°F and cook the potato pops for 10-12 minutes, shaking the basket halfway through.

