Go Back
+ servings
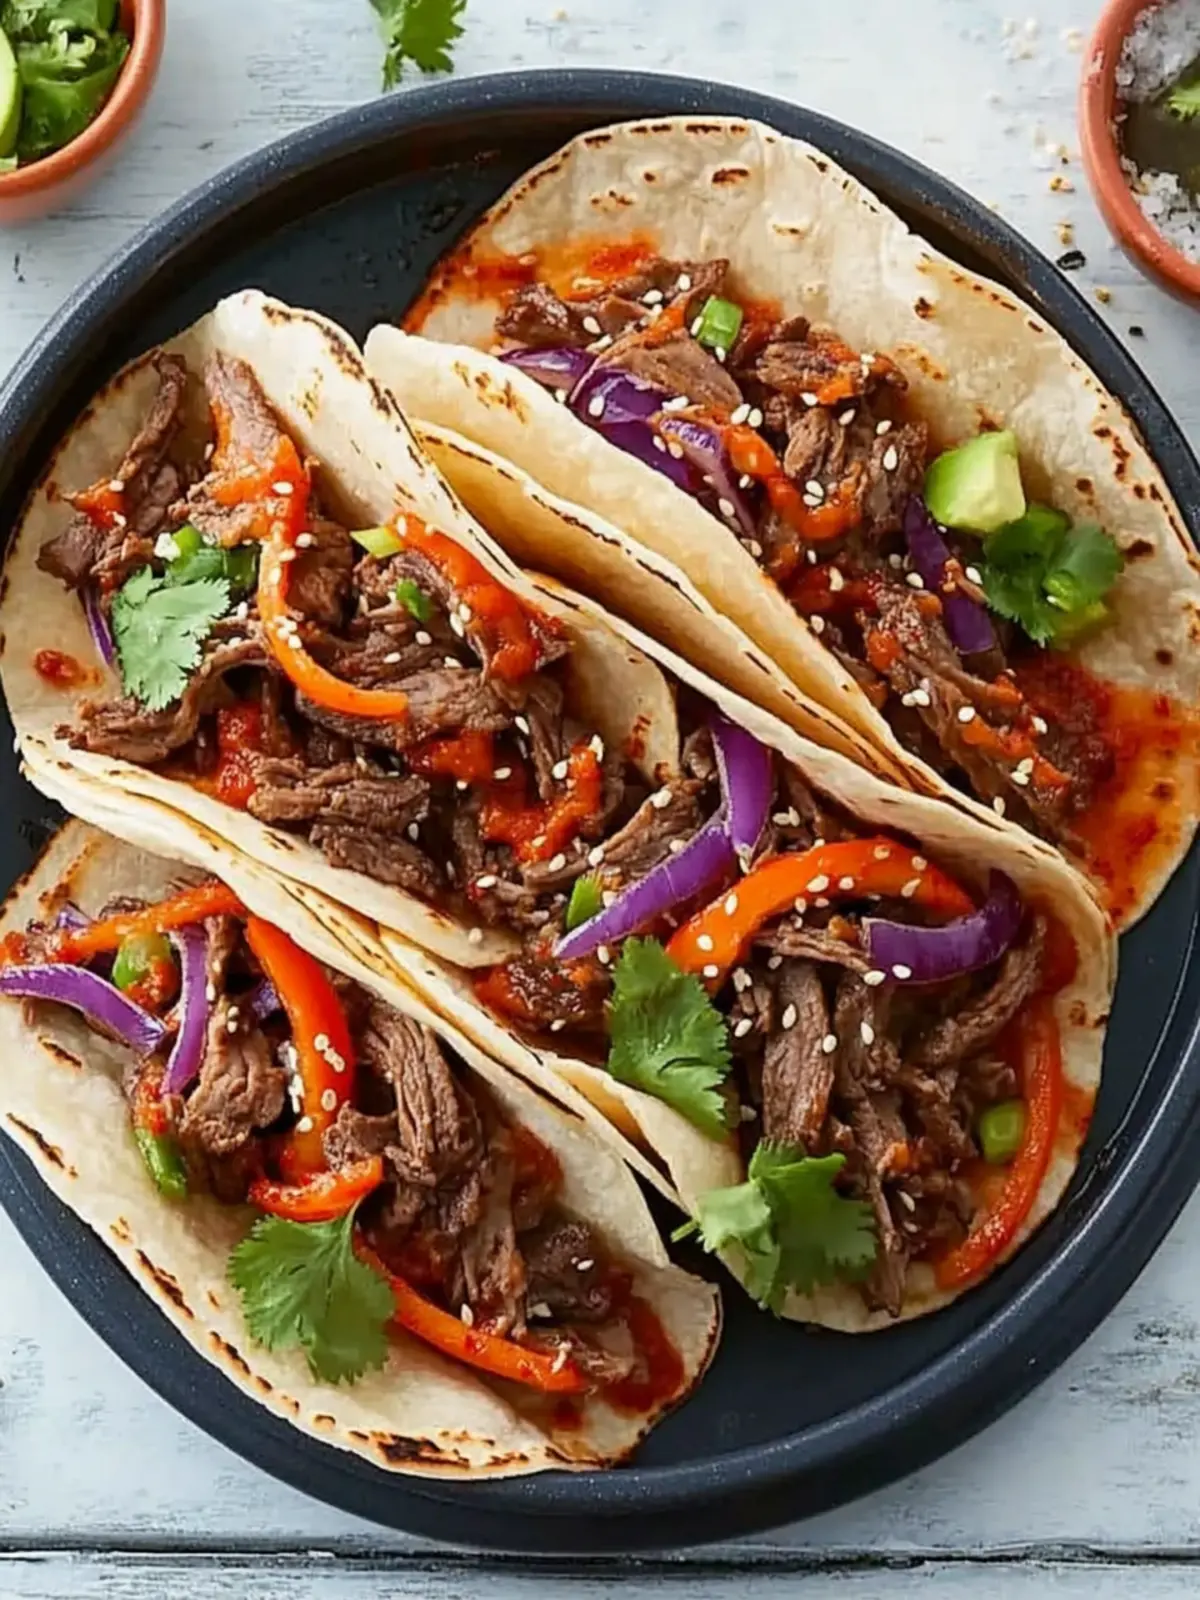
Instant Pot Korean Beef Tacos

Savory Instant Pot Korean Beef Tacos for Quick Weeknight Dinners

Discover vibrant Instant Pot Korean Beef Tacos that blend savory flavors for a delightful weeknight meal.
Prep Time 30 minutes
Cook Time 1 hour 5 minutes
Natural Pressure Release Time 10 minutes
Total Time 1 hour 45 minutes
Servings: 4 tacos
Course: Dinner
Cuisine: Korean
Calories: 350

Ingredients
  

For the Beef
  • 2 pounds Beef Chuck or Top Sirloin
  • 1 cup Pears canned or fresh
  • 1/2 cup Soy Sauce use tamari for gluten-free
  • 4 cloves Garlic minced
  • 1 tablespoon Ginger grated
For the Tortillas
  • 8 pieces Flour Tortillas or lettuce wraps for low-carb
For the Toppings
  • 1 cup Kimchi any pickled vegetable is a substitute
  • 1/4 cup Cilantro omit if not preferred
  • 1/2 cup Spicy Mayo mix sriracha with mayonnaise

Equipment

  • Instant Pot

Method
 

Cooking Instructions
  1. Prepare the Marinade: In a mixing bowl, combine pears, soy sauce, minced garlic, and grated ginger.
  2. Marinate the Beef (optional): If you have a little extra time, let the beef marinate for at least 30 minutes.
  3. Cook the Beef: Place the marinated beef in the Instant Pot, pour the rest of the marinade over it, and secure the lid. Set to high pressure and cook for 65 minutes if using frozen chuck or 45 minutes for frozen sirloin.
  4. Release Pressure: Once the cooking time is up, allow a natural release for 10 minutes before doing a quick release.
  5. Warm Tortillas: Warm your tortillas in a dry skillet or microwave until soft and pliable.
  6. Assemble Tacos: Fill the warm tortillas with shredded beef and top with kimchi, cilantro, and spicy mayo.

Nutrition

Serving: 1tacoCalories: 350kcalCarbohydrates: 40gProtein: 25gFat: 15gSaturated Fat: 5gPolyunsaturated Fat: 2gMonounsaturated Fat: 5gCholesterol: 80mgSodium: 800mgPotassium: 600mgFiber: 2gSugar: 4gVitamin A: 200IUVitamin C: 5mgCalcium: 30mgIron: 3mg

Notes

For an extra crunch, add some chopped green onions on top. Meal prep friendly; beef can be cooked ahead.

Tried this recipe?

Let us know how it was!